
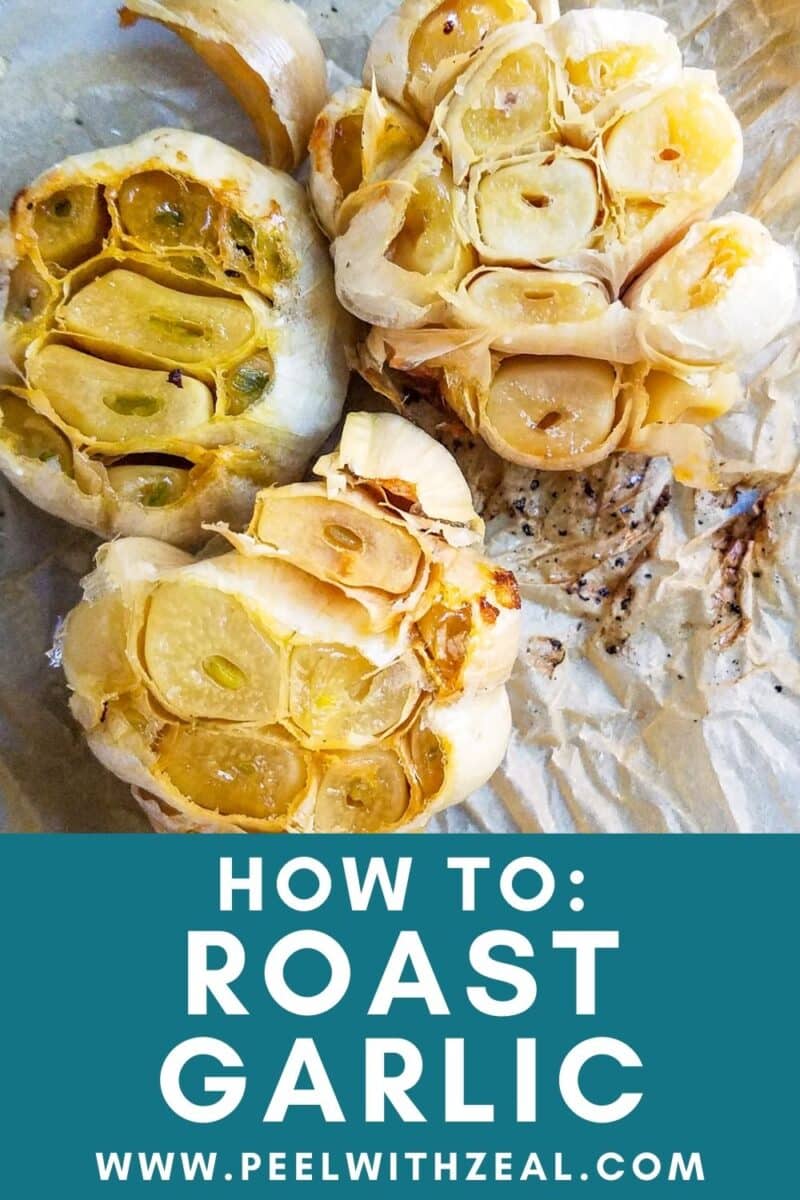
Roasting garlic transforms it from sharp and spicy to sweet caramelized goodness in less than one hour. If only all makeovers were this easy! Roasted garlic is the perfect addition to vegetables, soups, braises, or stews.
WANT TO SAVE THIS RECIPE?
This post may include affiliate links. Please read my disclosure policy.
Roasted garlic cloves are soft and spreadable, so no chopping needed. Use it in an herb and garlic butter or try my Garlic Cashew Cream Cheese so you can easily slather it on bread, steak or potatoes.
Yo can substitute roasted garlic for regular garlic in any recipe. I especially like it with roasted leeks and in my scalloped potatoes.
🧾Ingredient Notes
- Garlic- Unlike making garlic fermented honey, which requires fresh garlic. Roasting garlic is a great way to use up old garlic bulbs before they go bad.
- Seasonings- You need a neutral oil and salt. But you can also add harissa seasoning for a kick, truffle oil, lemon zest or fresh herbs like thyme.
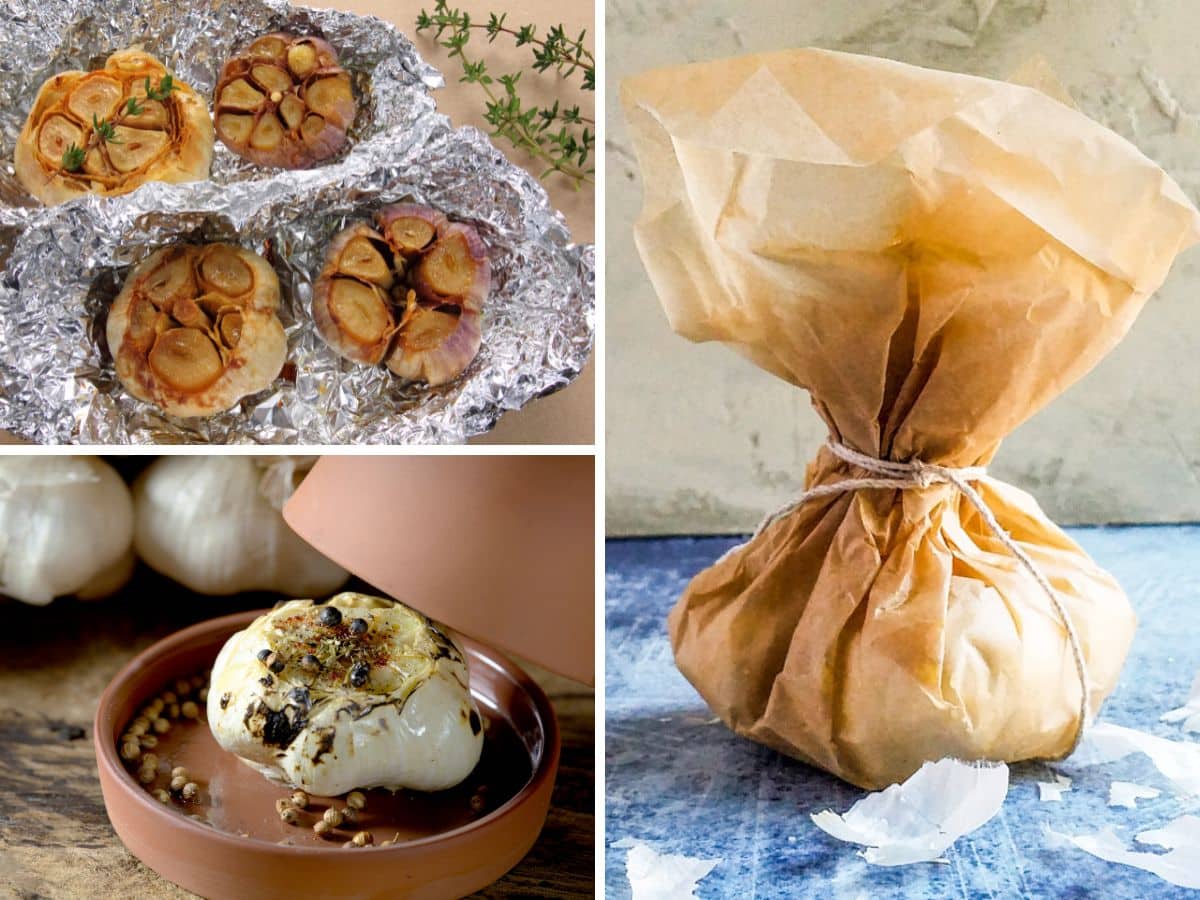
Foil or Parchment?
I prefer parchment paper because a very juicy garlic head may stick to foil due to the sugars. It comes off cleaner from parchment paper. You can absolutely use foil, a clay garlic roaster, or even a small saucepan with a lid.
⏲️How to Roast Garlic
- The key to soft garlic cloves is trimming off the tops to allow the steam to escape but keeping them wrapped to create the heat bubble necessary to keep them moist.
- Drizzle with olive oil and your favorite seasonings. Wrap and secure. Roast for 30 to 40 minutes.
More Kitchen How- Tos
💭Can You Roast Individual Cloves of Garlic?
The short answer is yes. BUT... I don't recommend it. Most recipes for individual roasted cloves of garlic have you peel them first. The direct heat on the cloves will make them more likely to burn. You definitely have to keep a closer eye on them.
For that reason I find it easier to roast the whole head (or even half a head, if that is what we have left). More hands off and less prone to burning.
Did you enjoy making this recipe? Show it some love with ⭐⭐⭐⭐⭐ and leave a comment! Hungry for more? Get more flavorful recipes!
📖 Recipe Card

Easy Oven Roasted Garlic
Ingredients
- 2 heads of garlic
- 1 Tablespoon olive oil
- kosher salt
Instructions
- Preheat oven to 400 F degrees.
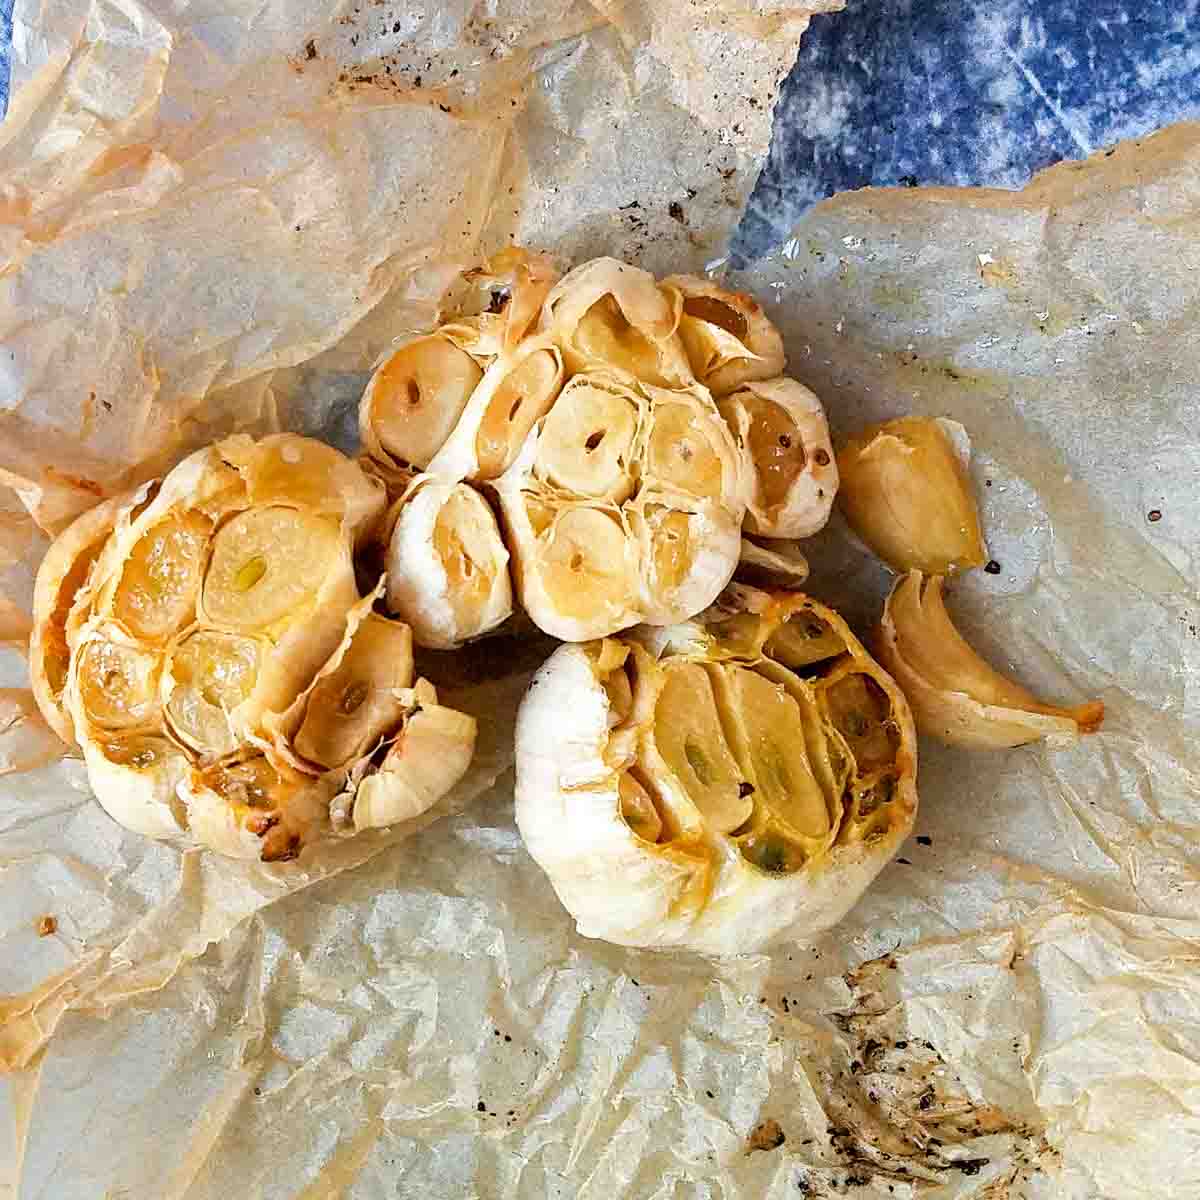
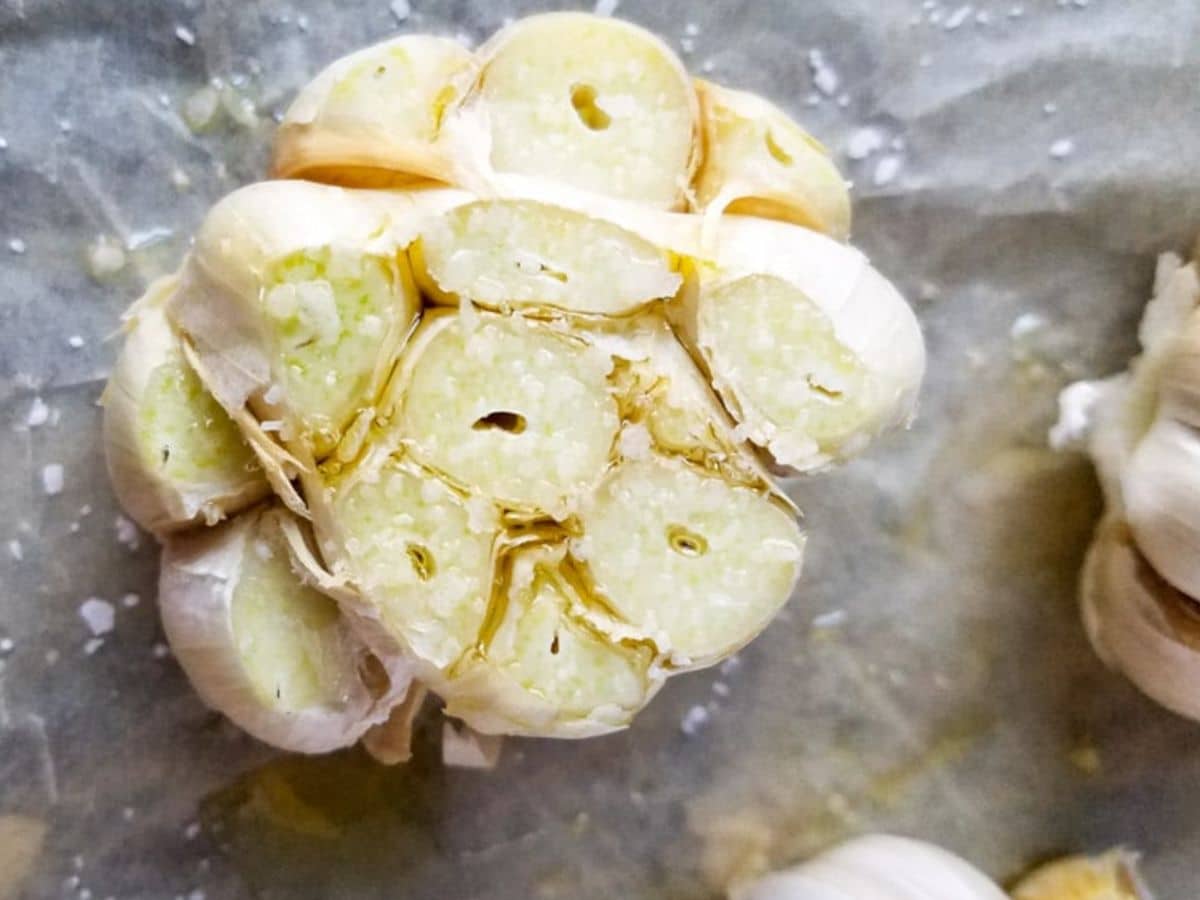
- Remove any loose outer skins from garlic heads. Slice ¼ to ⅓ inch off the top of the garlic head to expose the cloves inside.2 heads of garlic
- Drizzle the tops of the bulbs with olive oil and sprinkle with kosher salt. Wrap in the foil or parchment paper secured with kitchen twine. You can also use a garlic roaster.1 Tablespoon olive oil, kosher salt
- Roast until the garlic cloves are lightly browned and tender, about 40 minutes. Begin checking the garlic at 30 minutes, the time to finish varies based on the size, age and variety of garlic used.
- Let the garlic cool slightly, and then serve. Press on the bottom of a clove to push it out of its paper. Roasted garlic can also be refrigerated for up to 2 weeks or frozen for up to 3 months.
Video
Notes
- Garlic can be roasted without foil or parchment in a clay garlic roaster or by using a small ovenproof saucepan and lid.
Storage Instructions
Fridge: Store wholegarlic in an airtight container in the fridge for up to a week. For longer storage, remove the cloves, place them in a glass container, and cover with olive oil. Freezer: Freeze individual cloves on a sheet pan before storing them in an airtight container. Or, puree the cloves and freeze in an ice cube tray—my favorite method!Equipment
- Parchment Paper or foil
Ramona says
Roasted garlic is such a great flavourful addition to so many dishes and I like it on toasted bread too - yummy!
Jen says
Absolutely- shmeared on bread!
Courtney says
Yum! Roasted garlic is the best, isn't it? I have never thought of using parchment paper. Great tip!
Jen says
Also love it spread on toast!