
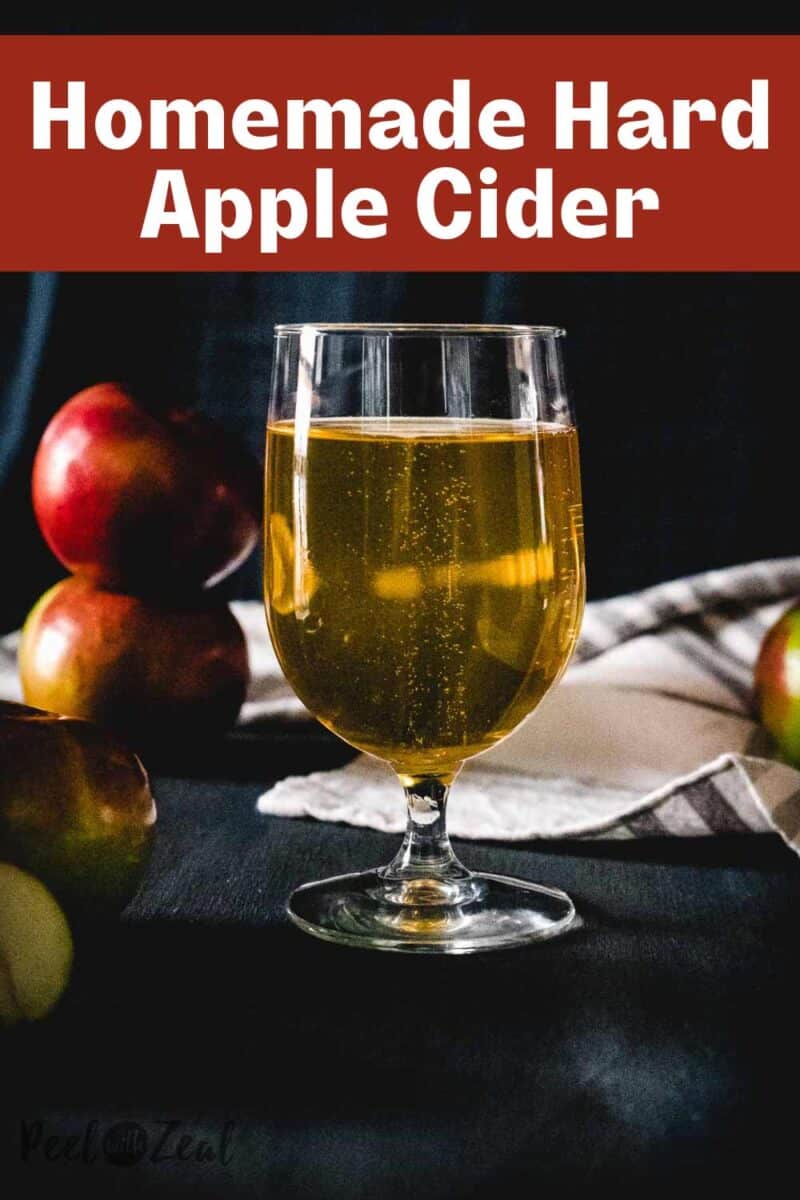
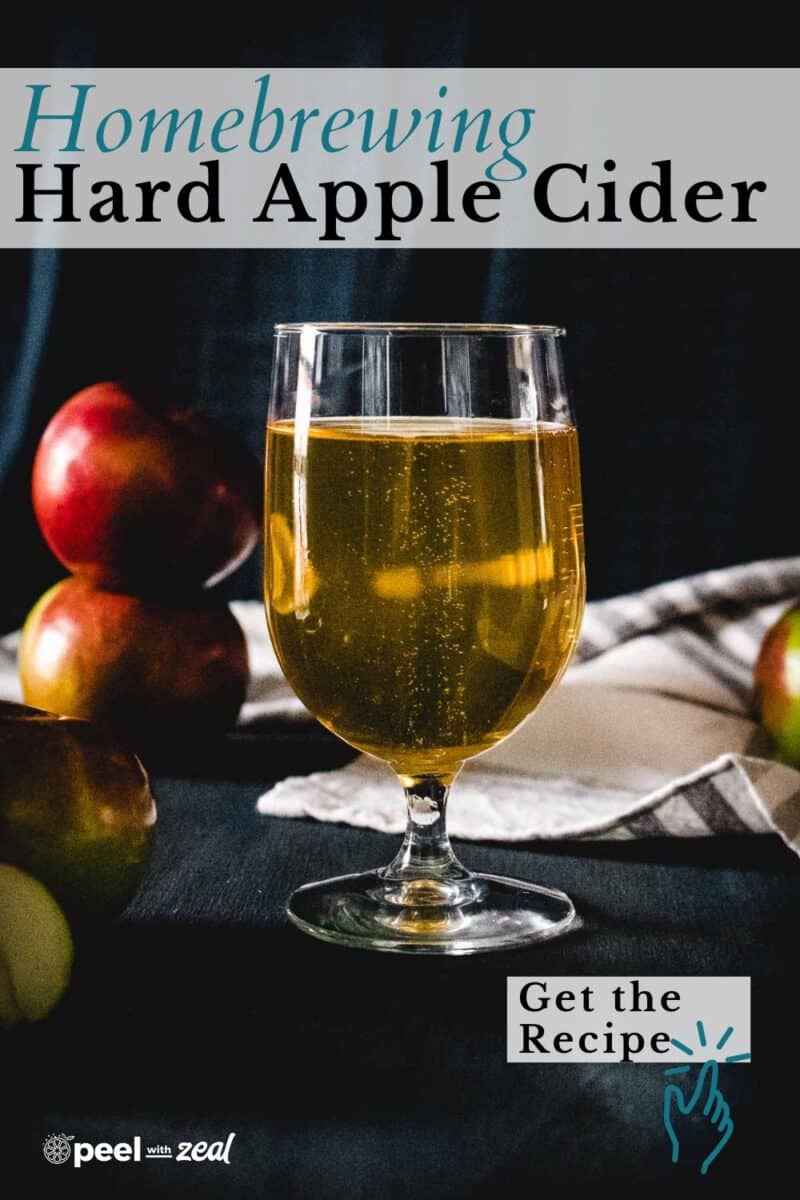
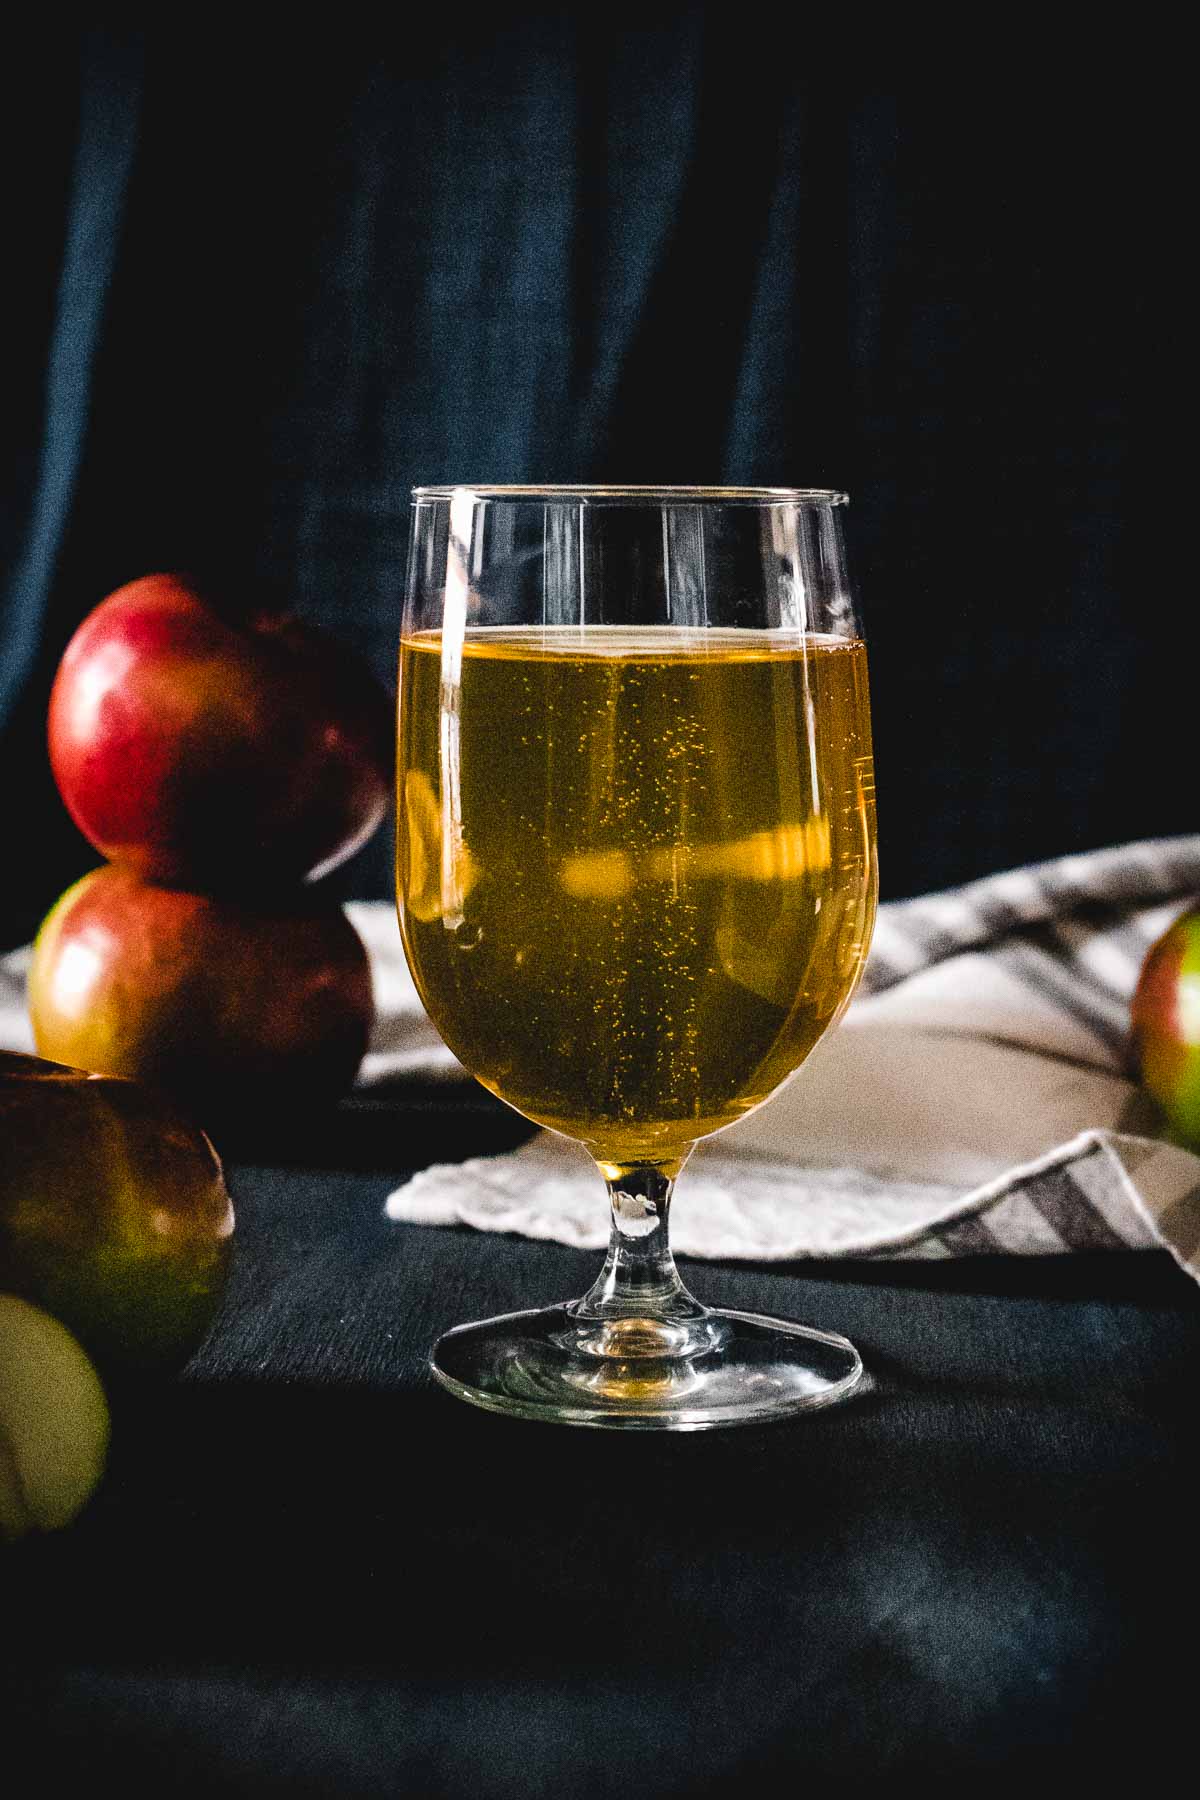
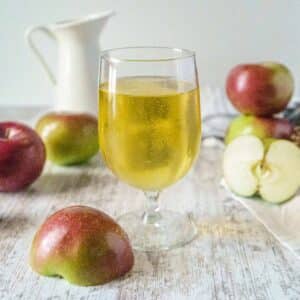
Learn how to brew your own hard apple cider at home. This beginner-friendly 5-gallon recipe is affordable, gluten-free, and surprisingly simple-no fancy brewing experience required. Once you try this homemade version, you'll never go back to store-bought hard cider.
WANT TO SAVE THIS RECIPE?
This post may include affiliate links. Please read my disclosure policy.
If you are new to homebrewing, hard cider is an easy place to start.
This is a lot of information covered in this recipe, and while this is a straightforward recipe, there is a lot to know about cider making before you begin.
If this is your first time homebrewing or making cider, please take the time to read the whole post. It is so worth it, as you are going to be the queen (or king) of the cider makers after just 1 batch. Promise!
Hard ciders can be made in any quantity from 1 gallon to 5 gallons. The recipe below is based on a 5-gallon cider recipe.
The hardest part of making this recipe is waiting for it to ferment! You might want to make my apple whiskey smash while you wait.
Jump to:
📖Why My Recipe Works
- More affordable than purchasing ready-made hard ciders.
- Requires less equipment than traditional beer making, and the easiest way to learn is by trying it out.
- Crisp, dry cider with professional-level flavor.
- This recipe is gluten-free as written.
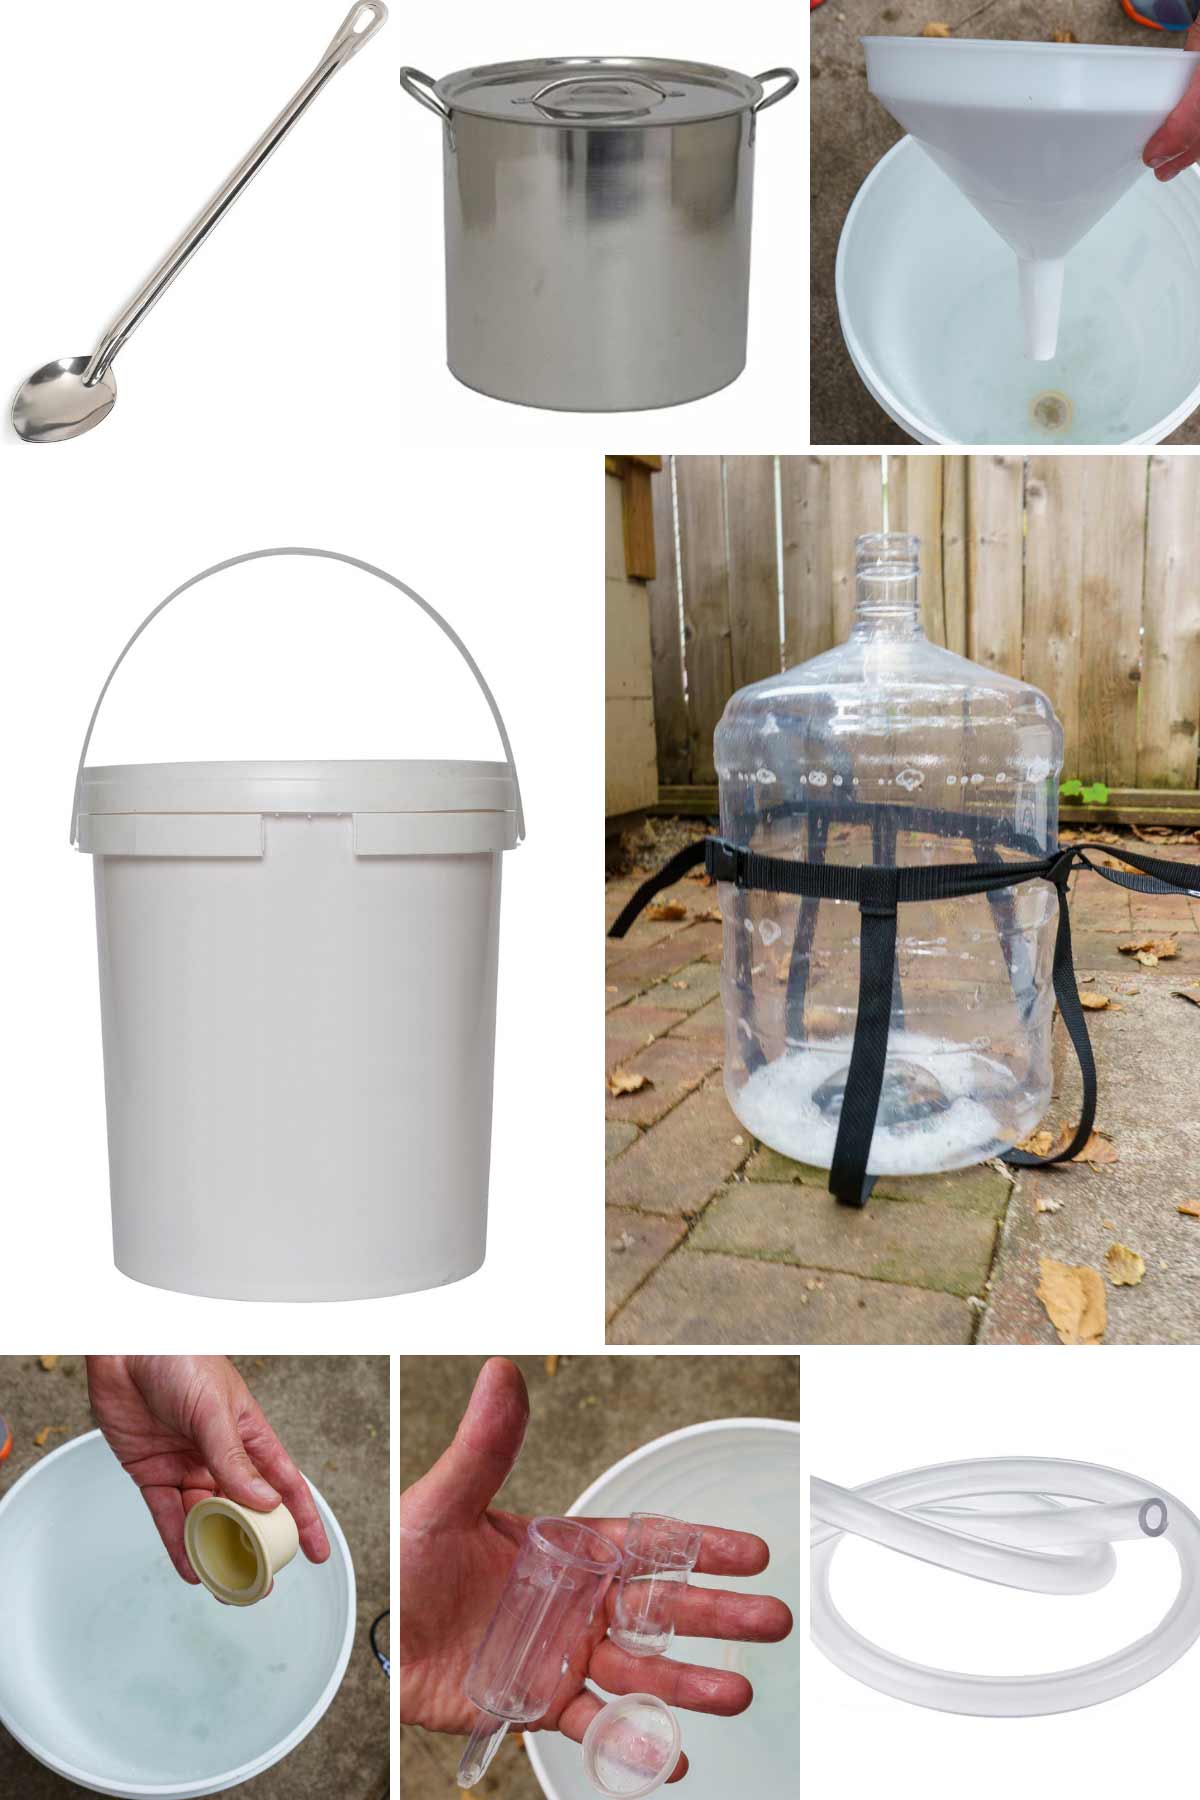
📋Hard Cider Making Equipment
Making cider does require a few specialty equipment items. Luckily, they are not too expensive and they last for years.
- You need a large stainless steel pot. If you brew regularly this will be your large brewing pot, but you can use a large stockpot for this recipe.
- For utensils, a long-handled stainless steel spoon or plastic spoon and a brewer's funnel with a strainer are required. You'll also need a brewing siphon. This will be used to move the cider from the carboy to a bottling bucket or keg.
- For the primary fermenter, you will need one 6.5-gallon plastic fermenter with a lid and airlock or a 5-gallon glass or plastic carboy with a stopper and airlock. If making a 1-gallon batch, you need a large glass jug.
- You will also need a clean bucket large enough to hold the items for sanitizing. We use our bottling bucket for this.
- See below for bottling equipment based on bottling type.
🍎Hard Cider Ingredients
Selecting Apple Cider
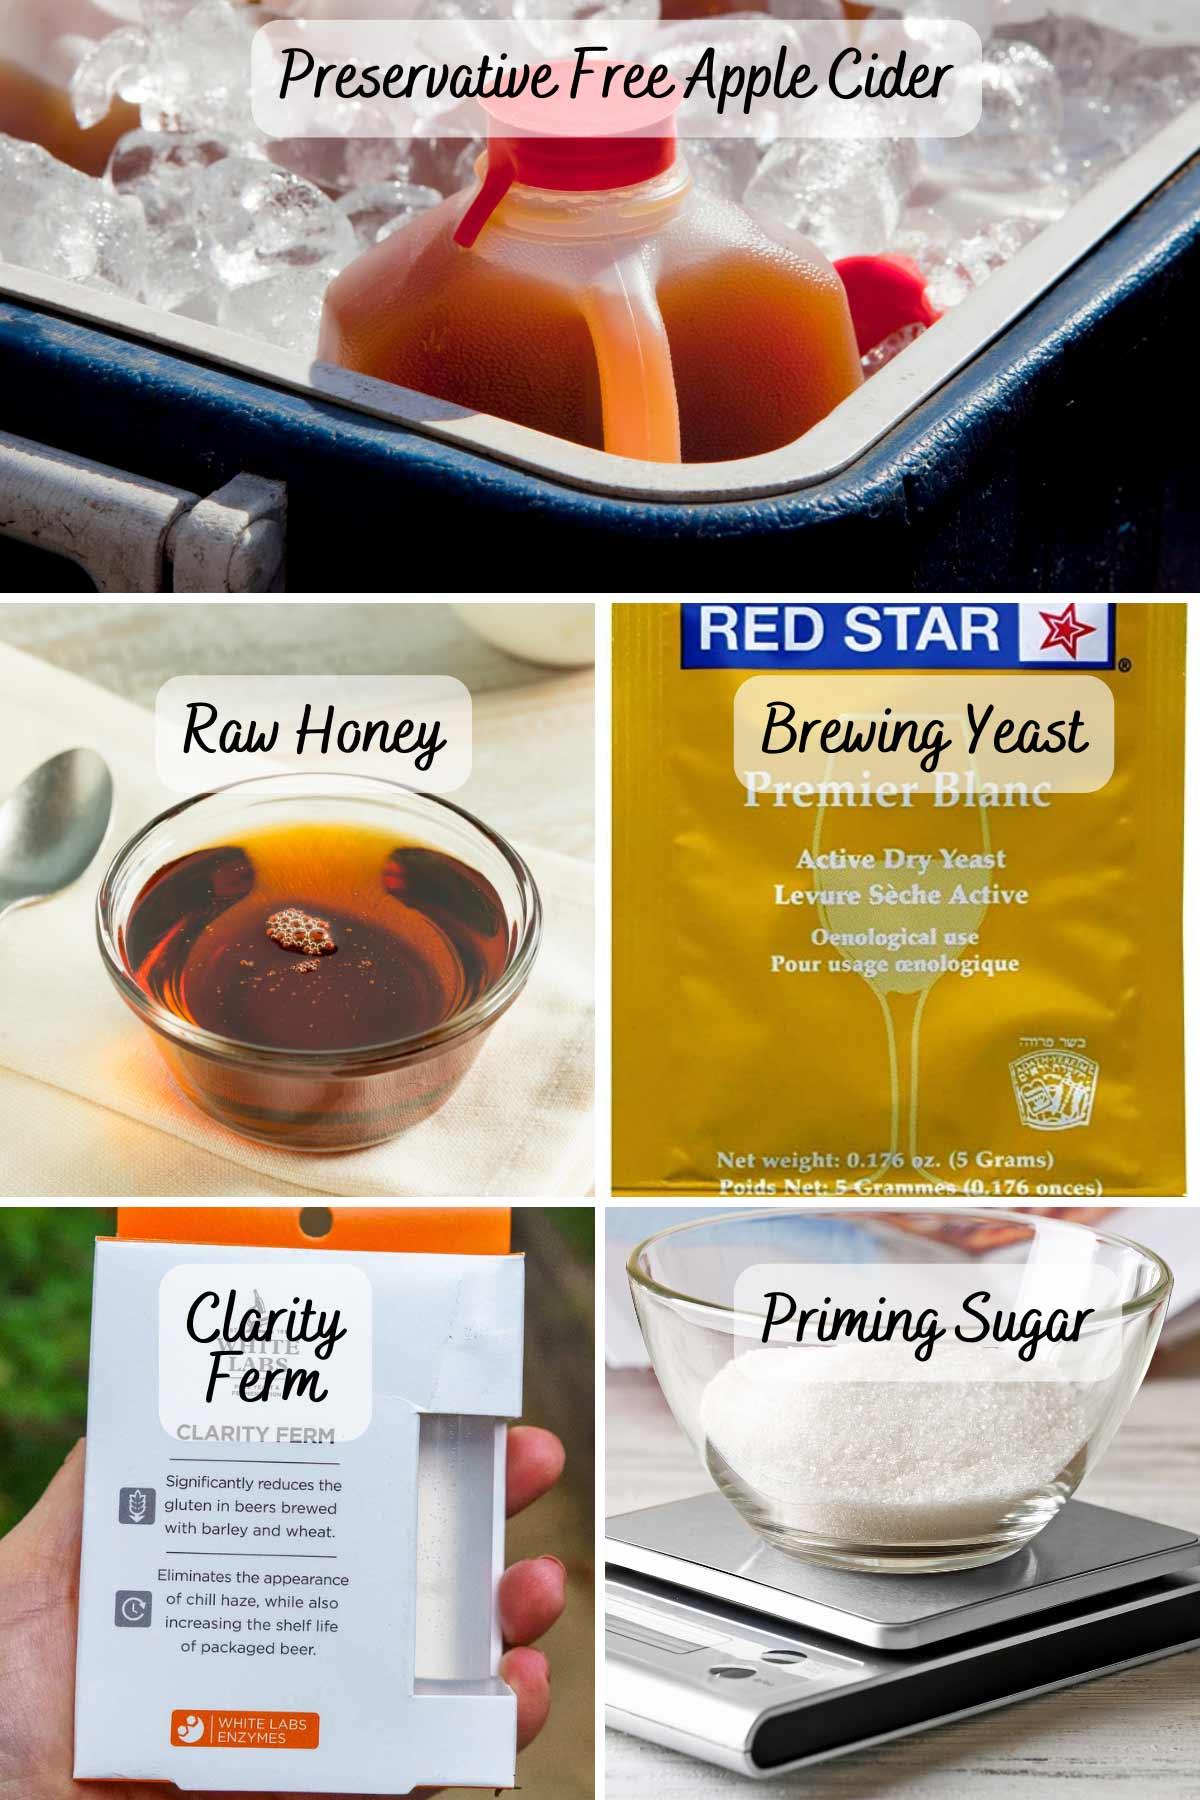
You specifically need to source preservative-free apple juice/ cider.
This type of juice falls into three buckets
- Fresh pressed orchard cider
- Store-bought juice
- Homemade cider pressed from fresh apples
The preferred option is locally made fresh pressed orchard cider. We get ours from the farmer's market, but you can also source directly from a local orchard and even at some grocery stores.
If you source your apple cider from the store, there are few watch-outs. You don't want anything made from concentrate, no juice mixes, and no sugars added. Most importantly, no chemical preservatives. However, citric acid and ascorbic acid are okay.
Remember, organic apple cider doesn't mean it doesn't have sugar so double check the label.
You can use either unpasteurized or pasteurized cider, but you run the risk of wild yeast strains being present in the unpasteurized.
Wild yeast can impact the final taste of your cider, and depending on the strain, it could be a good impact or a bad one. It is a roll of the dice.
If you are interested in pressing apples from scratch, check out this guide to pressing cider.
Choosing Yeast
When buying or making fresh-pressed ciders (unpasteurized) there will be wild yeast present. But even then, you will need to add additional yeast specific to homebrewing.
The yeast you select will drastically alter the flavor of your hard cider. Yeast may come in liquid form or in dried packets. Both are fine.
Brewing yeast is typically packaged for a 5-gallon batch but always double-check before ordering to ensure you have enough.
Traditionally, wine yeast is used for making cider. With Cuvee and champagne yeast being the most popular. Many beer-making supply stores sell cider-specific yeasts.
When starting to make hard cider at home, I recommend using one of the two options above. But a champagne yeast would be my first choice.
Adding Sugar
How much sugar you add will affect the percentage of alcohol in the final product.
I have seen quantities as high as 1 pound of sugar to one gallon of juice... this is way too high!
I prefer to use honey, it is less sweet and adds unique floral notes. Playing with different types of honey and yeast strains are how you can alterthe flavor of the cider.
Optional Ingredients
There is one additional item that is optional, but I highly recommend using White Labs Clarity Ferm. The main purpose of Clarity Ferm is to make cider and beers crystal clear. The bonus side effect? The enzyme breaks down all gluten ensuring your cider is gluten-free.
But wait, aren't apples gluten-free? Yes, however, if you choose to use liquid yeast, there is a very high likelihood that gluten-containing ingredients are in the liquid.
Please note that gluten-free yeast can be hard to come by but does exist. However, your options will be limited. By using Clarity Ferm, you can make any cider gluten-free.
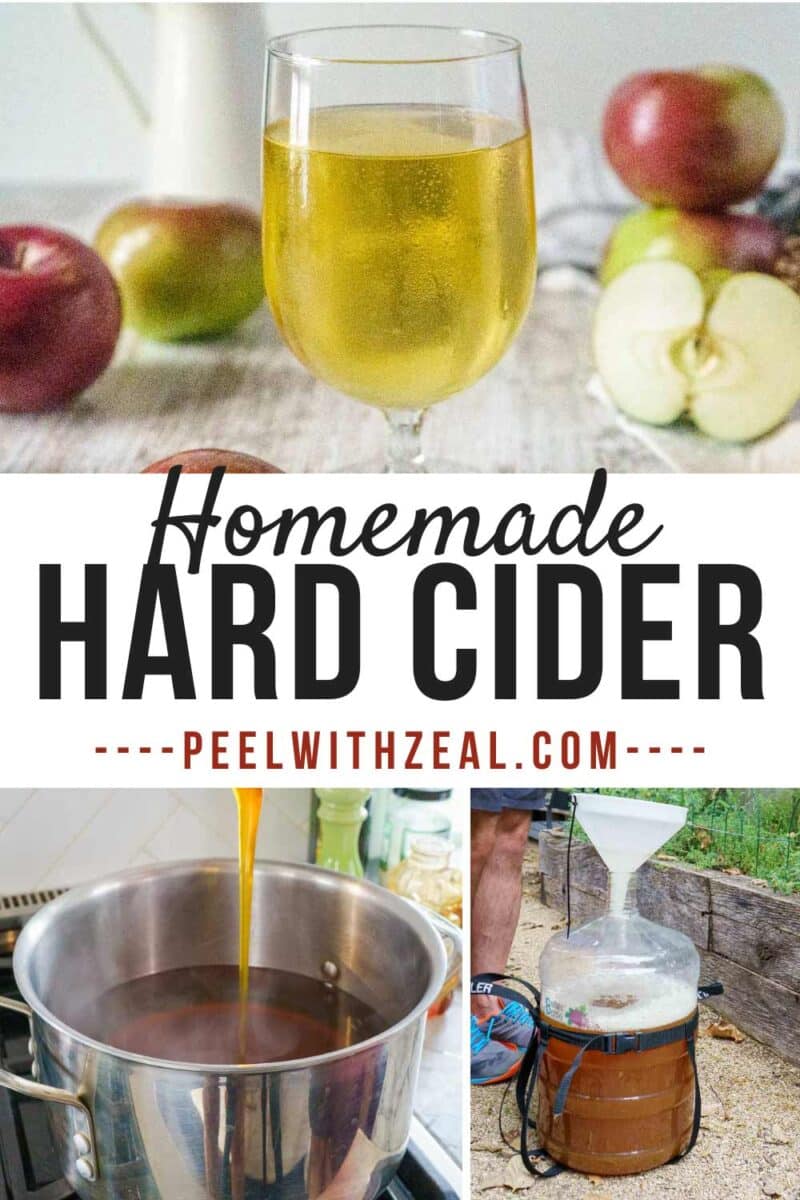
🍺How to Make Hard Cider
Sanitize Your Equipment
- Sanitize all the brewing equipment before use. Use a food-safe sanitizer, like Star San, and follow all the package directions.
Warm the Cider
- Heat just one gallon of cider on low heat in a large stockpot. Add the honey and stir until it melts into the cider and is fully incorporated. Remove from heat and cool.
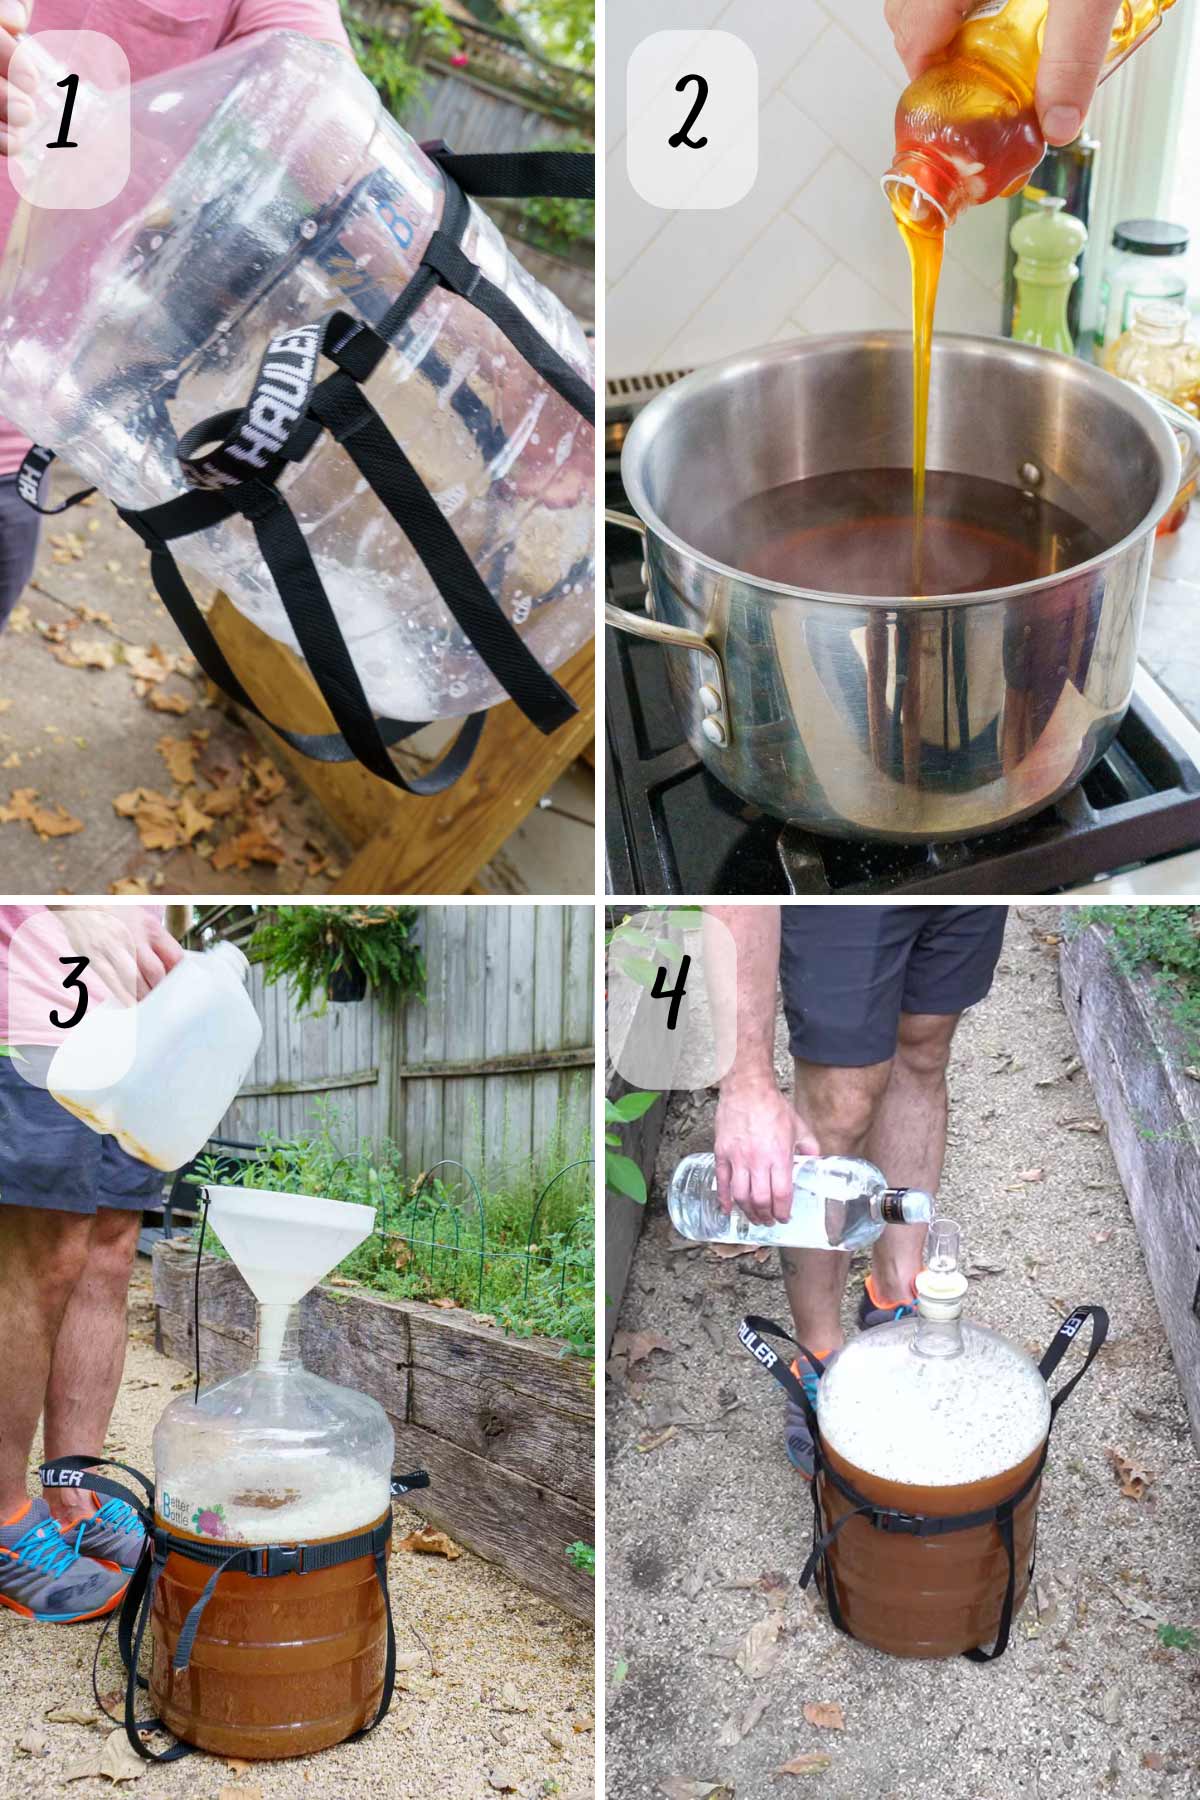
Mix and Pitch
- Pour the cooled cider and honey mixture into a 5-gallon carboy. Add the remaining 4 gallons of cider. Pour in the remaining cider-honey mixture. Next, add the yeast, and the Clarity Ferm to the carboy. Put your clean hand over the top and shake the carboy to aerate.
Primary Fermentation
- Place the bubbler into the topped on top of the carboy and fill it with vodka.
- Store in a dark place for the fermentation period at the recommended temperature of the yeast that you used, typically in the 65-70 degree range. We put ours in the basement.
Fermentation Time
- If using a champagne yeast fermentation time will be about 3 weeks. While this duration should be fine for most yeast types, check with the producer of the yeast if you are using an exotic strain.
- At the beginning of primary fermentation, the airlock will bubble every five to ten seconds, while at the end of primary fermentation, it will bubble a few times a minute.
Put your carboy on a table that has plenty of room around it, and don't disturb the mixture. During fermentation, suspended solids in the cider will fall to the bottom of the carboy. When you decant the cider for bottling or kegging you don't want to disturb the sediment in the bottom of the carboy.
Priming Sugar
- The final step of the cider-making process is to add the priming sugar and bottle. There are many options for the type of sugar you use, from maple to dextrose. I recommend table sugar to keep things simple.
- Use an online calculator to determine how much priming sugar you need. This sugar won't impact the amount of alcohol in the finished product but gives the yeast enough food to carbonate the cider.
🍾Bottling Options
The two bottling options are kegging and bottling.
Bottle Conditioning
Essentially, you add more sugar to the fermented cider, which still has active yeast. Carbon dioxide (CO2) is a byproduct of fermentation. When the cider is contained in the bottle there is nowhere for the CO2 to go, so it dissolves into the liquid, thus creating carbonation.
Carbonating cider comes down to your specific preference. Most commercial ciders are carbonated to around 1.8 - 2.0 volumes of CO2, much like an ale, but some prefer going up to 3.0 volumes, more like champagne.
For this process, you will need a bottling bucket, beer bottles (any size), fresh clean caps, a capper, and a siphon. Clean and sanitize bottles, bottling buckets, siphon, and caps using a contact sanitizer. I generally run the bottles through the dishwasher first.
Use a priming calculator to determine the exact amount of sweetener for your volume of cider and the temperature at which it will bottle condition. For this recipe, we will bottle condition to 2.0 volumes of CO2 at 70 degrees using table sugar which comes out to 3.2 ounces of sugar.
Use the siphon to transfer the cider without disturbing the sediment at the bottom of the carboy.
Heat 1 qt of water to a boil and dissolve the sugar into it. Allow to cool and thoroughly mix it into the cider.
Fill bottles leaving 1 inch of headspace on the top of the bottle. Cap the bottles using the fresh unused caps and capper. Store at room temperature, around 70 degrees, and out of sunlight for 2 to 3 weeks.
Kegging
While you create the carbonation in bottles by continuing the fermentation process, carbonation in kegs is done by way of the compressed CO2 that also aids in dispensing the cider from the keg. This is called force carbonating.
Similar to bottling, you can use a keg carbonation calculator to determine the volumes of CO2 that you want. For this recipe, we will assume 2.0 volumes of CO2.
Clean and sanitize keg and siphon using a contact sanitizer.
Use a brewing calculator to determine the exact amount of sweetener for your volume of cider and the temperature at which it will bottle condition. For this recipe, we will bottle condition to 2.0 volumes of CO2 at 70 degrees using table sugar.
Use the siphon to transfer the cider to the keg without disturbing the sediment at the bottom of the carboy. Close the keg and put in the kegerator at 36 degrees and attach it to CO2. Set CO2 to 5.0 psi. The cider should be carbonated in about a week.
👩🏻🍳Jen's Top Tip
Save back some of the prepared sanitizer in case you drop something during brewing. You can just drop it in the bucket and resanitize.
If you are interested in knowing the exact alcohol percentage of your cider, read up on initial and final specific gravity measurements of your cider. With this tried and true recipe, I never worry about it because I like the final product.
💭 Variations
Vegan Hard Cider
Substitute brown sugar at an equal quantity by weight for the honey.
Sweet Hard Cider
Instead, you need to back-sweeten the cider. Before you add the priming sugar taste the cider (it will be flat) and determine if it needs more sugar. If you add more sugar, it MUST be a non-fermentable sugar.
Brewers use maltodextrin (yes, it is gluten-free despite having the word "malt") most often but you can also use Stevia. Add 6 to 8 ounces of sugar and taste again.
Once you have the desired sweetness, move on to the priming sugar.
Some people add Campden tablets to stop the fermentation process early and create a sweet apple cider. But this does not work; it is a total myth! The amount required would severely alter the taste of the cider.
🍐Pear Hard Cider
While harder to find, pear cider or juice can be substituted at 1:1 ratio for the fresh apple juice. All comments regarding additional sugar and ingredients apply.
For a pear cider, I recommend using champagne or blanc de blanc yeast so as not to overwhelm the delicate flavor.

🌡️Storage and Safety
Bottled cider will be good for up to 12 months. Depending on the final product, even longer.
Kegged cider will last 90 days after tapping.
Safety Tips
- Don't skip the sanitizing of the equipment.
- Set calendar reminders to check the fermentation starting at 17 days.
- Use a carboy handle if using a glass carboy.
- Keep your bottles out of direct sunlight and away from heat sources
💬Frequently Asked Questions
How much alcohol is in homemade hard cider?
Homemade hard cider varies in alcohol content from 5% to 10% depending on the amount of sugar. Most recipes end up in the 6% range. Add image
Is hard cider gluten-free?
Most hard cider is gluten-free. To ensure your homebrew recipe is gluten-free either use certified gluten-free yeast or Clarity Ferm to remove any gluten that may be present.
Is cider brewed or fermented?
Ciders are never brewed and are always fermented.
How do I make homebrewed apple cider sweeter?
The three best ways to make hard apple cider sweeter are to use replace some of the apple juice with pear juice, use a cider-specific yeast instead of champagne yeast, or add a nonfermentable sugar at bottling. Adding more yeast-friendly sugar will simply give the yeast more food and increase the alcohol content.
What's the Difference Between Apple Cider and Apple Juice?
Both are made from fresh-pressed apples. However, apple juice is then filtered and undergoes a pasteurization process to extend its shelf life.
Did you enjoy making this recipe? Show it some love with ⭐⭐⭐⭐⭐ and leave a comment! Hungry for more FLAVORFUL recipes?
📖 Recipe Card
Hard Apple Cider (5 Gallon Recipe)
Ingredients
- 5 gallons unpasteurized preservative-free, apple cider divided
- 1 packet yeast recommend champagne yeast
- 16 ounces honey
- 1 vial Clarity Ferm optional to make gluten free
- 3.2 ounces granulated sugar quantity estimated
Instructions
- Sanitize all the brewing equipment before use. Use a food safe sanitizer and follow package directions.
- Heat one gallon of cider on low heat, add the honey and stir until it melts. Remove from heat and cool.5 gallons unpasteurized preservative-free, apple cider, 16 ounces honey
- Add the remaining cider to the 5 gallon carboy. Pour in the remaining cider- honey mixture. Add the yeast abd the Clarity Ferm. Put your hand over the top and shake carboy to aerate.5 gallons unpasteurized preservative-free, apple cider, 1 vial Clarity Ferm, 1 packet yeast
- Put your bubbler on top and fill with vodka. Store at 65 degrees for the fermentation period. If using a champagne yeast fermentation time will be about 3 weeks.
- See post for kegging instructions. To bottle, use the siphon to transfer the cider without disturbing the sediment at the bottom of the carboy. Calculate the amount of sugar needed. Heat 1 qt of water to a boil and dissolve the sugar into it. Allow to cool and thoroughly mix it into the cider. Fill bottles leaving 1 inch of headspace on the top of the bottle. Cap the bottles using the fresh unused caps and capper. Store for 2 to 3 weeks.3.2 ounces granulated sugar
Video
Notes
Equipment
- Siphon 3 to 6 feet of ⅜" food-grade plastic tubing
Mac says
Really nice, dry, cider. Fantastic!
John says
Hi, I'm interested in making this cider. Do you have a rough estimation of the strength that it came out at?
Jen Wooster says
We don't typically test it because we always use the same general recipe. It comes out between 5.8 and 6%.
If you want to test yours: https://www.thekitchn.com/how-to-check-and-control-alcohol-levels-the-kitchns-beer-school-2015-217260