


You don't need to be a French pastry chef to pull this off! My easy gluten-free tart crust recipe is crisp, lightly sweet, and perfectly golden. Follow my detailed instructions, and in a few simple steps, you'll have a golden, gluten-free base for your tarts.
WANT TO SAVE THIS RECIPE?
This post may include affiliate links. Please read my disclosure policy.
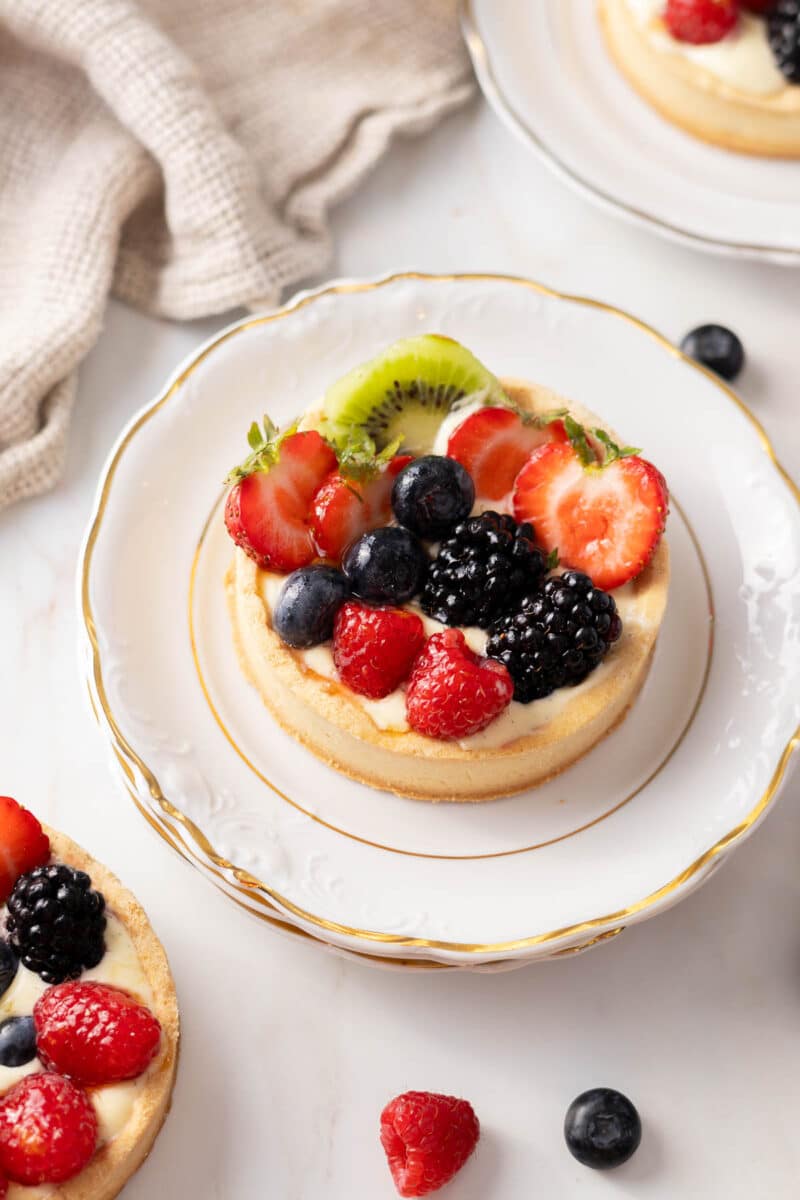
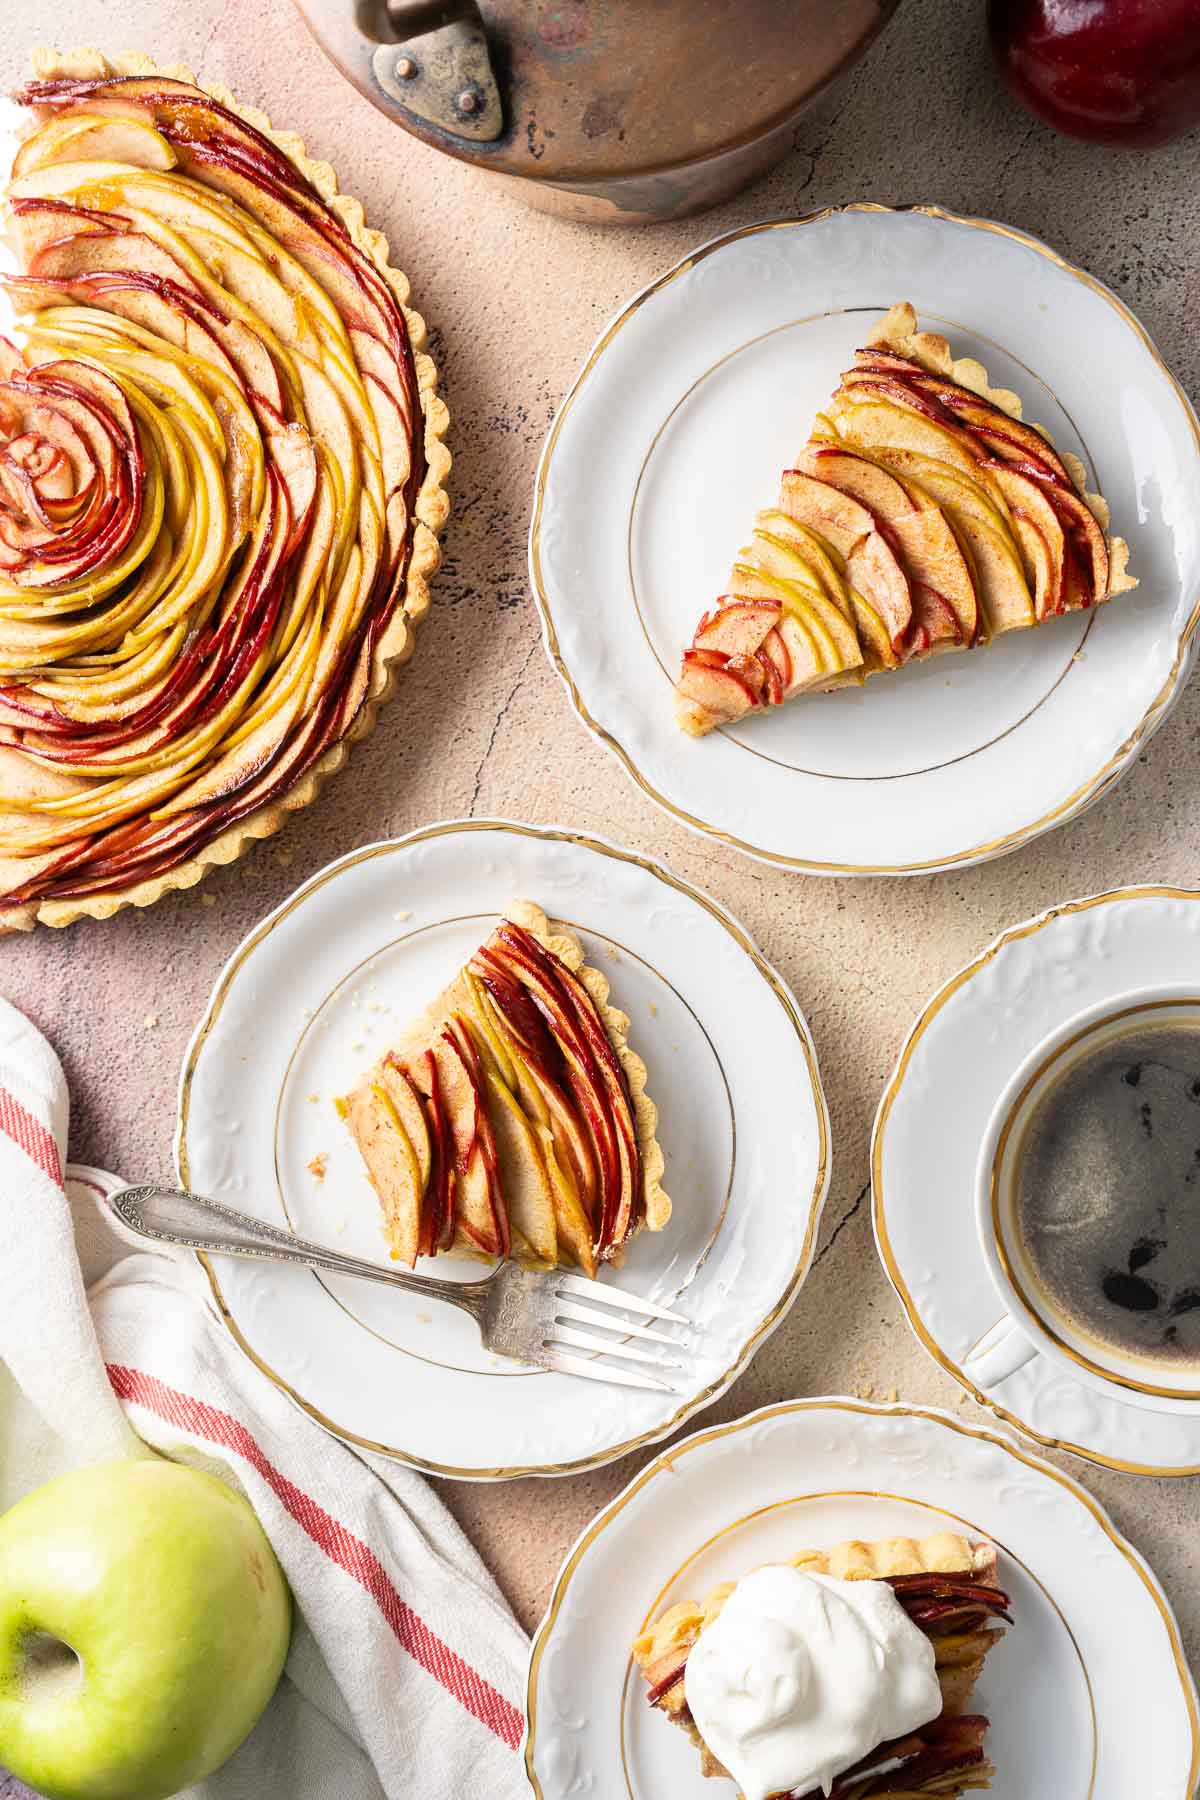
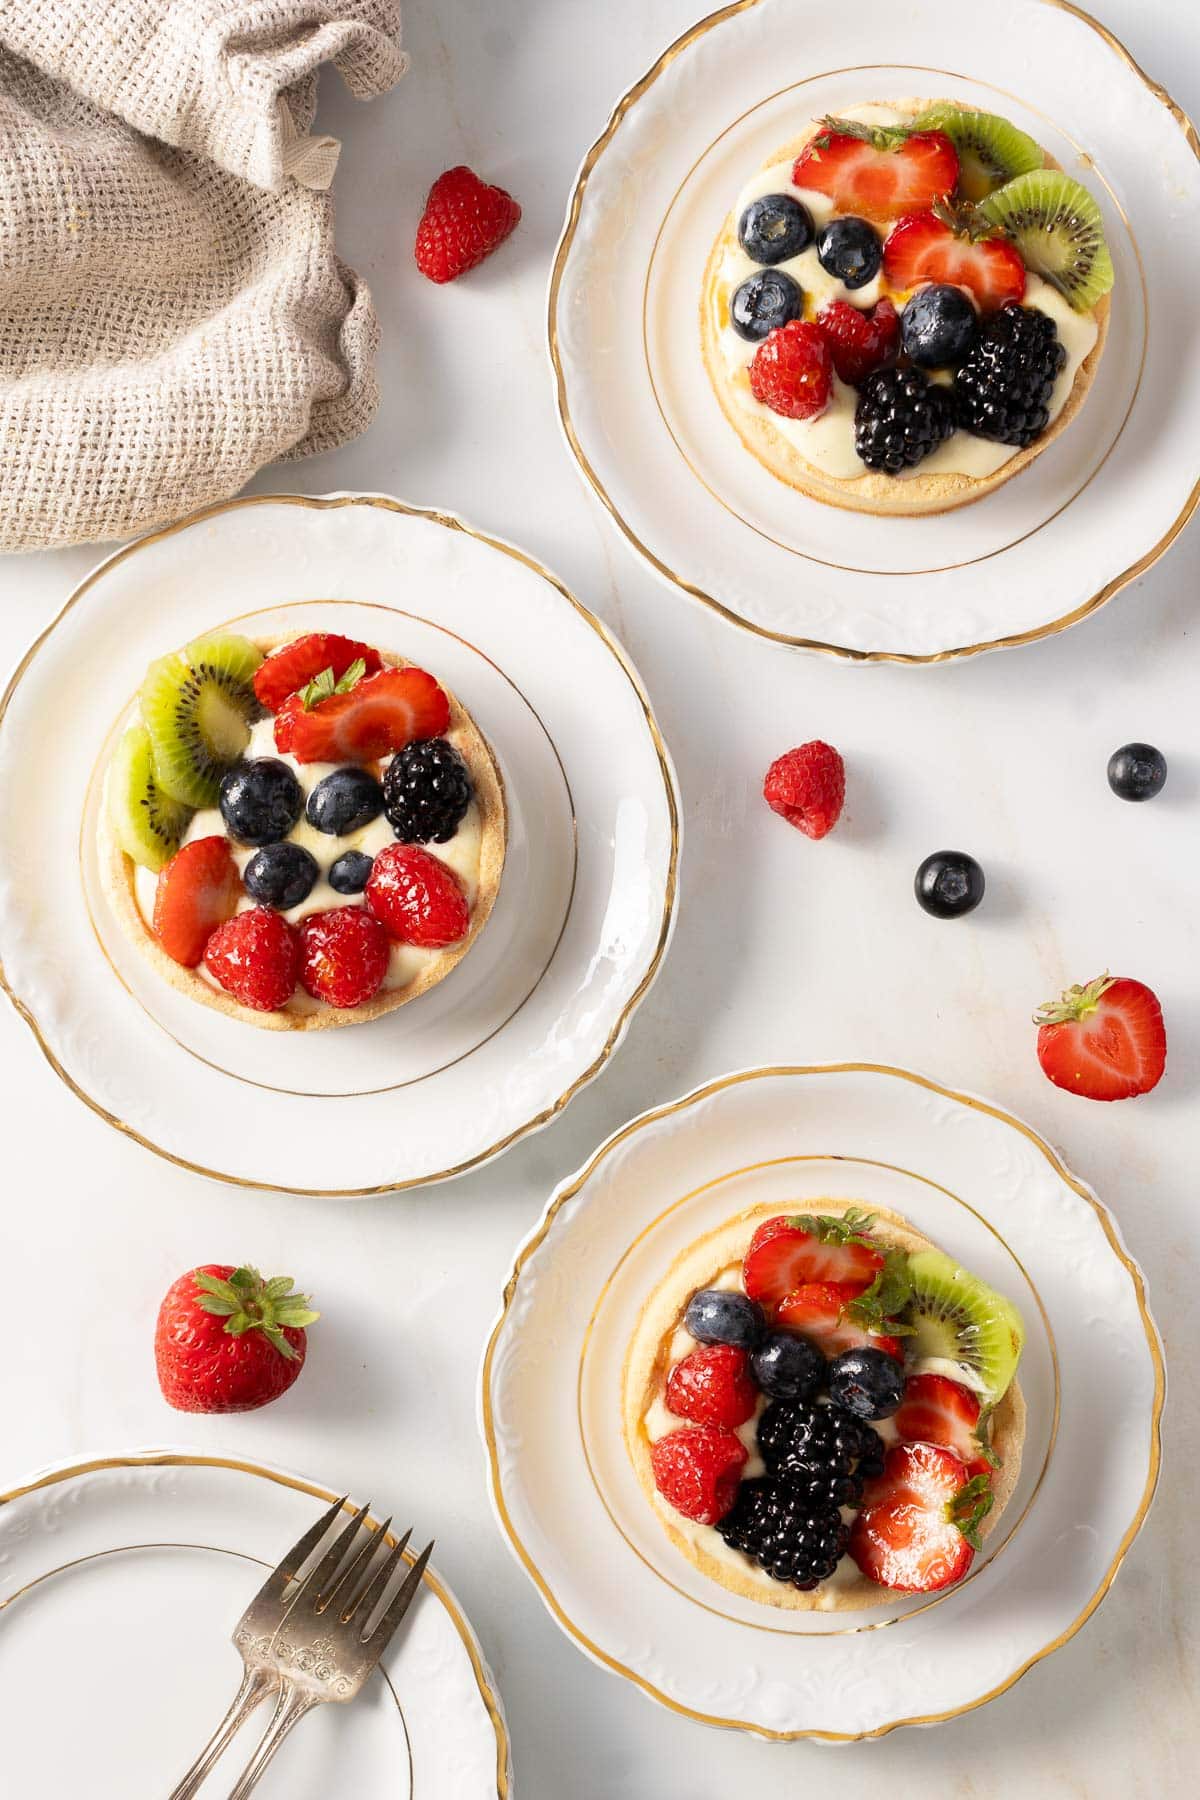
I use this recipe for the base of my gluten-free apple tart and my delightful custard-filled gluten-free fruit tarts. But you can use it to replace the crust in your favorite tart recipe.
While I love my flaky gluten-free pie crust recipe, this recipe is much easier to make. I find that it is more forgiving.
Jump to:
📖Why My Recipe Works
- Almond Flour AND GF 1:1 Flour- Normally almond flour is used in pastry to inhibit gluten formation but I use it to achieve that perfect flakey pastry tart shell texture.
- Sablée vs Sucrée- My recipe is a Pâte Sablée meaning you cut the butter in to get a sandy texture. I find this works better with GF flour than creaming the butter in the sucrée style crust.
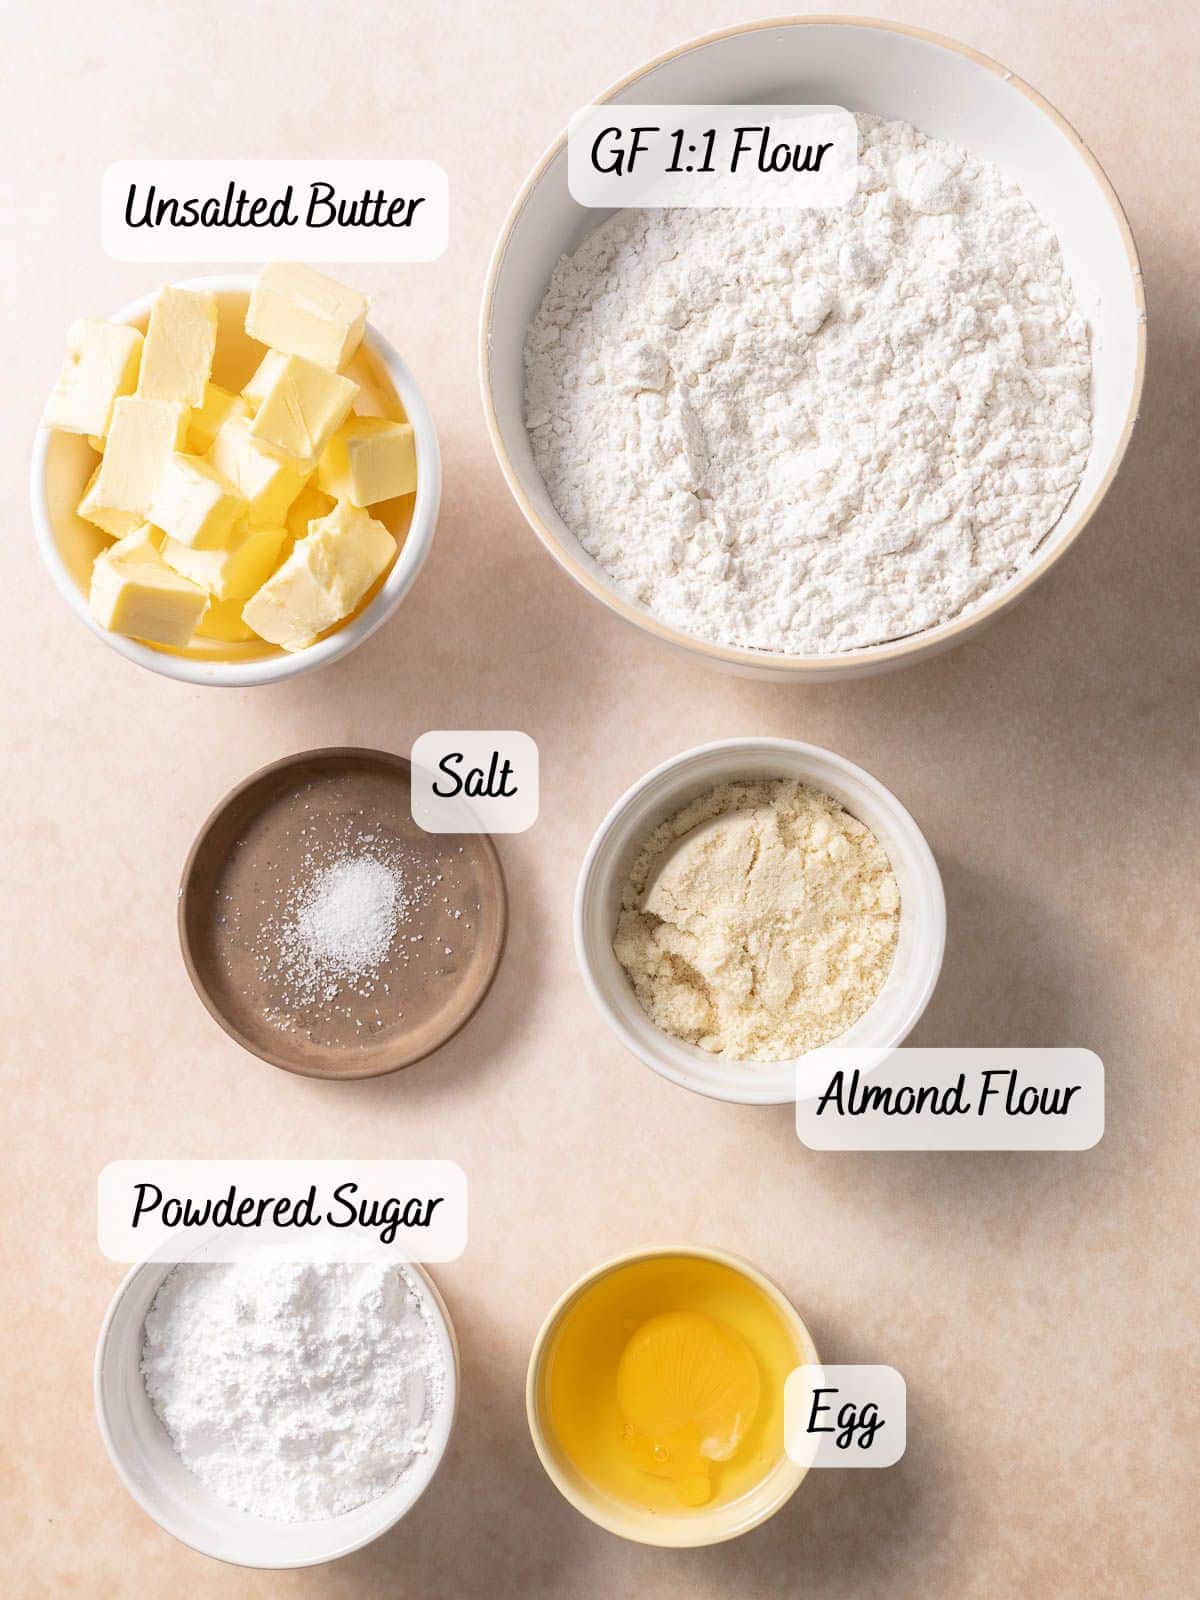
🧾Ingredient Notes
- Gluten-Free Flour- I tested this recipe with my homemade gluten-free flour blend and Bob's Red Mill 1-to-1 flour. But it should with any 1:1 all-purpose flour.
- Powdered Sugar- Nothing fancy here.
- Almond Flour- Use fine almond flour, not coarse almond meal.
- Kosher Salt- Skip if you use salted butter.
- Unsalted Butter- See note above.
- Large Egg- I didn't weigh the egg because most people just want to use the full egg.
💭 Dairy-Free Tart Crust Variation
An easy peasy substitute, just use your favorite vegan butter!
⏲️How to Make Gluten-Free Tart Dough
This recipe can be made with a stand mixer or a food processor. Personally, I find the food processor method easier and produces more consistent results. Either way, the process is the same.
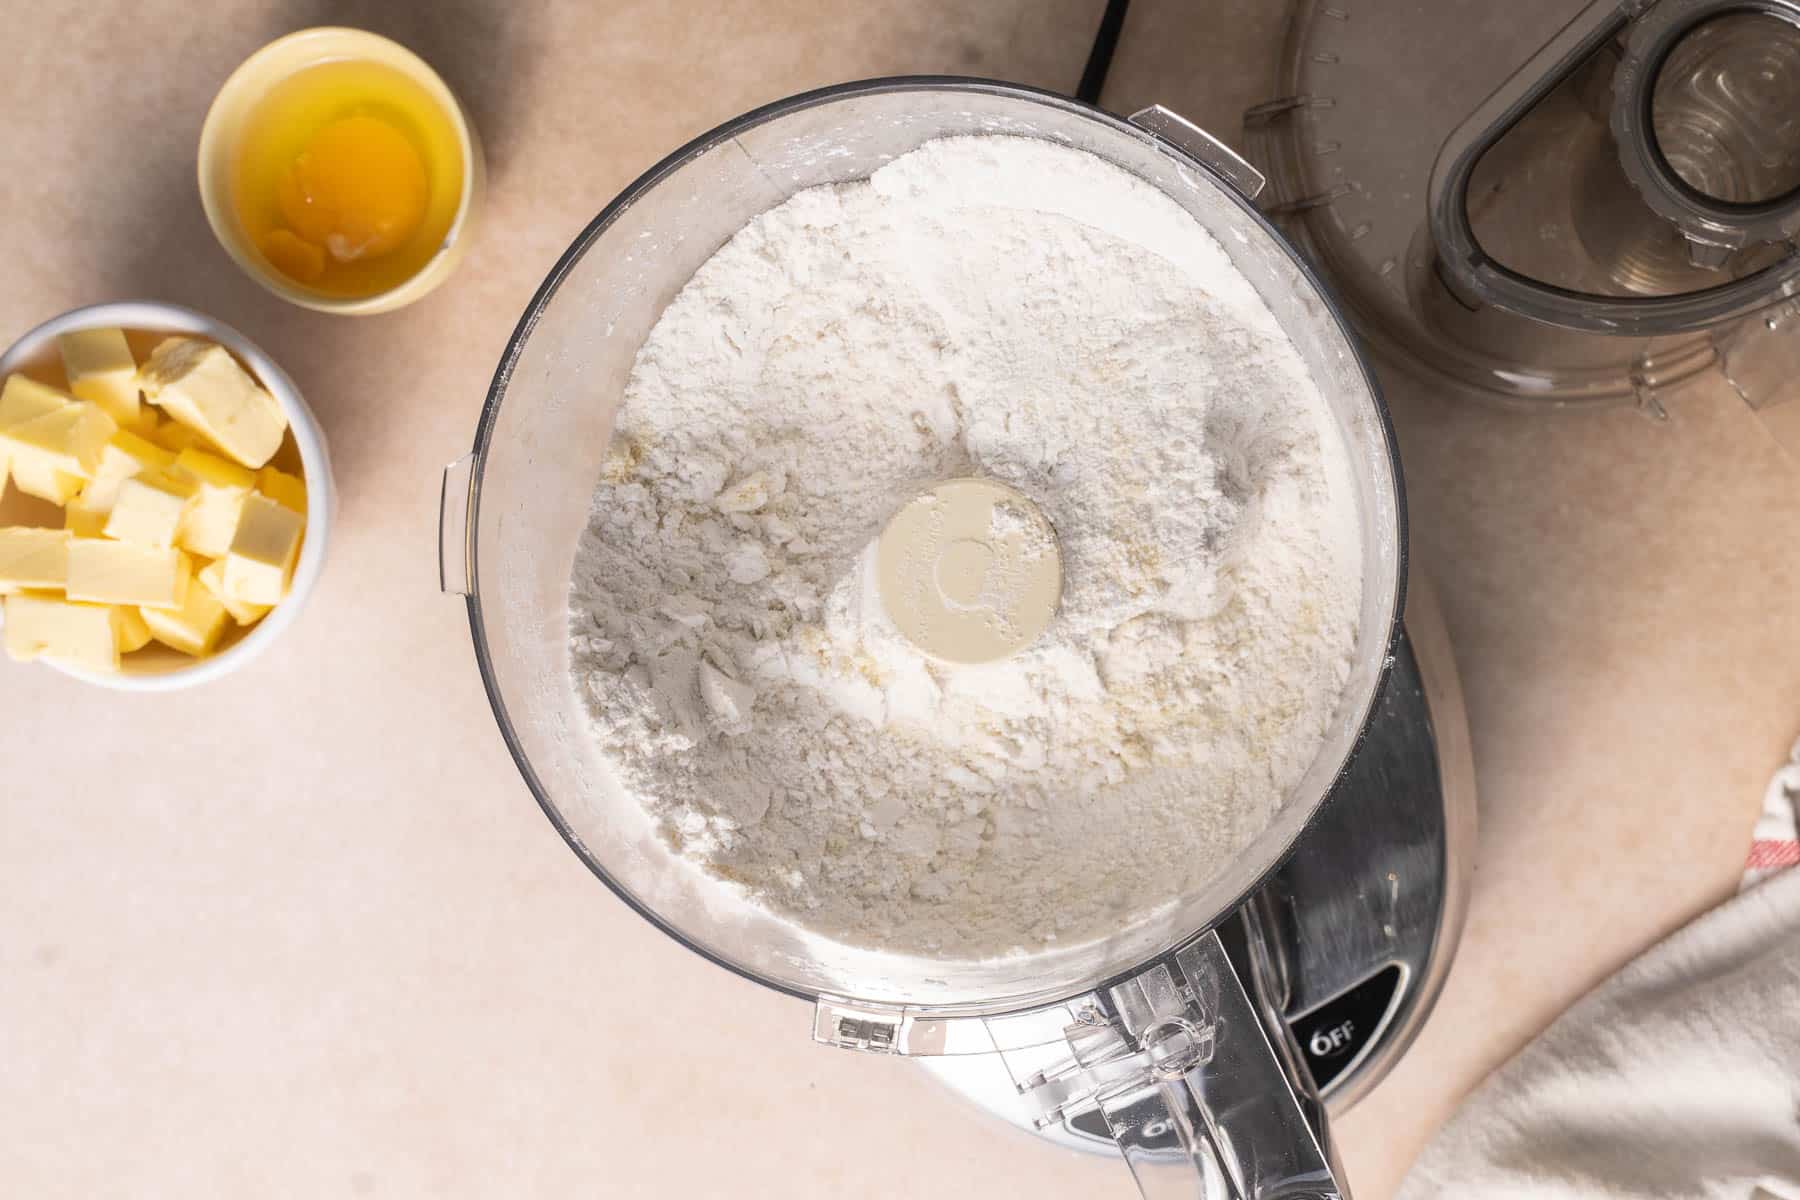
- Mix all the dry ingredients until well incorporated. Just a few pulses do the trick.

- Next add your cold butter, cut into cubes. When you make a gluten-free pie crust, you want pea-sized pieces of butter. Here we want it much more blended.
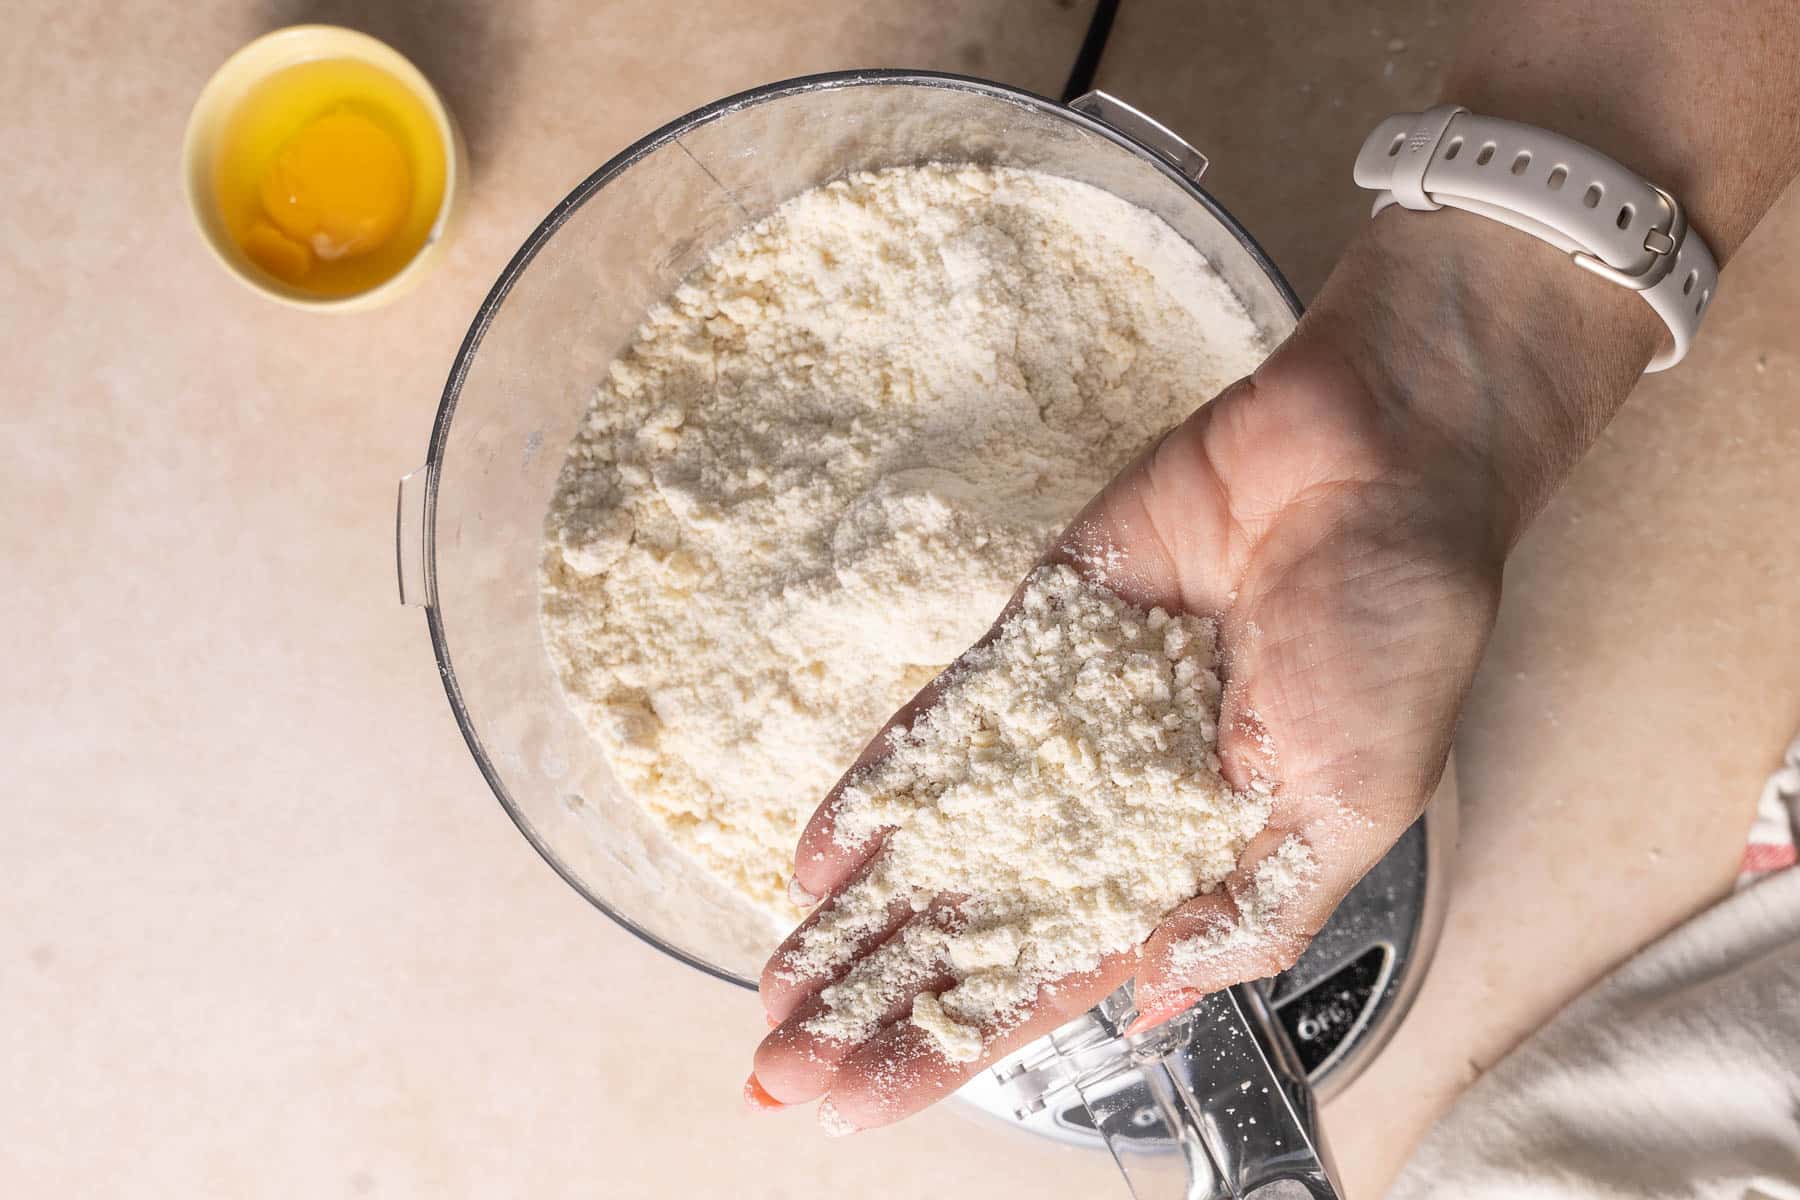
- The butter and flour mixture should look like sand and easily crumble in your hand.
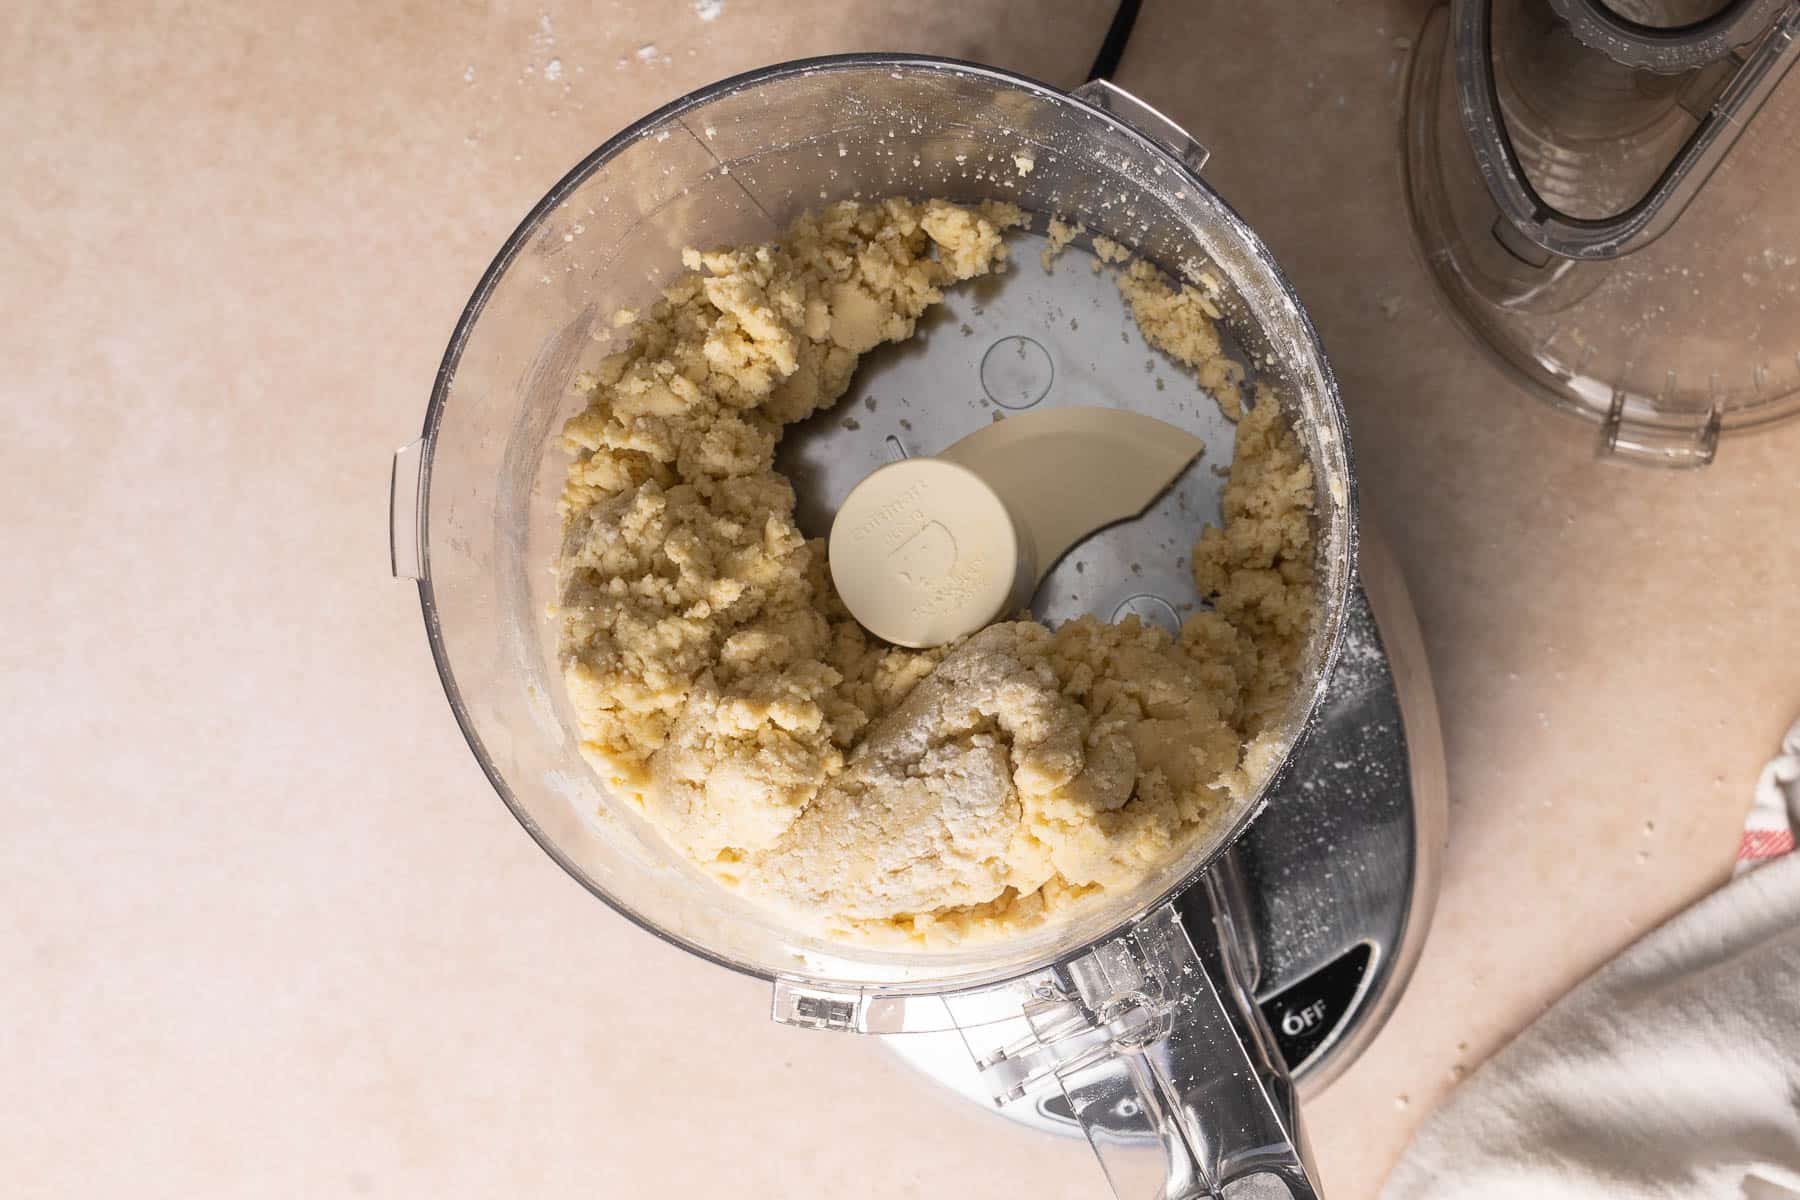
- Next add one egg and let the machine run until the dough comes together.
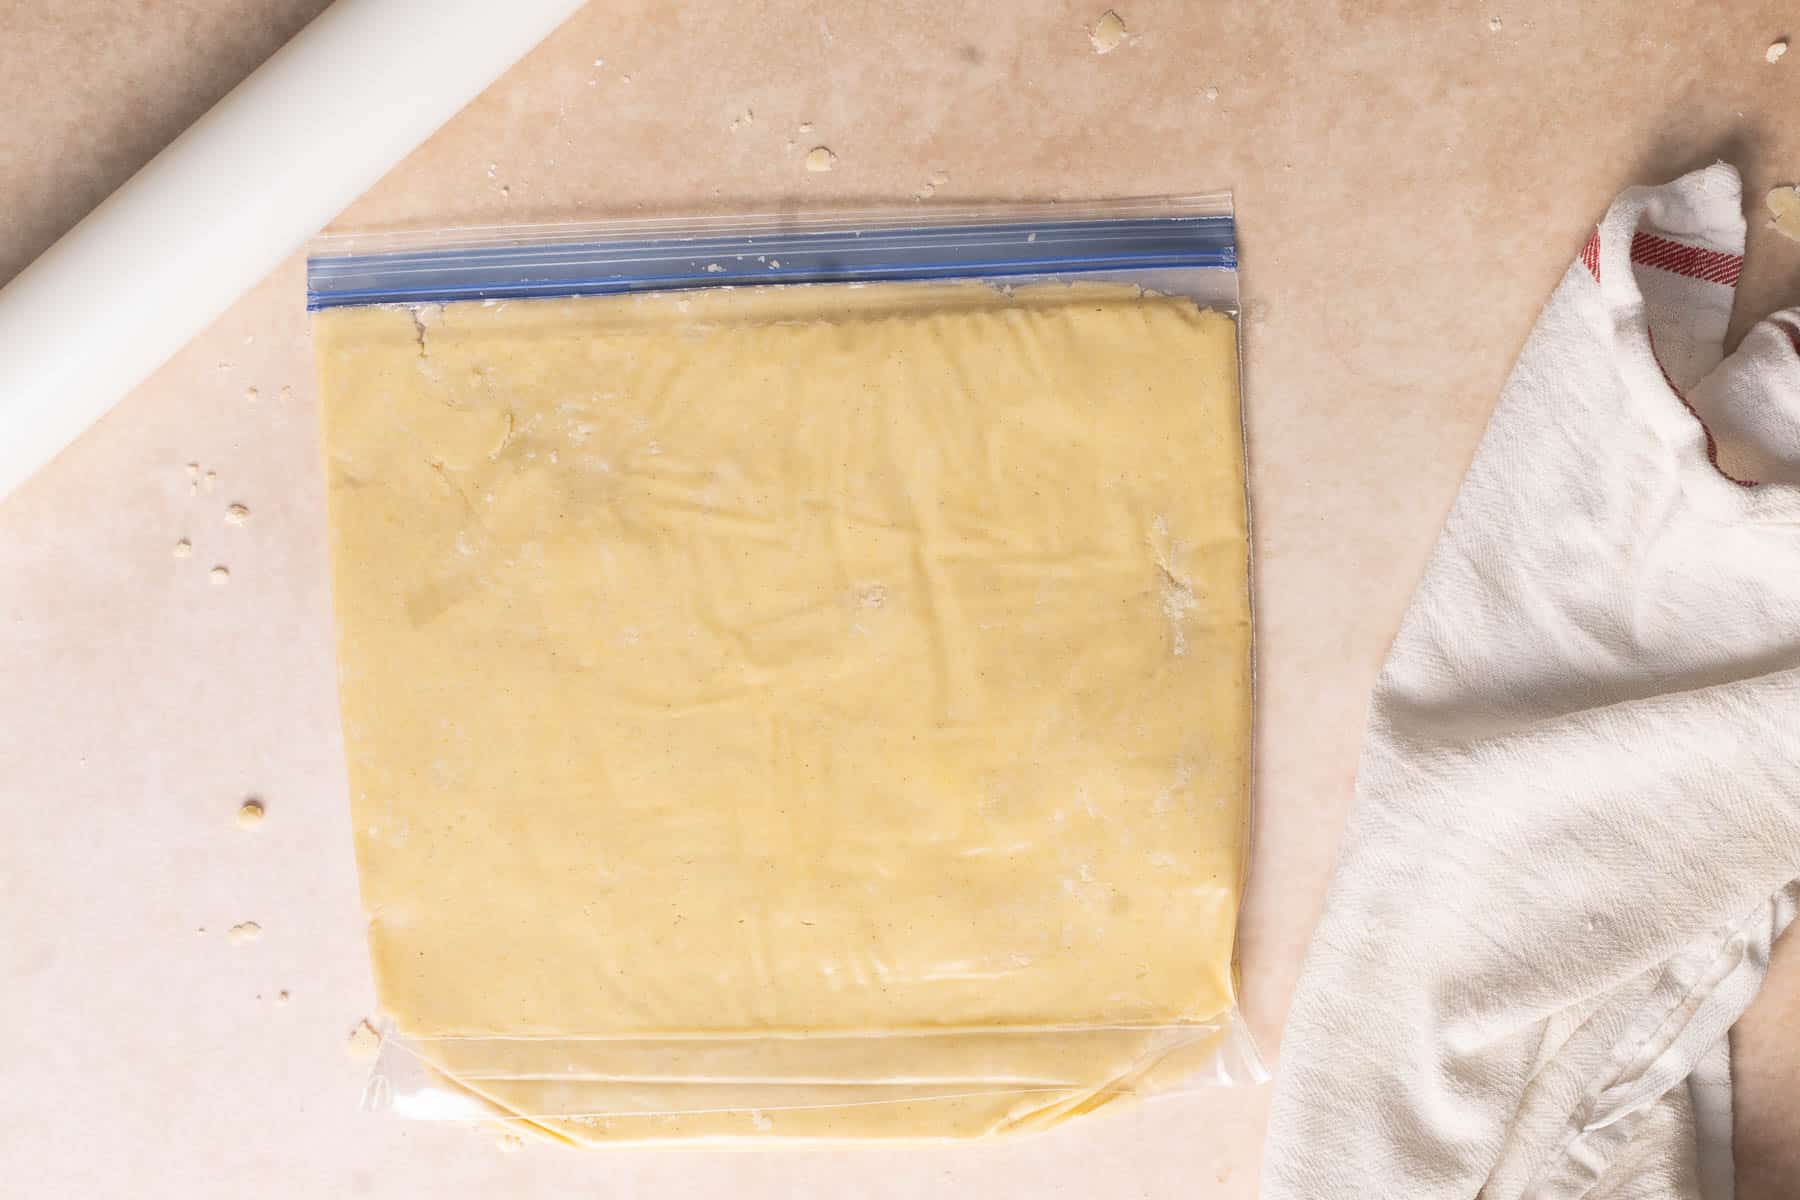
- Before rolling the dough, you have to chill it. You can absolutely let it sit overnight. Wrap it tightly in plastic or flatten it in a plastic bag like the picture above.

- You can sprinkle flour on the counter and roll out, but I prefer to roll out with a piece of parchment on top.
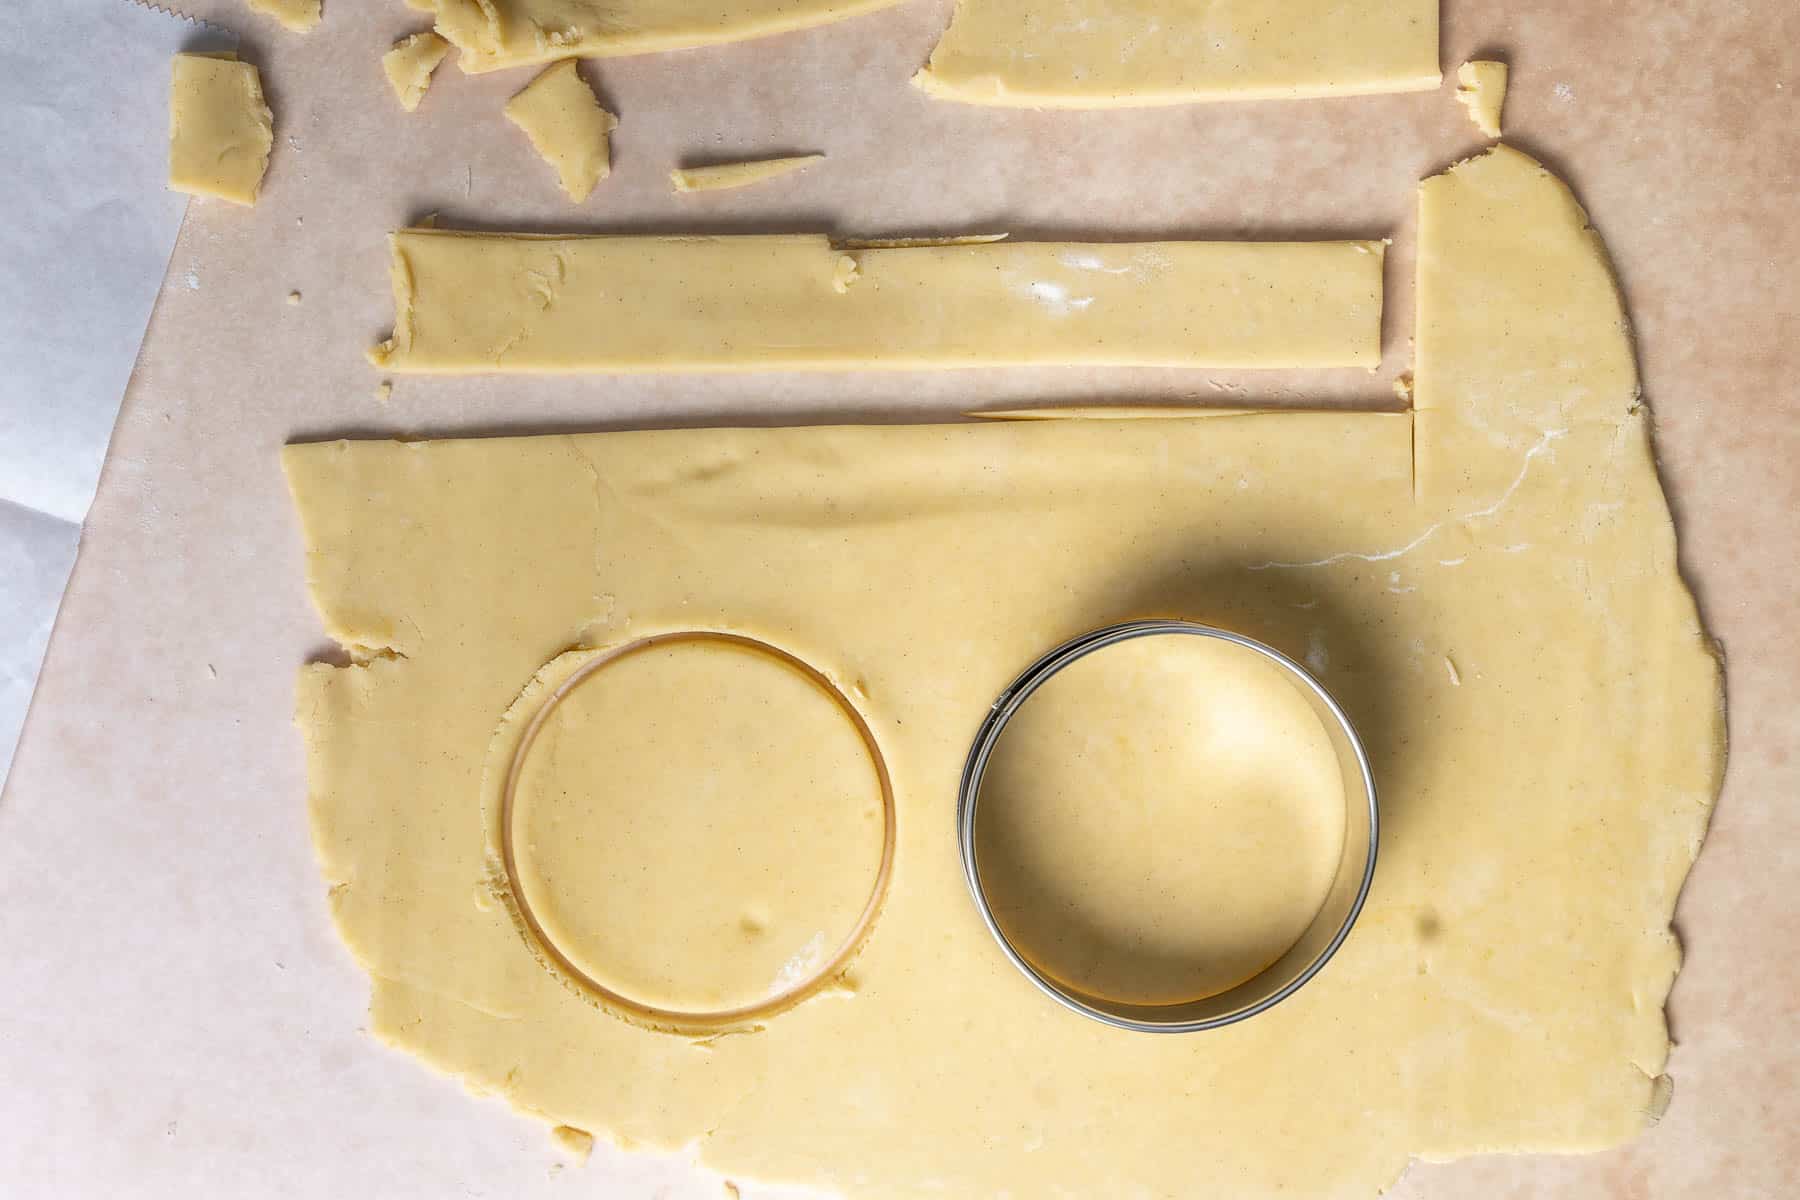
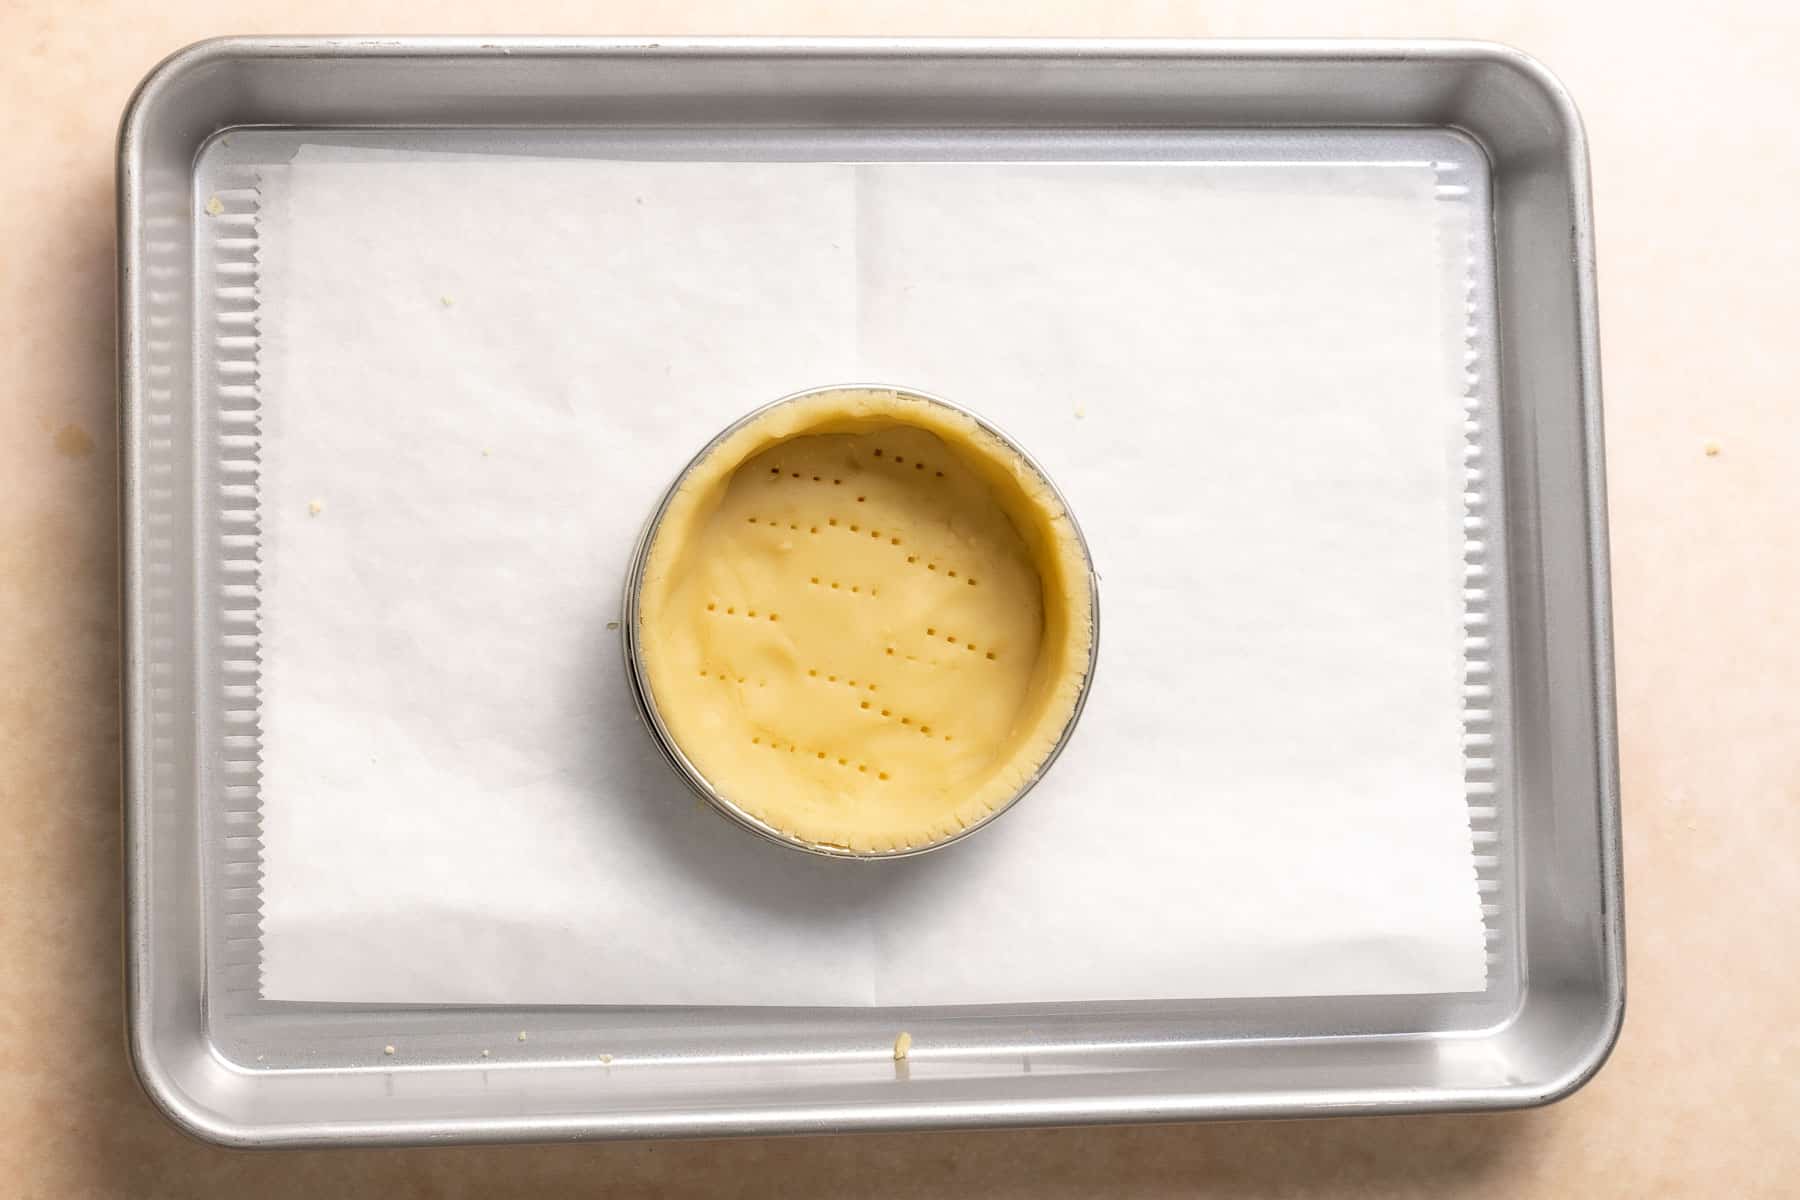
- To make mini tarts, trace out the bottom of the tart rings. Then cut strips for the sides. Add the bottom to the rings first before adding the sides. Press the sides to the bottom and to each other before trimming the top of the ring.

- For larger tart pans, roll out the dough slighly larger than the tart pan and carefully move to the pan. Press the crust down gently, patching any holes as needed. Then trim off the excess.
How to Bake a Gluten-Free Tart Shell
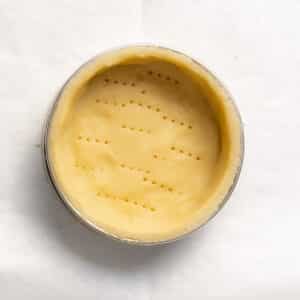
Always chill the dough before baking. Regardless of the recipe and type of pan used you need to dock the dough, meaning pierce the bottom of the shell with a fork before baking.
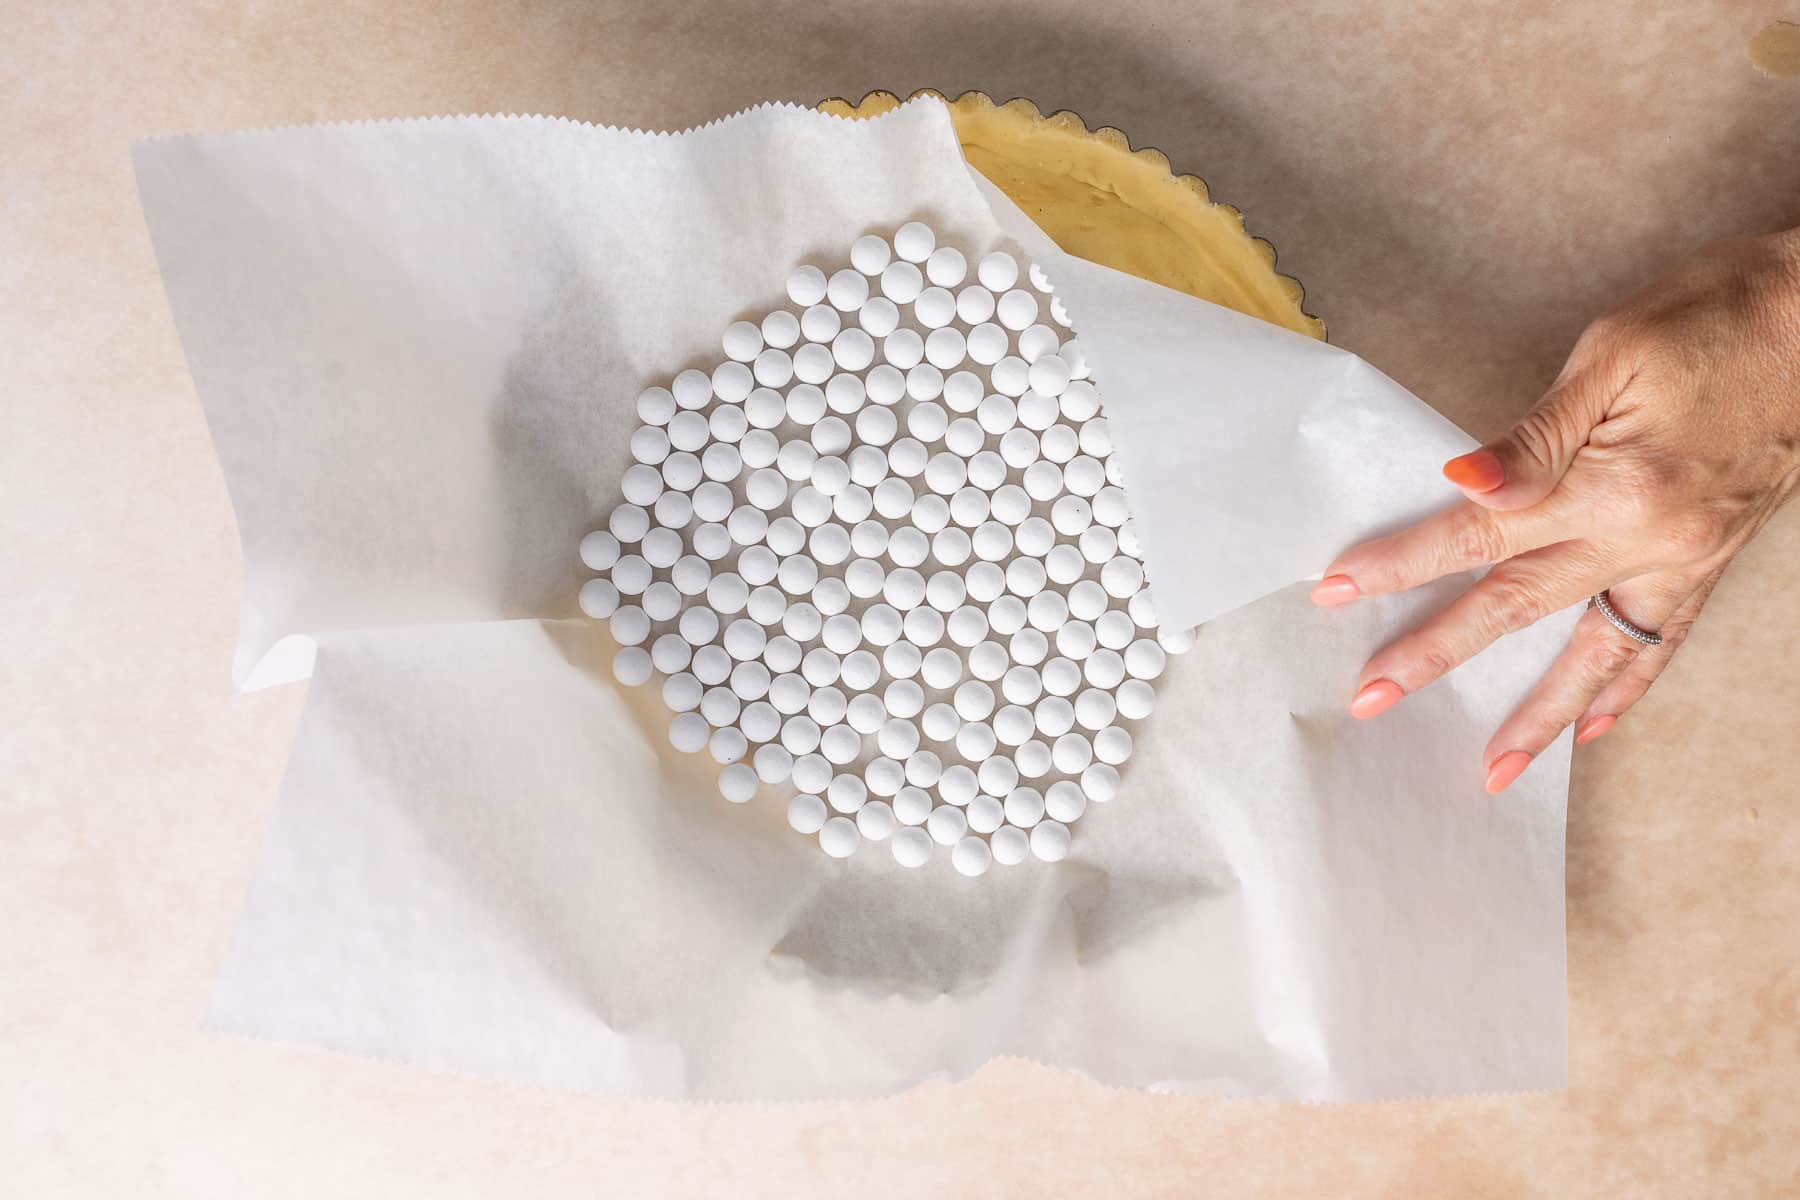
You must fully bake or blind-bake the crust with pie weights to prevent the bottom from puffing up. I don't care what the recipe you are using says, always blind bake gluten-free tart dough to prevent a soggy bottom and get the best final result.
Mini tart pans shold be places on a parchment paper line baking sheet. Then line with parchment with your pie weights.
When blind baking, you need to bake the tart for at least 10 minutes. Cool slightly before adding any fillings.
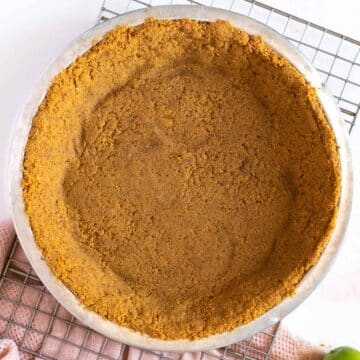
To fully bake your crust bake for 20 to 30 minutes until golden brown. The time will depend on the pan size. Let the baked shells fully cool before adding your tart filling or removing it from the pan.
👩🏻🍳Jen's Testing Notes
- Using a kitchen scale to weigh your ingredients is best, but I have included volume measurements if that is easier for you.
- If the dough cracks as you roll it, just patch it up with a little extra dough. It is so much more forgiving than pie crust.
- Roll the dough between two sheets of parchment paper to avoid sticking and reduce the need for extra flour.
- If the dough softens too much while rolling, you can put it in the freezer for a few minutes.
- Chill the dough thoroughly after mixing AND before baking.
- Use rice or dried beans if you don't have pie weights.
More Gluten-Free Recipes

🌡️How to Store Dough and Baked Shells
This is an easy recipe but with the chilling and making the filling, I always make my tart shells in advance. They hold up much better than most gluten-free baked goods.
How to Store and Freeze Dough
Store the dough in the refrigerator for up to 3 days.
For longer storage, freeze the dough for up to 3 months. Be sure to place the plastic in a freezer-safe bag or double wrap it. Thaw in the refrigerator overnight before using.
Baked Tart Shells
Allow the baked shells to cool completely before storing to prevent sogginess. Store in an airtight container or ziptop plastic bag for up to 3 days. I don't recommend freezing the fully baked tarts.
Did you enjoy making this recipe? Show it some love with ⭐⭐⭐⭐⭐ and leave a comment! Hungry for more FLAVORFUL recipes?
📖 Recipe Card
Gluten-Free Tart Crust (Pâte Sablée)
Ingredients
- 270 gram gluten free flour blend about 2 cups less 2 tablespoons
- 30 gram powdered sugar ⅔ cup
- 30 gram fine almond flour ⅓ cup
- ⅛ teaspoon kosher salt
- 126 gram unsalted butter 9 tablespoons
- 1 large egg
Instructions
- Add flour, powdered sugar, almond flour, and salt to a food processor (you can also this in a stand mixer or by hand but it takes longer). Pulse a few times to mix.270 gram gluten free flour blend, 30 gram powdered sugar, 30 gram fine almond flour, ⅛ teaspoon kosher salt
- Add the cold butter cubes. Process until the mixture looks sandy. Add the egg and process until the dough comes together.126 gram unsalted butter
- Wrap the dough in plastic wrap. Press it into a flat shape (once in the wrap). Chill it in the refrigerator for 2 hours.1 large egg
- Dust flour on your working surface, place the dough disc down and cover with a piece of parchment. If the dough isn't soft enough to roll rest at room temperature for 5 minutes.
- Roll from the middle up and then the middle down. Turn it at 90 degrees and repeat the rolling process until is ¼ inch thick.
- Cut the dough as needed into pieces to fit over your tart pan. Roll the dough onto a rolling pin and place it on top of the pan. Gently press it in and trim the excess dough.
- Dock the bottom with a fork. Chill for 30 minutes.
- Bake at 350 for 10 minute to 25 minutes depending on the size of your tarts. The tart shell is done with it is golden brown.
Video
Notes
Equipment
- tart pan with a removable bottom
- pie weights
Beth says
So much easier than making a pie crust