
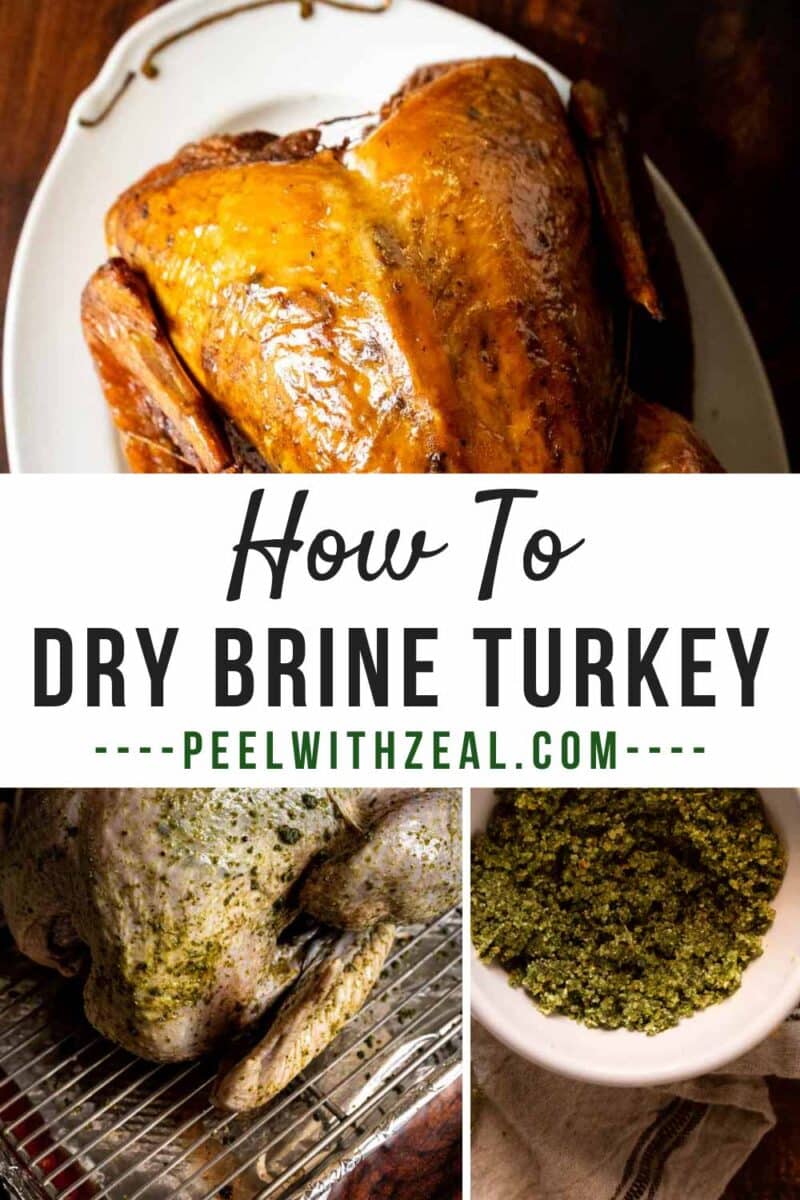
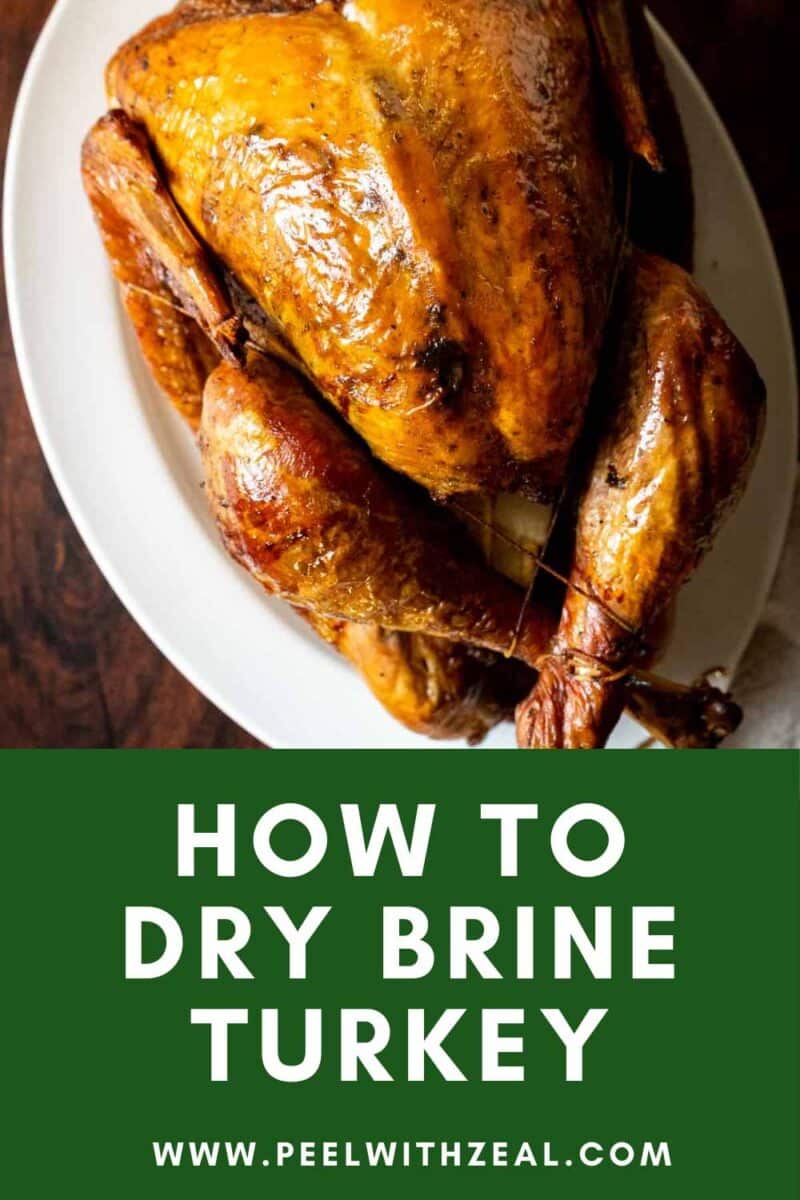
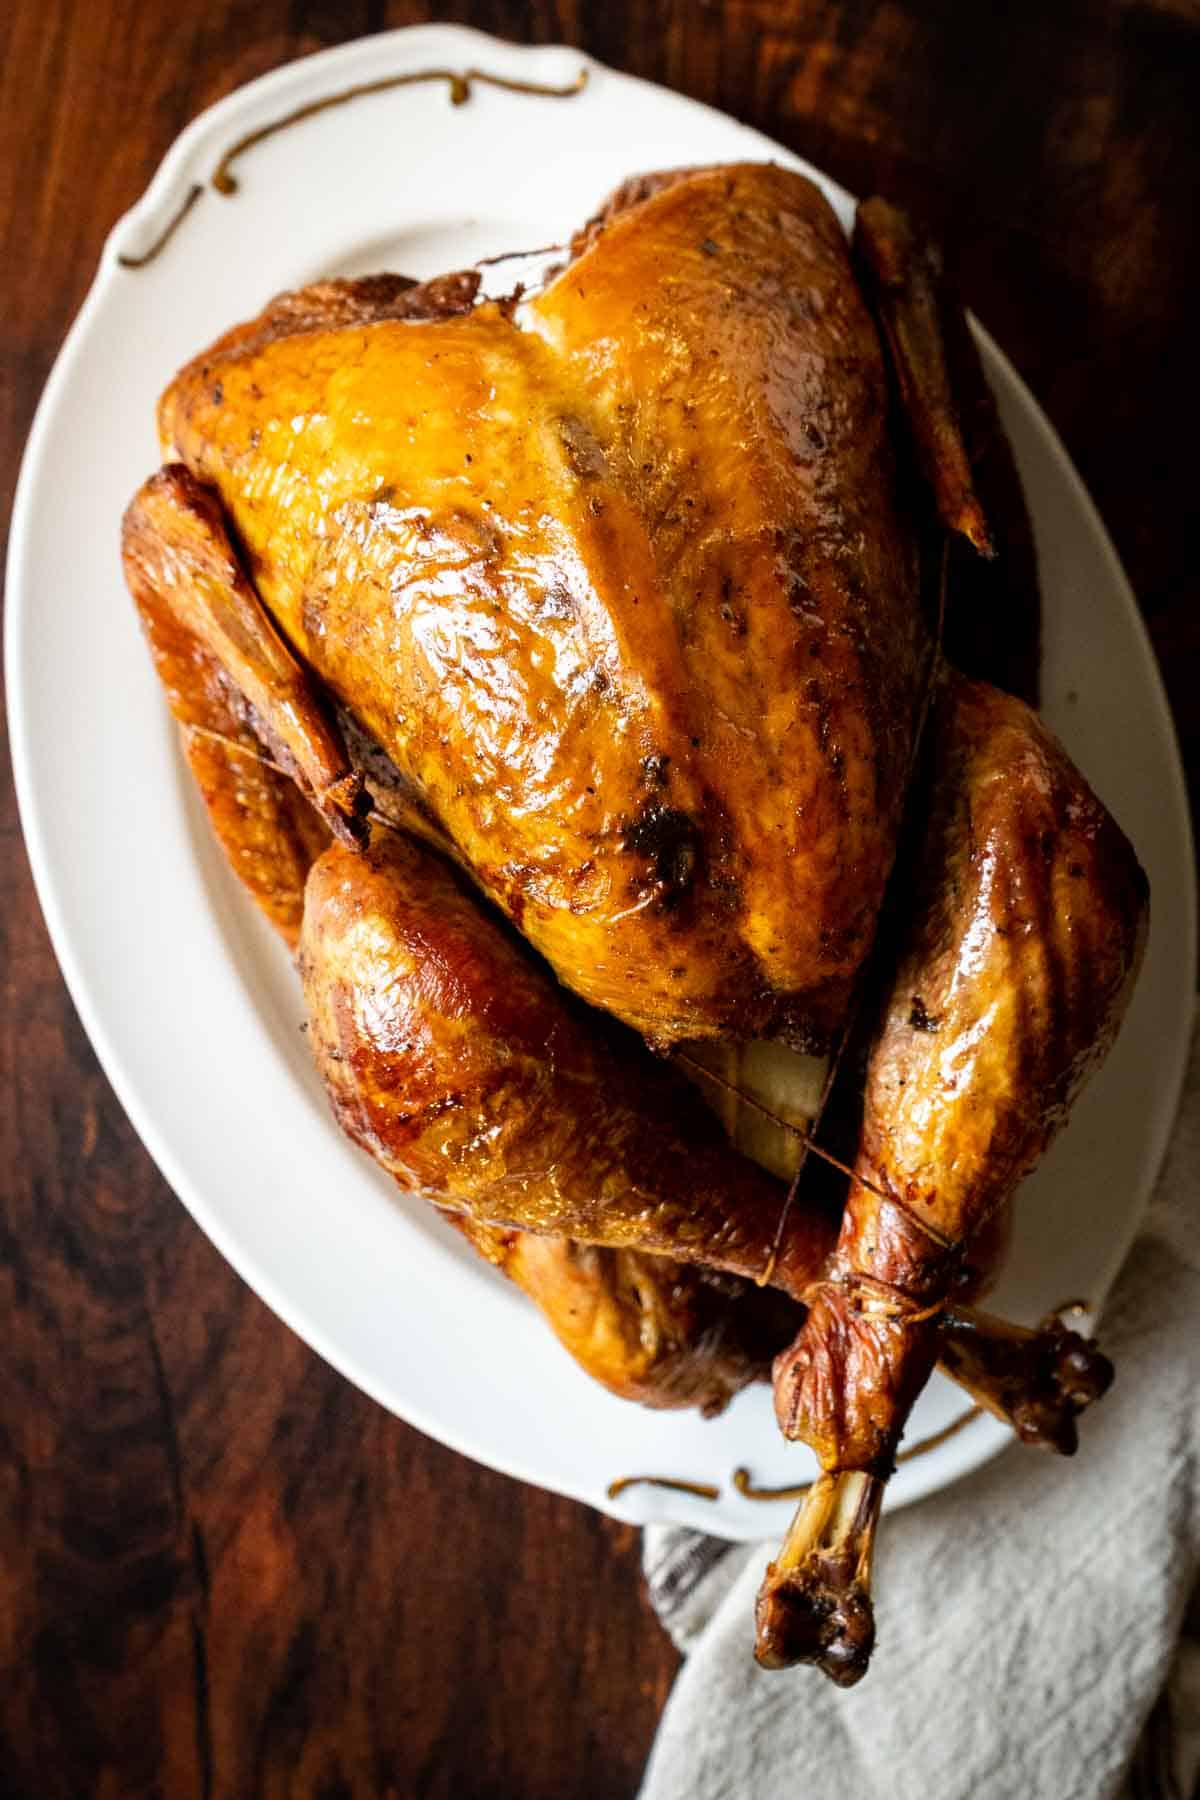
A complete guide to dry brining turkey for the best texture and flavor. Your holiday roast turkey never tasted this good! Follow my step-by-step guide to the dry brine method to ensure a juicy turkey with extra crispy skin that is golden brown perfection. Unlike with a wet brine, you can dry brine a partially frozen turkey. But a defrosted turkey is better.
WANT TO SAVE THIS RECIPE?
This post may include affiliate links. Please read my disclosure policy.
Jump to:
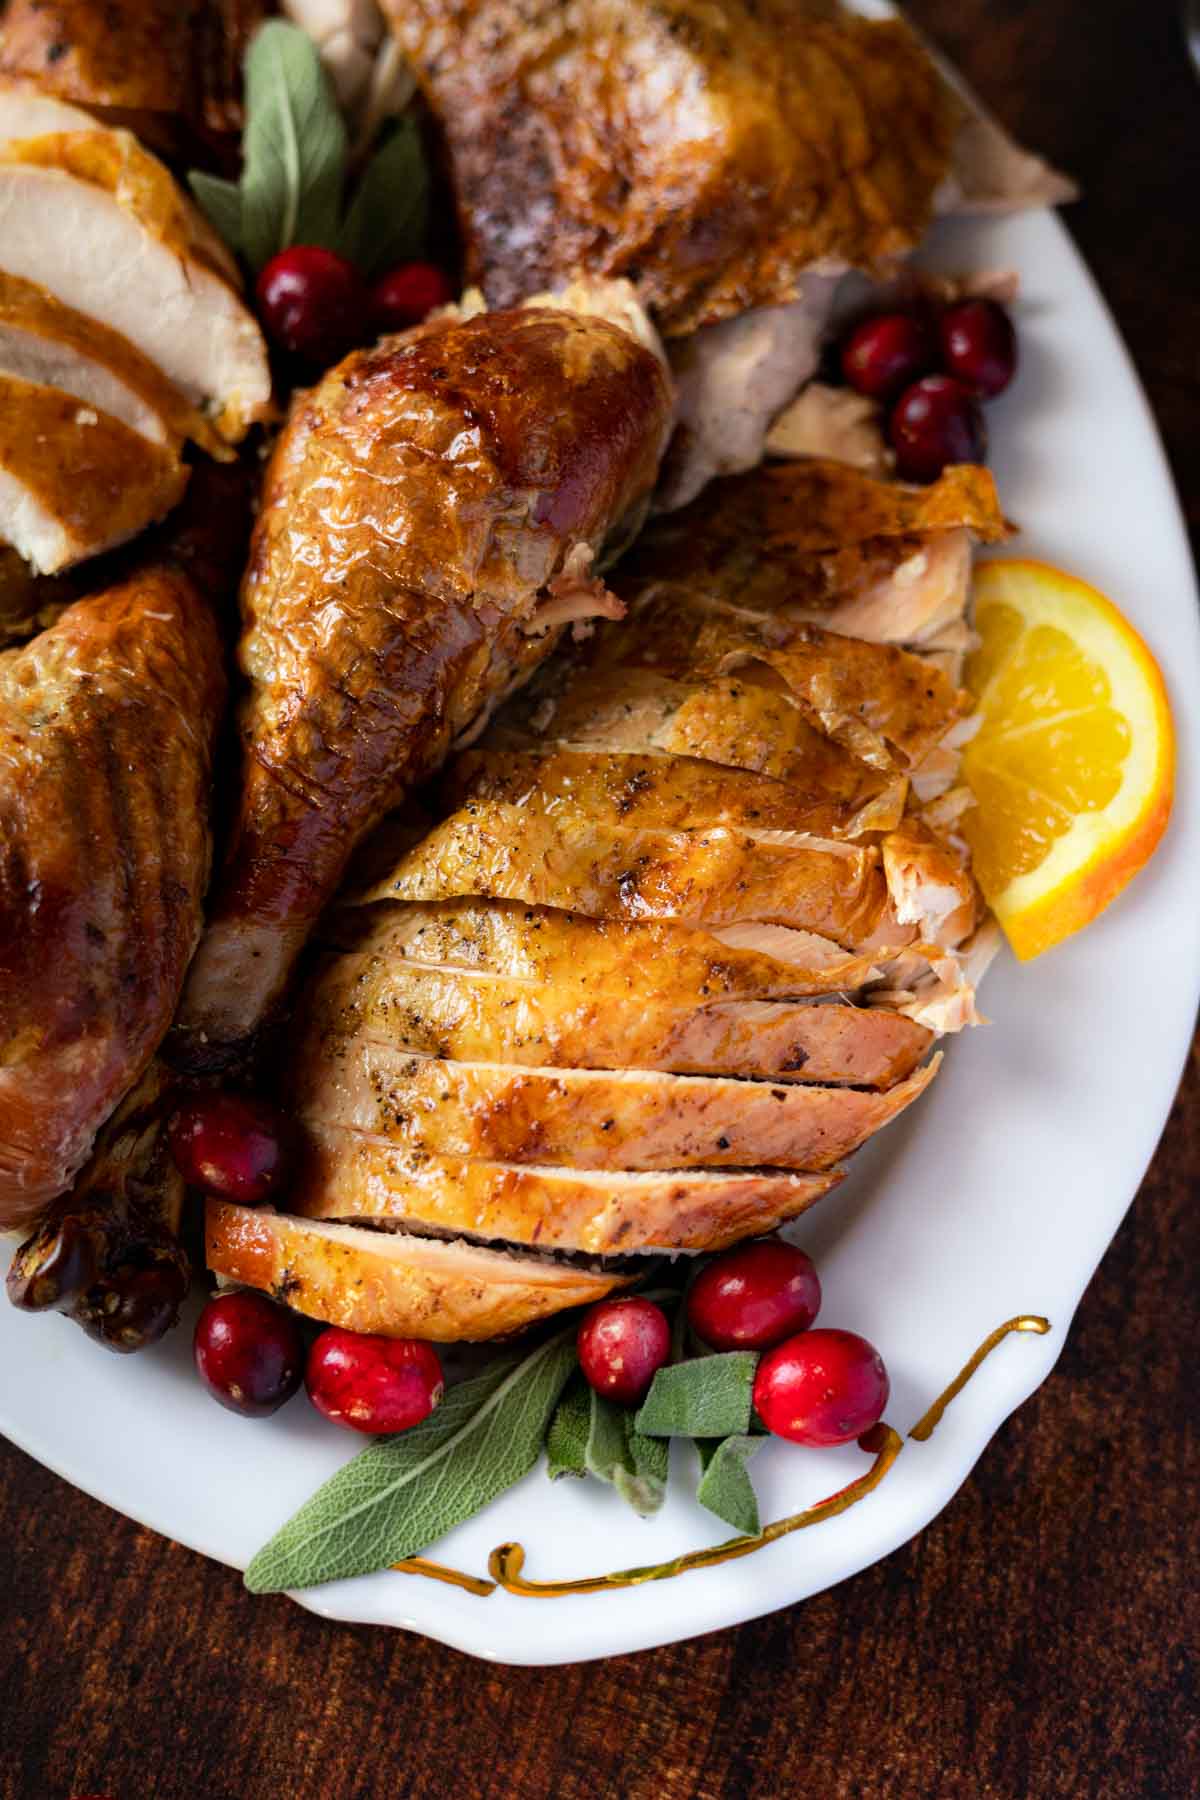
Nothing is worse than carving into the turkey you spent days preparing only for it to be dry and flavorless. Banish dry turkey!
This dry brine comes together in a matter of minutes and will take your Thanksgiving turkey to the next level. Dry brine once and you'll never go back.
If you haven't yet selected a turkey check out my Thanksgiving turkey-buying guide. Be sure you know how to properly (safely) defrost a turkey, and how long thawed turkey can be stored before you roast it.
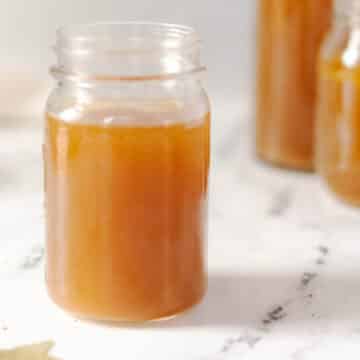
Also don't forget to save the turkey carcass to make turkey broth to freeze for your next holiday dinner.
Wet Brine vs Dry Brine
Brine is a bit of culinary wizardry where you use salt to break down the muscle proteins in the turkey so that the meat can absorb moisture. There are two brine methods.
Wet Method
The wet method submerges the turkey in a brine solution of cold water, salt, sugar, and herbs. The saltwater solution plumps the meat and infuses it with flavor.
Dry Method
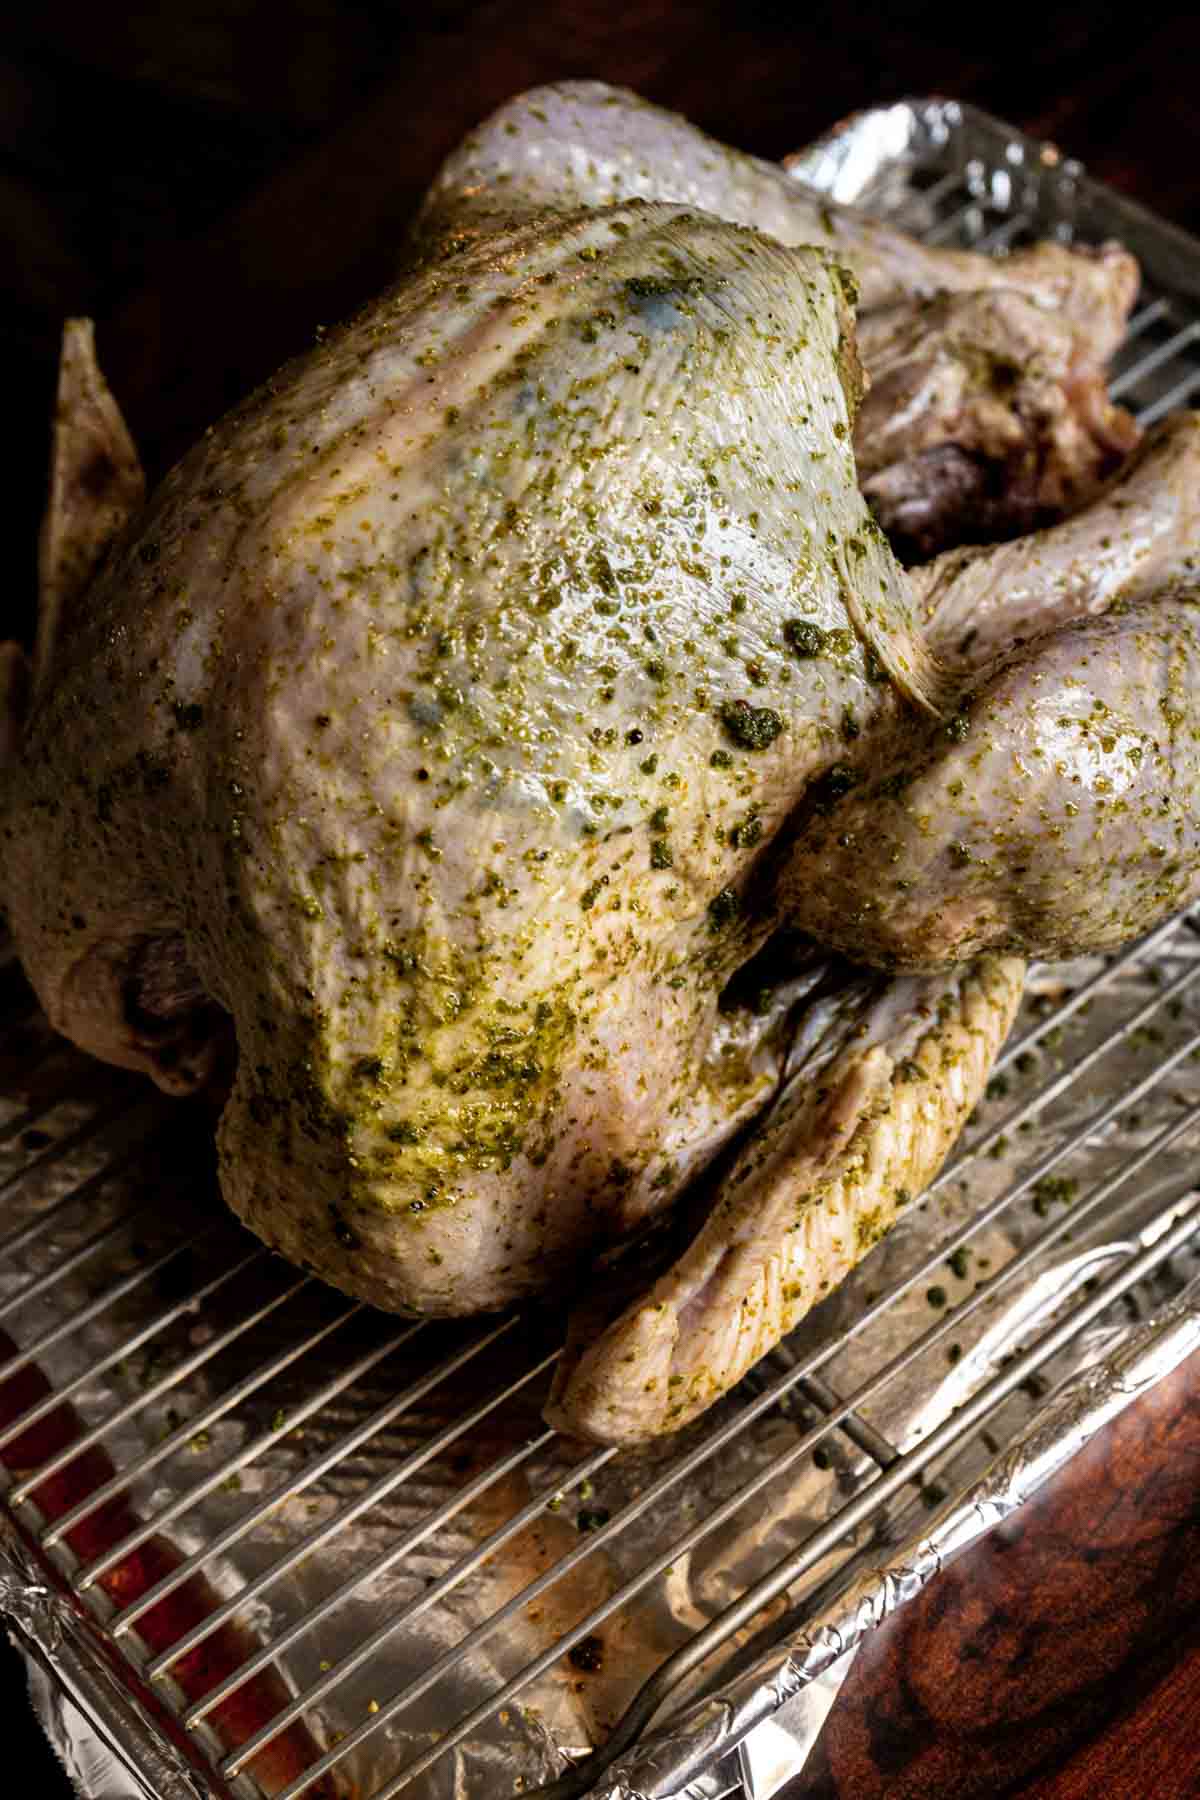
Dry brining involves rubbing a mixture of salt and seasonings directly onto the turkey and leaving it uncovered in the refrigerator for a period of time. This method draws out moisture from the bird which is then reabsorbed creating a concentrated flavor and crispy skin.
Is Dry Brining or Wet Brining Better?
My general rule of thumb is to wet brine when making a roasted turkey breast, which tends to be dry on its own, and to dry brine when making a whole turkey because it is less messy. I generally use a wet brine on chicken.
Wet brining a turkey requires significantly more room because a large bird needs to stay fully submerged in water in your fridge. Unless you have a second refrigerator, this might not be a practical option. Wet brines add more moisture.
A dry brine is less messy than a wet brine. A dry-brined turkey takes up less space. But most importantly, a dry-brined turkey will take on more flavor. You essentially season and salt in one step. The final benefit of a dry brine is a crispier skin.
Ultimately, the choice between wet brining and dry brining depends on personal preference and space.
📖Why My Recipe Works
- My dry brine requires just six simple ingredients and takes a few quick minutes to whip up. Fresh herbs and citrus add so much flavor, this year will be your best turkey ever!
- As the brine sits on the turkey, all of those delicious herbs and seasonings soak into the skin and infuse the meat with flavor. It also creates a juicier, more tender texture and crispier skin.
🧾Ingredient Notes
The amount of salt used in the brining process is dependent on the size of the bird. Scale the recipe up or down as needed based on the size of your turkey.
- Kosher Salt - Make sure you are using kosher salt; not table salt. Table salt does not measure out the same and it will make your turkey much too salty.
- Brown Sugar - Light or dark brown sugar will work.
- Fresh Herbs - Fresh thyme and sage are the perfect herb duo to add freshness and flavor. While you can use dried herbs fresh ones will produce a better flavor.
- Orange Zest - Lemon zest will work too. You'll need the zest of 2 oranges or 3 lemons. The key is just to have some sort of citrus.
- Black Pepper - Adds a touch of spice to the brine.

🦃 How Much Salt Do You Need to Dry Brine a Turkey?
The amount of salt depends on the size of the bird. The general rule of thumb is 1 tablespoon of kosher salt for every 5 pounds of turkey. Give or take a scooch.
⏲️How to Dry Brine a Turkey
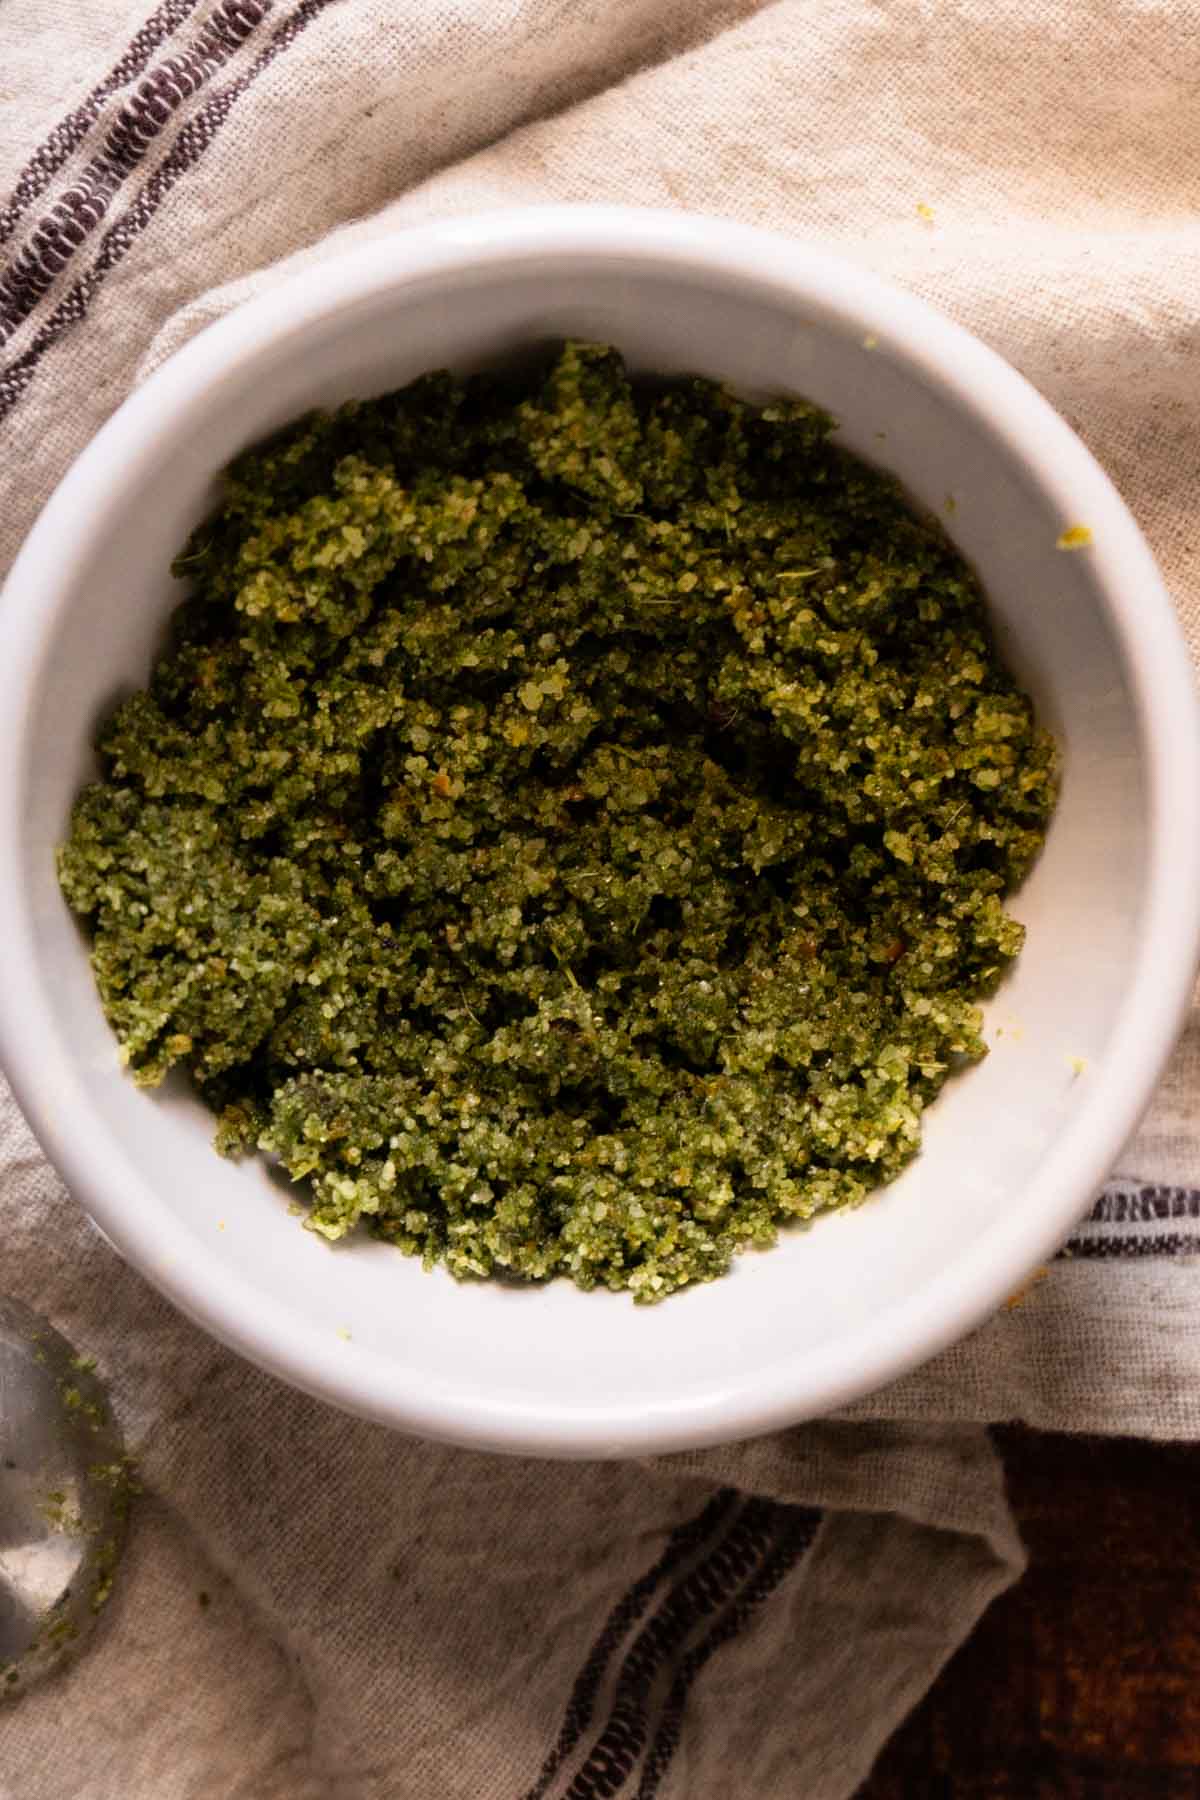
- In a small food processor or spice grinder, pulse together all of the brine ingredients until combined.
- Place the turkey on a roasting pan or rimmed baking sheet, and remove anything inside the cavity, including the neck and giblets.
- Rub the inside and outside of the turkey with the brine. Get under the skin too.
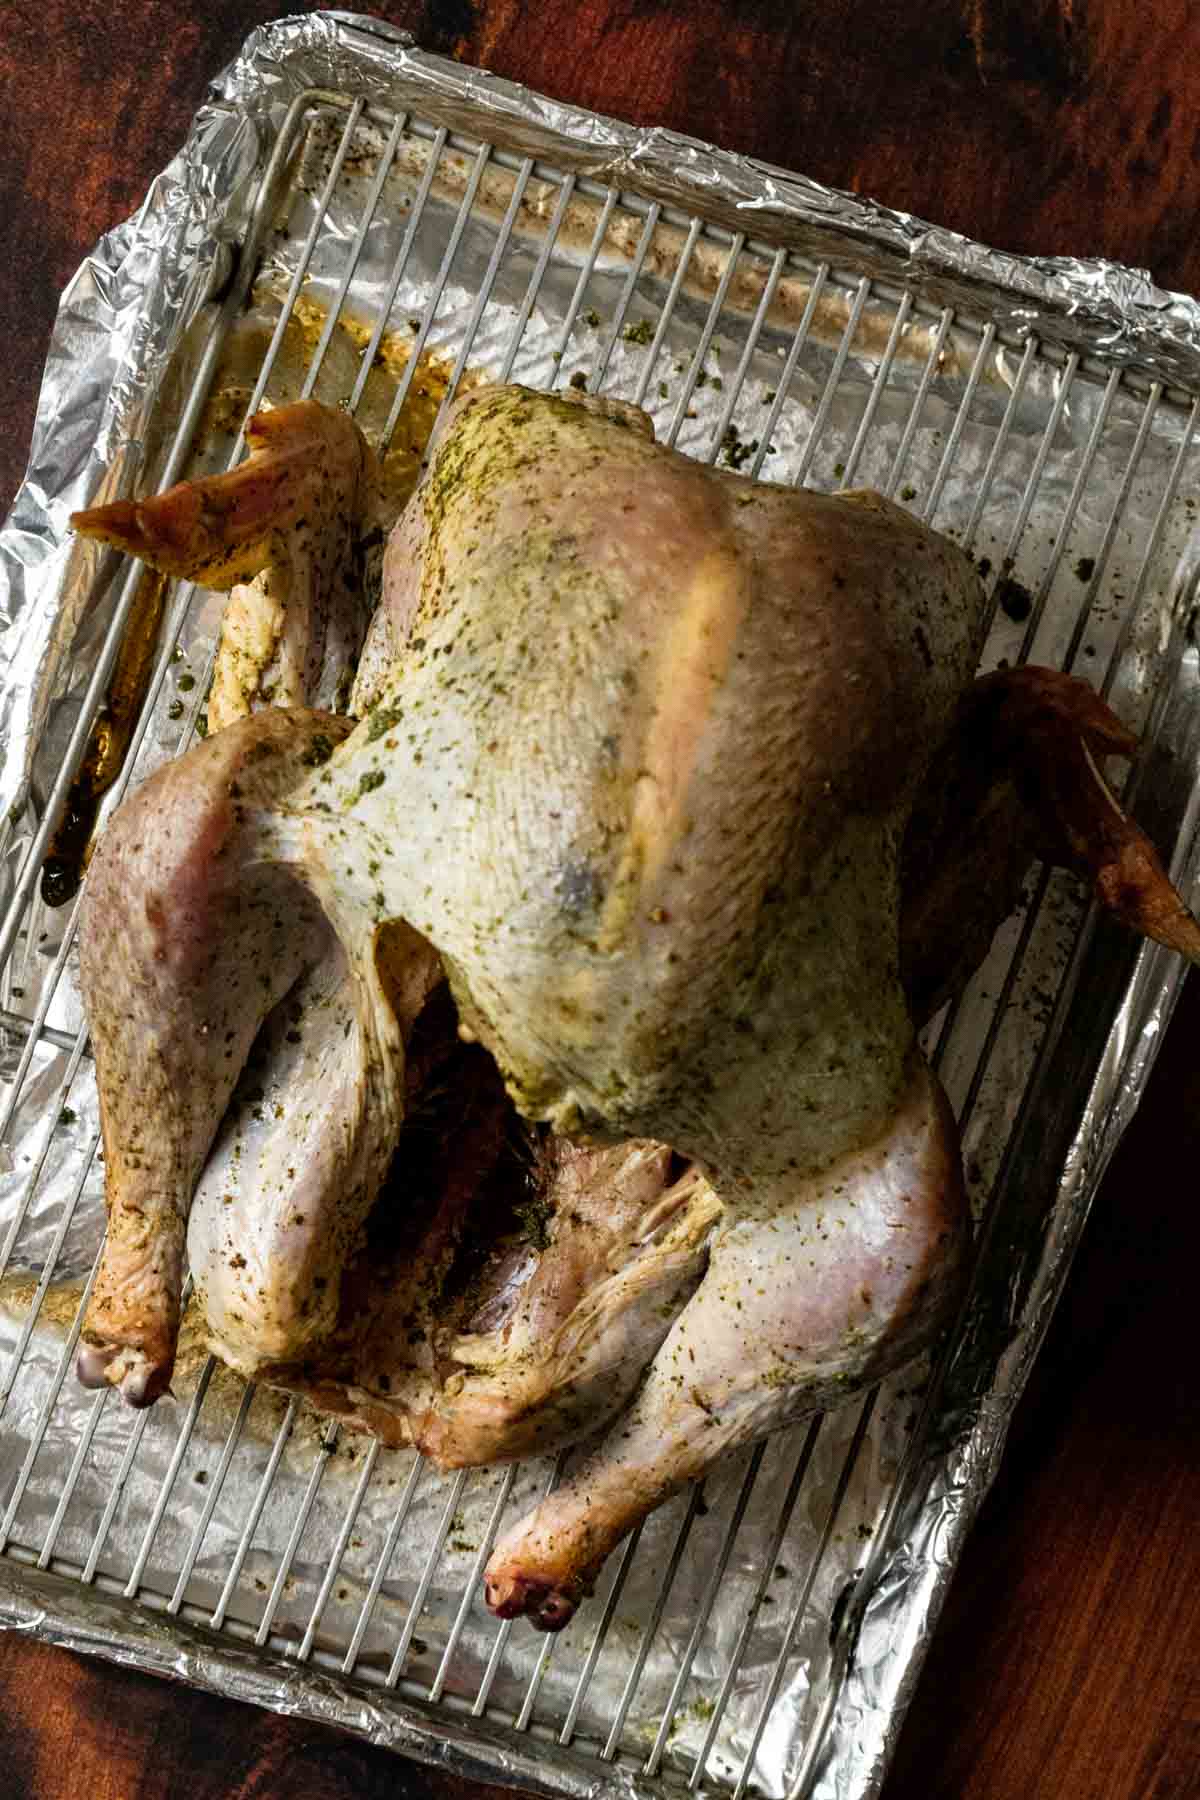
- Put the pan with your turkey in the fridge for 1-3 days. Let the turkey sit uncovered or you can loosely tent it with aluminum foil if you are worried about cross-contamination.
- Do not rinse the turkey or add any more salt to it before roasting.
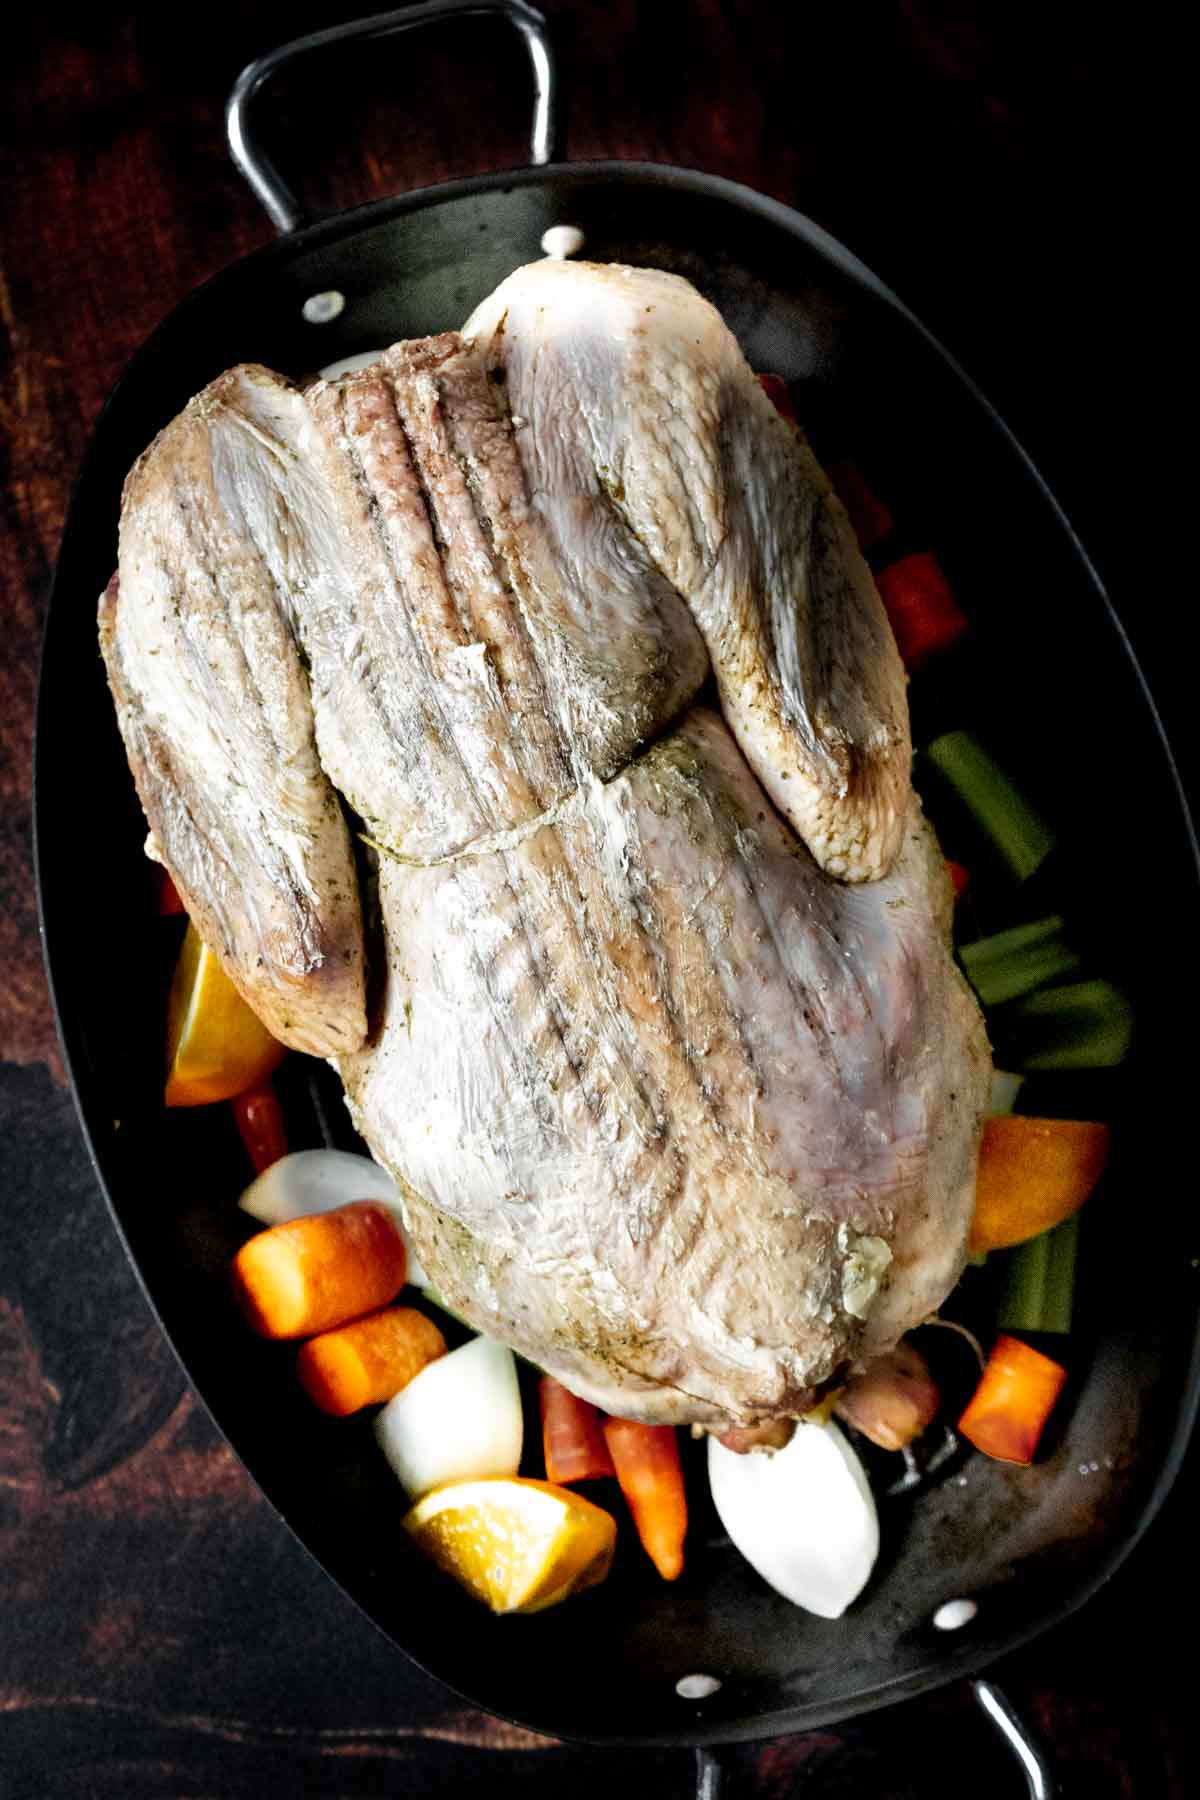
- You can use this method with any roast turkey recipe but I follow the steps listed on my sage roast turkey recipe.
👩🏻🍳Jen's Testing Notes
- Make sure you use kosher salt, not table salt. They are not the same!
- Pat the turkey dry before brining. This removes excess moisture which results in crispier skin. Pat dry inside and out.
- You can also do this in a large roasting pan but you should wash the pan out after you brine the turkey but before before you roast the turkey.
- I like to line the pan with aluminum foil and place a wire rack inside the baking sheet. This will catch any juices.
- Season well! Make sure you're getting the brine under and over the skin and rubbing it in all over. We want that flavor in every single bite of the bird.
- The skin needs to dry out to produce the best end result. Do not cover it with plastic wrap or anything that would seal it up.
- Do not brine a kosher or self-basting turkey. These were brined before packaging.
- You can brine a partially frozen turkey, but it may be hard to loosen the skin properly. For the best results, use a fully thawed turkey.
- Quantities are for a 15-pound turkey, so adjust accordingly if your turkey is bigger or smaller.
🌡️Food Safety
Raw turkey should not sit at room temperature for more than an hour or two. Once you add the brine, stick the bird in the fridge to ensure bacteria can't grow as it brines!
Thoroughly wash your hands and any equipment that touches the raw turkey meat.
Recipes Using Leftover Turkey


Did you enjoy making this recipe? Show it some love with ⭐⭐⭐⭐⭐ and leave a comment! Hungry for more FLAVORFUL recipes?
📖 Recipe Card

How to Dry Brine a Turkey
Ingredients
- 3 Tablespoons kosher salt
- 2 Tablespoons fresh thyme roughly chopped
- 2 Tablespoons fresh sage roughly chopped
- 1 Tablespoon brown sugar
- 2 oranges zest only or use 3 lemons
- 1 teaspoon black pepper
- 15 pound whole turkey
Instructions
- Place all the ingredients in a small food processor and pulse several times. The salt mixture will be a light green.3 Tablespoons kosher salt, 2 Tablespoons fresh thyme, 2 Tablespoons fresh sage, 1 Tablespoon brown sugar, 2 oranges, 1 teaspoon black pepper
- Remove the turkey from the wrapping and place the turkey on a clean roasting pan or large baking sheet. Remove the giblets and neck from inside the cavity. You can discard or save for another use. Remove or discard any plastic or metal cages. Pat the turkey dry, inside and out, using paper towels.15 pound whole turkey
- Sprinkle 2 teaspoons of the salt mixture into the cavity of the turkey and rub it in.
- Gently loosen the skin over the breast and meaty part of the legs. Rub 4 teaspoons of the salt mixture into the meat of but under the skin. Then sprinkle the remaining salt mixture over all the outside of the turkey. Running it into the skin.
- Bend the wings back and tuck under the breast. Place the turkey breast side up uncovered into the refrigerator for at least 1 day up to 3 days.
Video
Notes
- The quantities for brining the turkey are for a 15-pound bird. Adjust accordingly.
- You can brine a partially frozen turkey but it may be hard to loosen the skin properly.
- You must use kosher salt, not table salt.
- Do not brine kosher or self basting turkey. They were brined before packaging.
Equipment
Nutrition
Common Recipe Questions
What are the benefits of dry brining a turkey?
Overall, dry brining is a simple and effective way to add flavor and moisture to a turkey and can help ensure that your turkey turns out tender and juicy when cooked.
Improved flavor: Dry brining helps to season the meat from the inside out, resulting in a more flavorful and well-seasoned turkey.
Moisture retention: The salt in the dry brine mixture helps to draw moisture out of the turkey and then back into the meat, which can help keep it moist and tender while cooking.
Simplicity: Dry brining is a quick and easy way to season a turkey, as it doesn't require any special equipment or a large amount of liquid.
Time savings: Because dry brining doesn't require the turkey to be soaked in a liquid solution, it can save time compared to wet brining. This means you can prepare the turkey for cooking more quickly.
How long should you brine turkey?
You can dry brine your turkey in the fridge for anywhere from 1-3 days. The longer it sits, the more flavor it will soak up! I don't recommend brining for more than 3 days. If it sits too long, the texture of the bird will be negatively affected.
How long should you brine turkey?
You can dry brine your turkey in the fridge for anywhere from 1-3 days. The longer it sits, the more flavor it will soak up! I don't recommend brining for more than 3 days. If it sits too long, the texture of the bird will be negatively affected. So if you are planning a brined turkey for Thanksgiving this means you need to start the process between Sunday and Wednesday morning.
Harley says
Directions were easy to follow.