

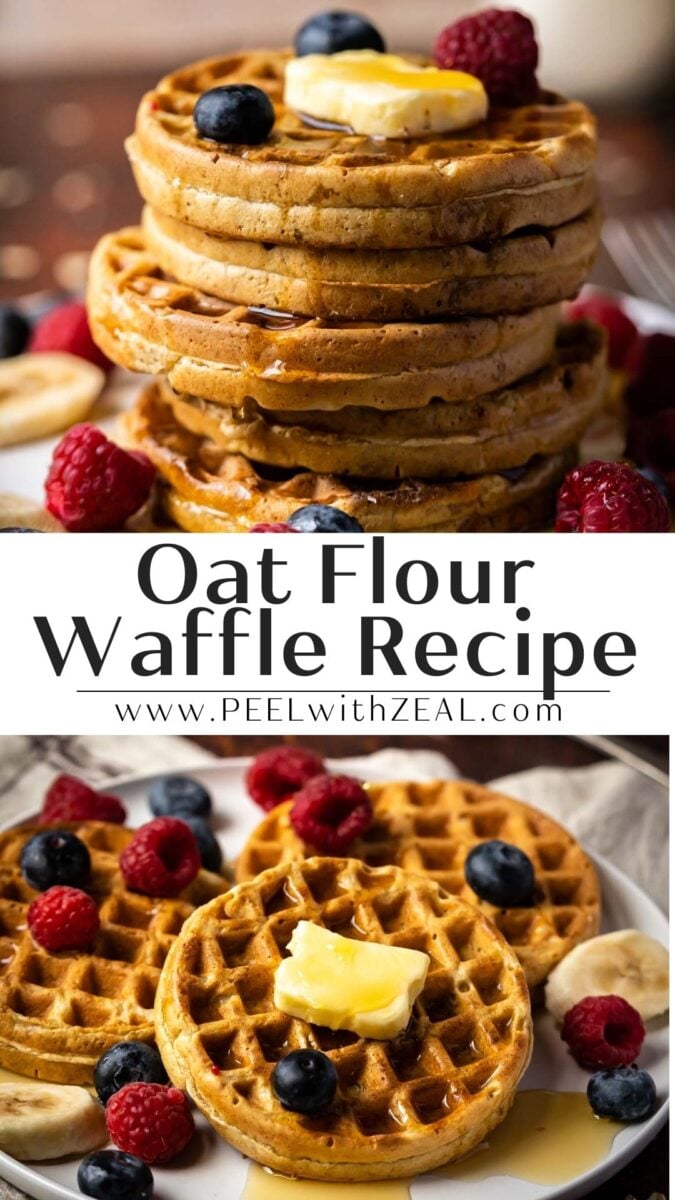
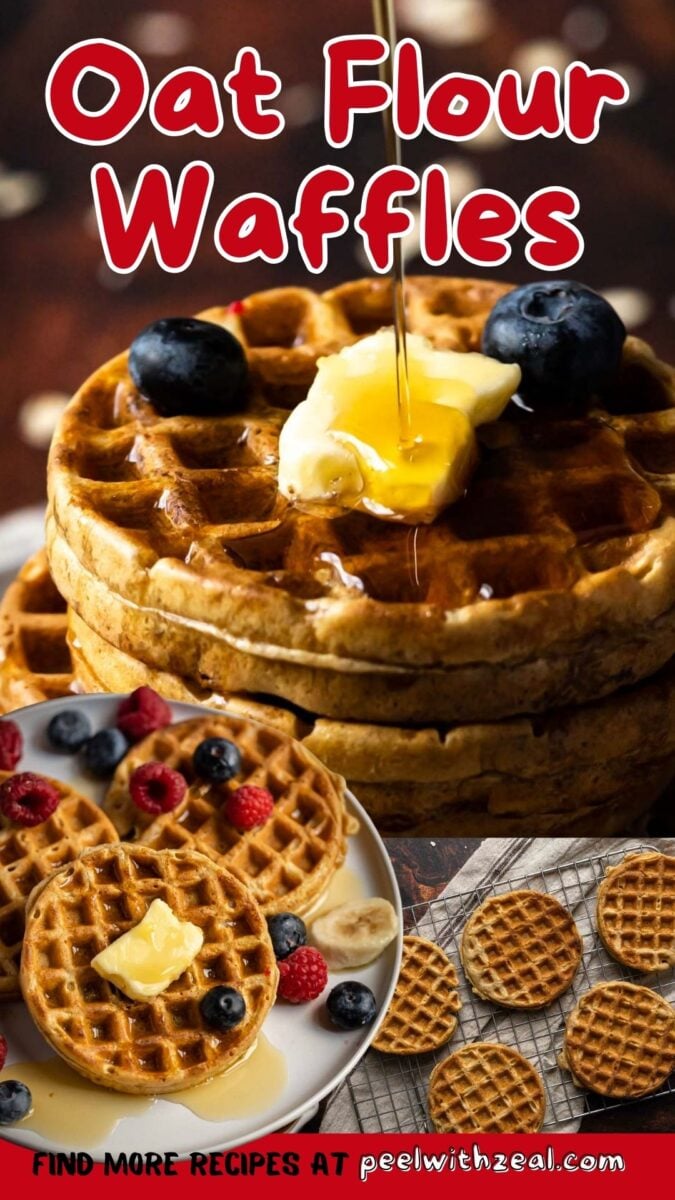
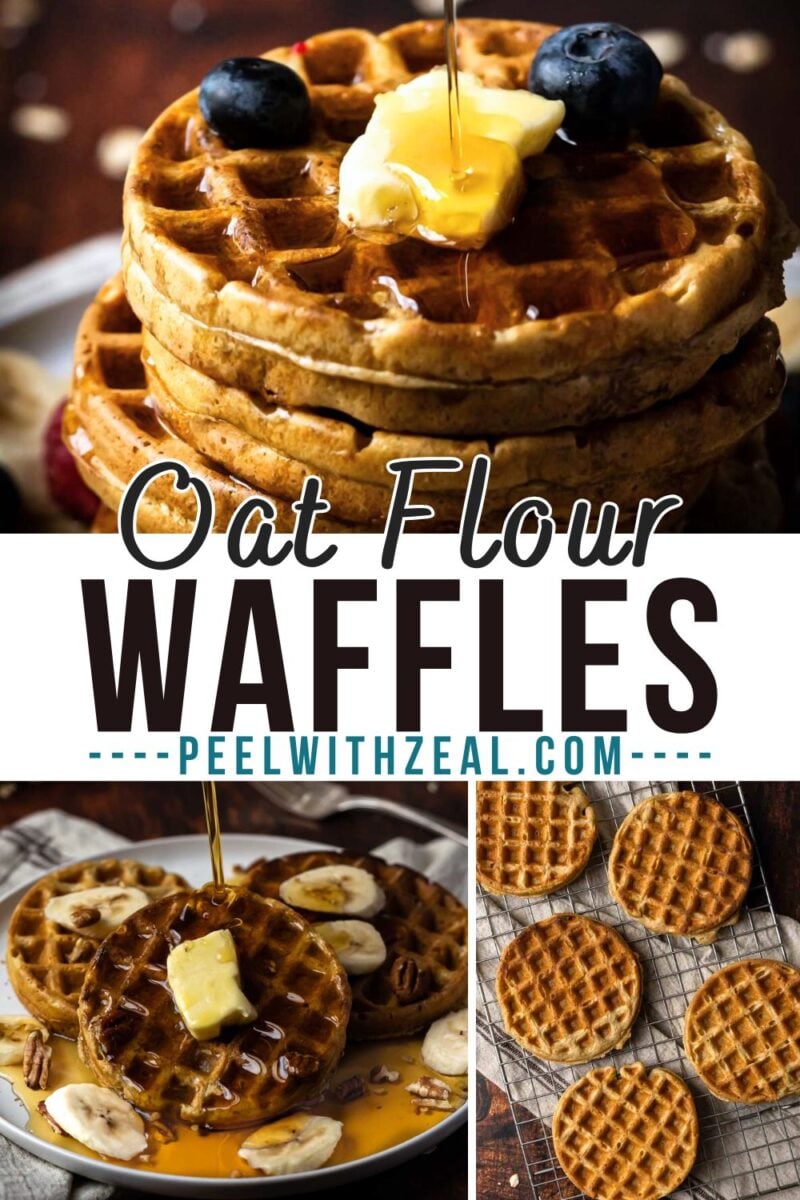
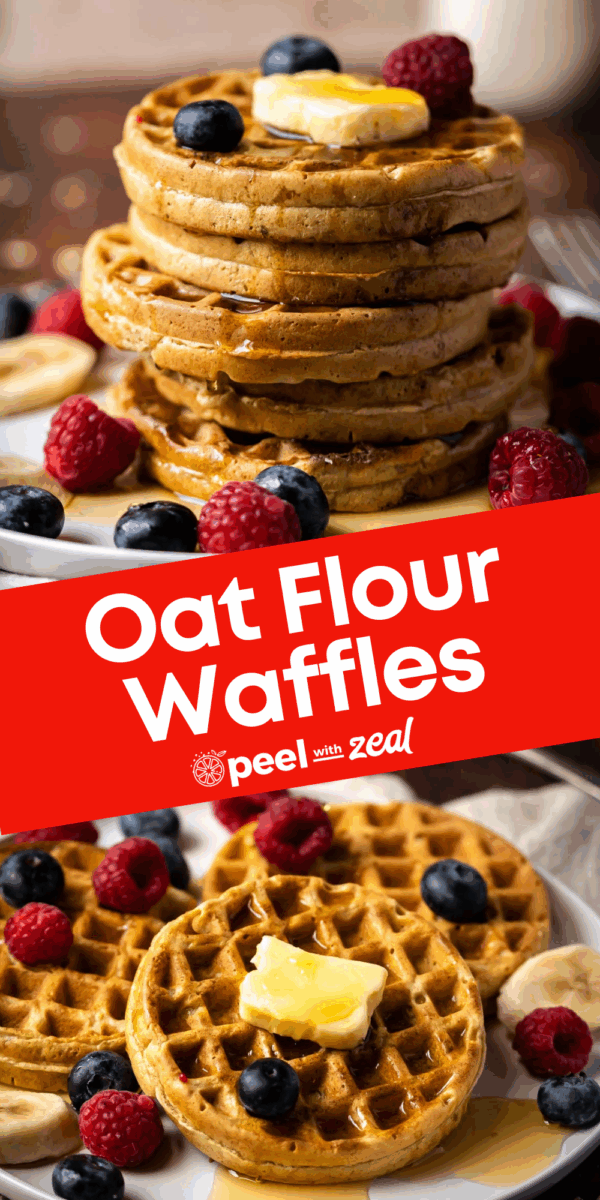
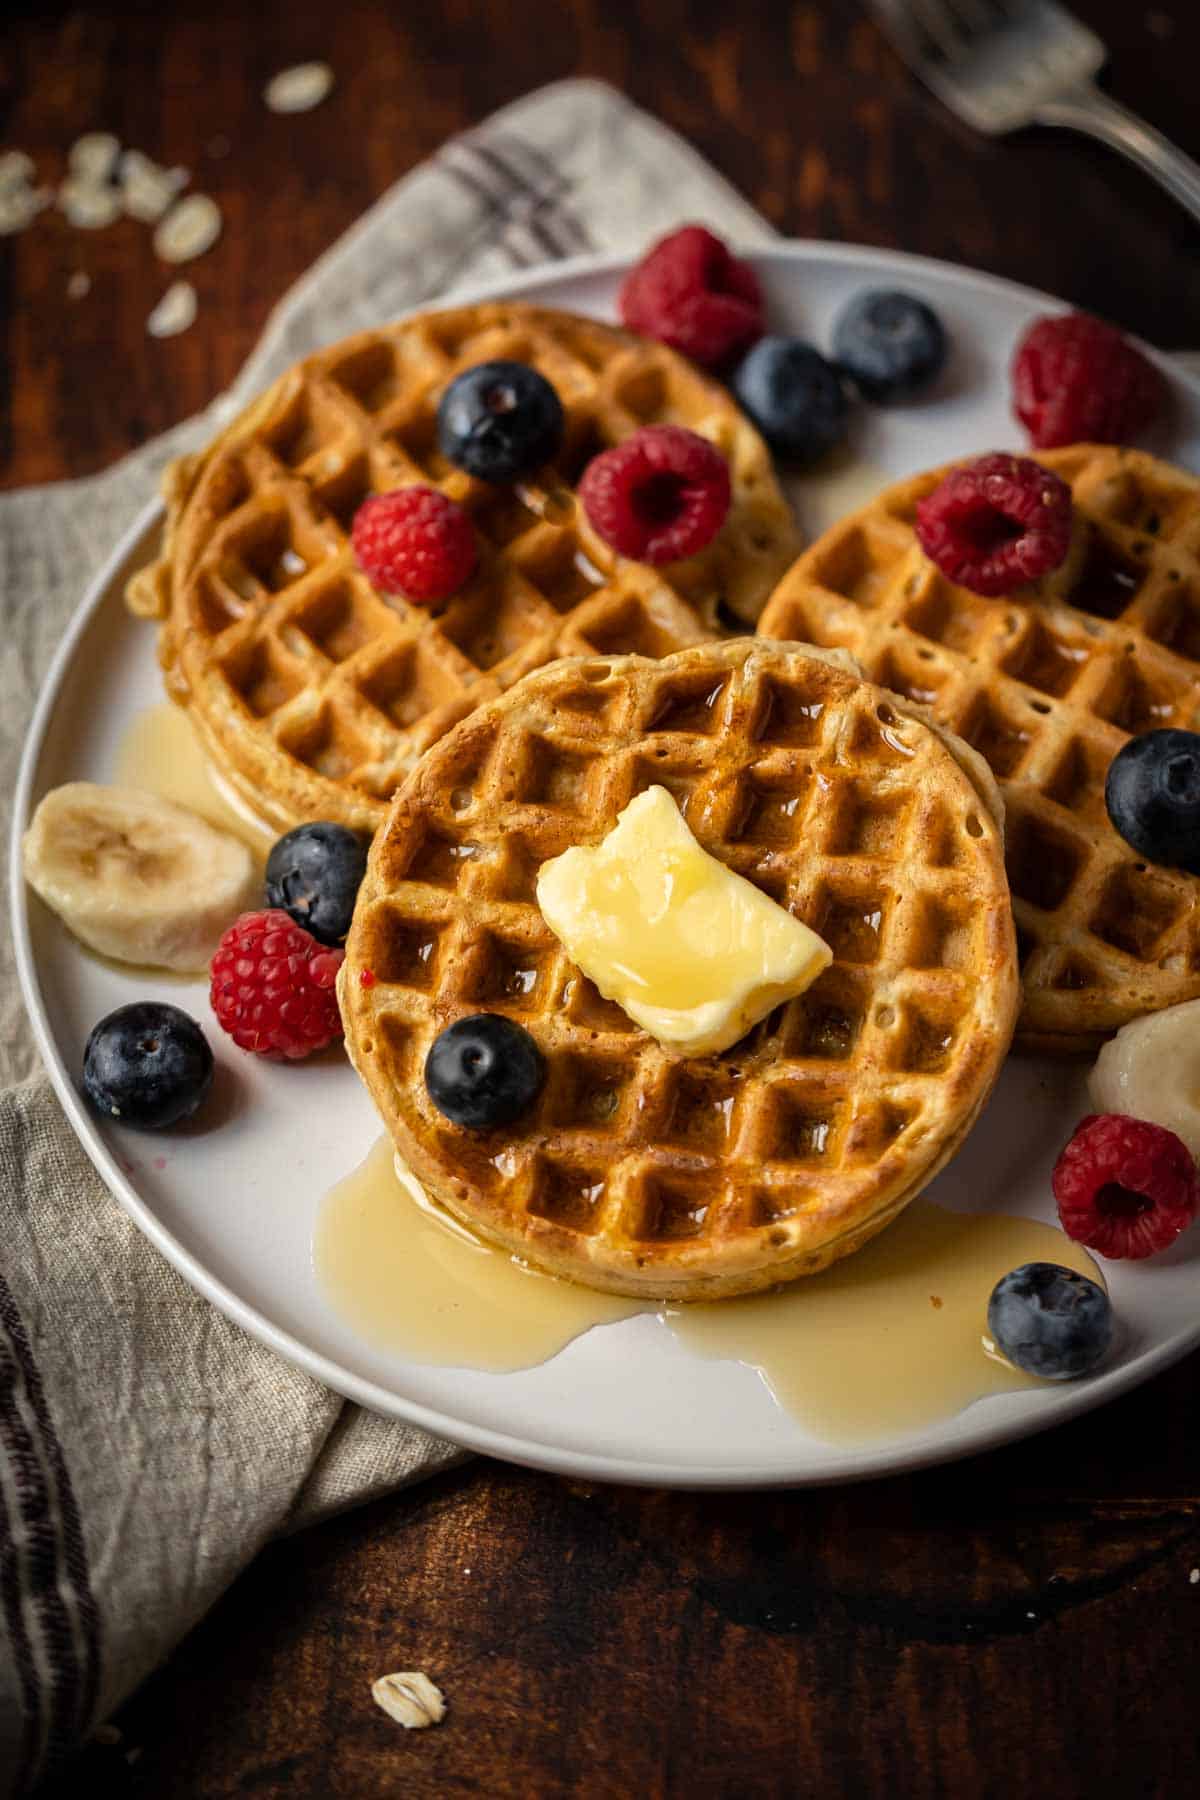
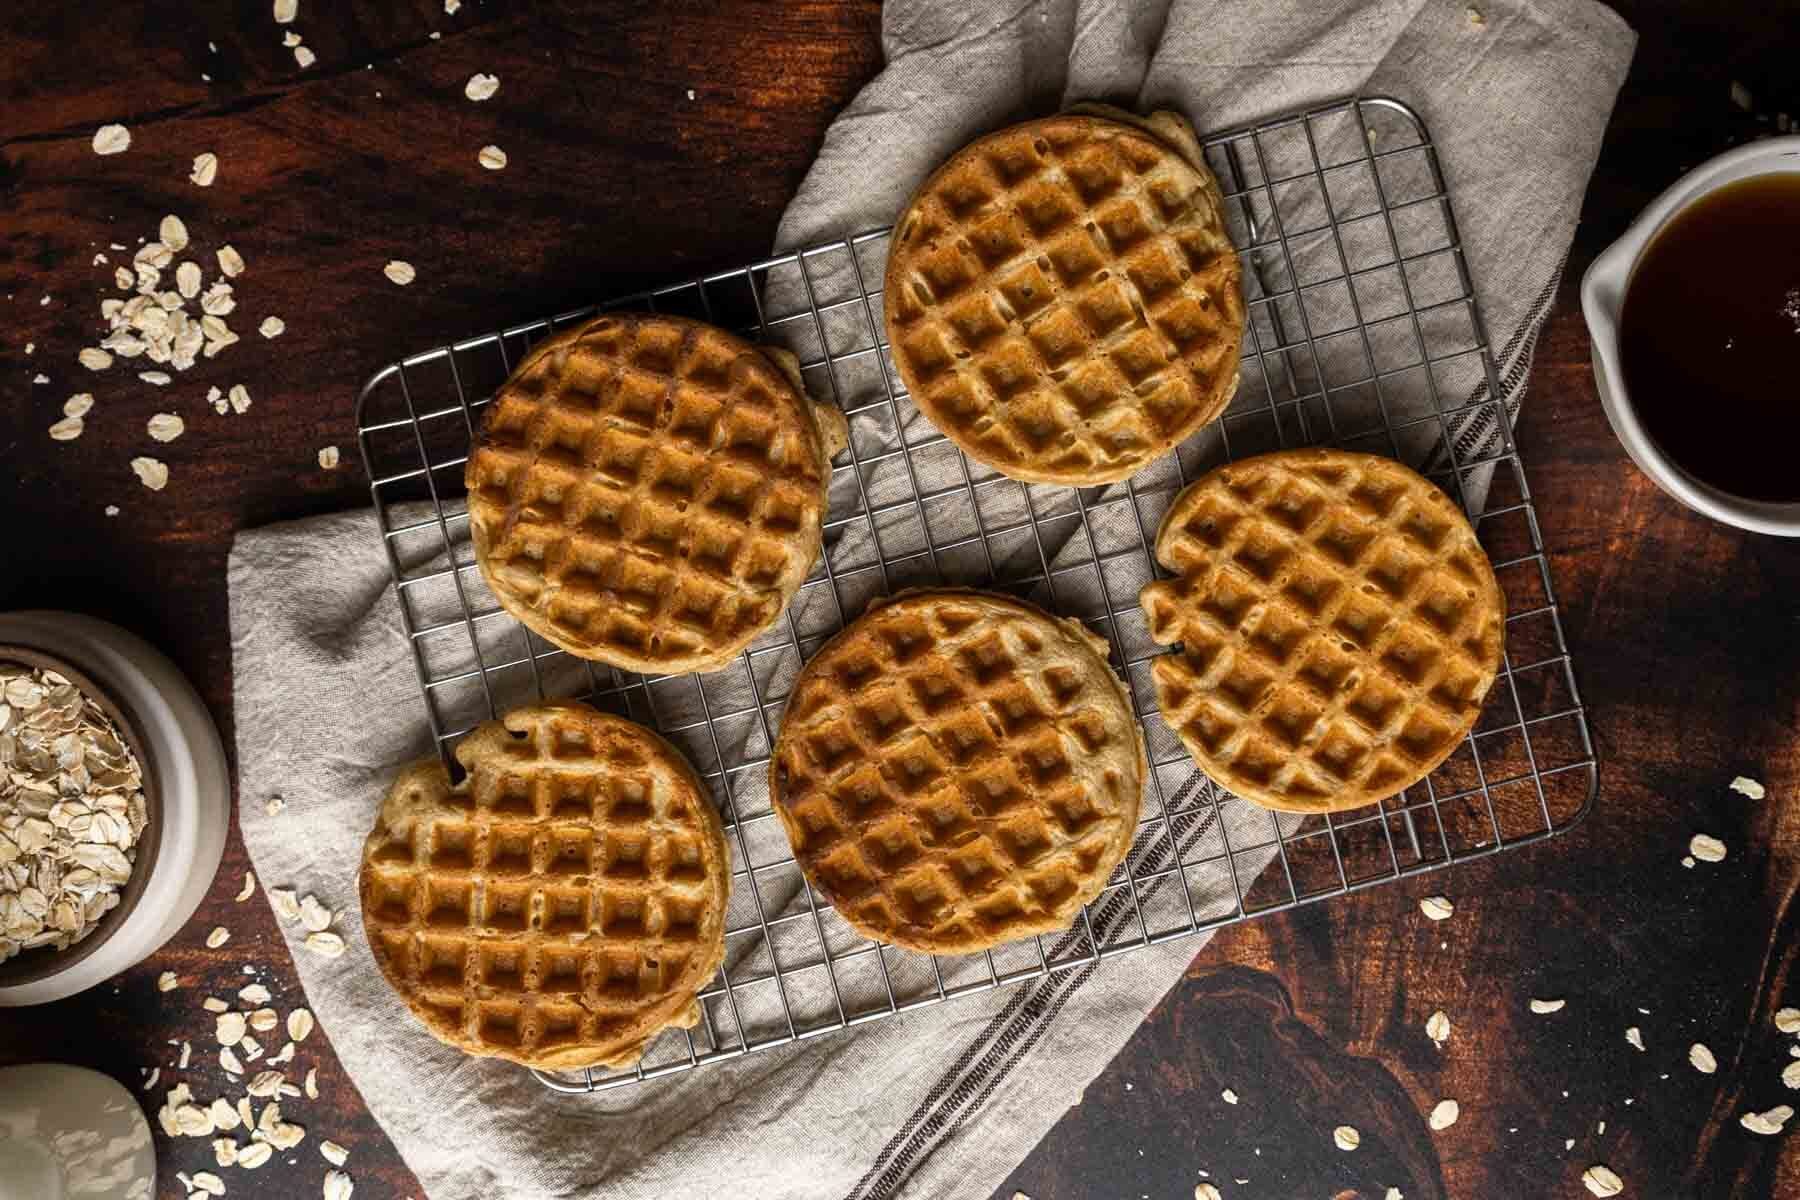
These delicious oat flour waffles can be made from whole oats or oat flour. They're light and fluffy with a perfectly soft center and golden, crispy edges. Made in a blender, they only require 5 minutes of hands-on prep time and are filled with cozy whole grain goodness.
WANT TO SAVE THIS RECIPE?
This post may include affiliate links. Please read my disclosure policy.
Oat flour waffles are one of my go-to breakfasts. They are gluten free when certifed GF oats are used. You can add whatever toppings you like best. They can be served sweet or savory.
They're also the perfect meal prep option. They can be stored in either the fridge or the freezer. Then, when you need a quick breakfast, just pop a couple in the toaster, and they're ready to go in just a few minutes!
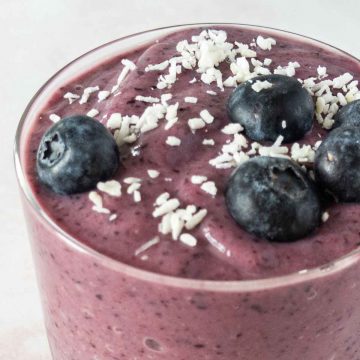
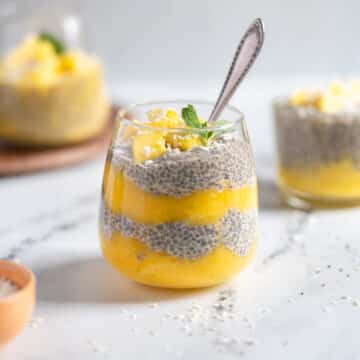
Looking for more ways to use up oats in your pantry? Check out my oat flour banana bread and peanut baked oats!
Jump to:
📖Why My Recipe Works
- My recipe uses homemade oat flour. Oat flour isn't always easy to find, but whole oats are sold at every grocery store. Making oat flour at home saves time and money. It's literally just blended-up oats and it is significantly less costly.
- Once the batter is mixed, you'll let it sit for 10 minutes or so. During that time, the oat flour soaks up moisture for an overall better texture.
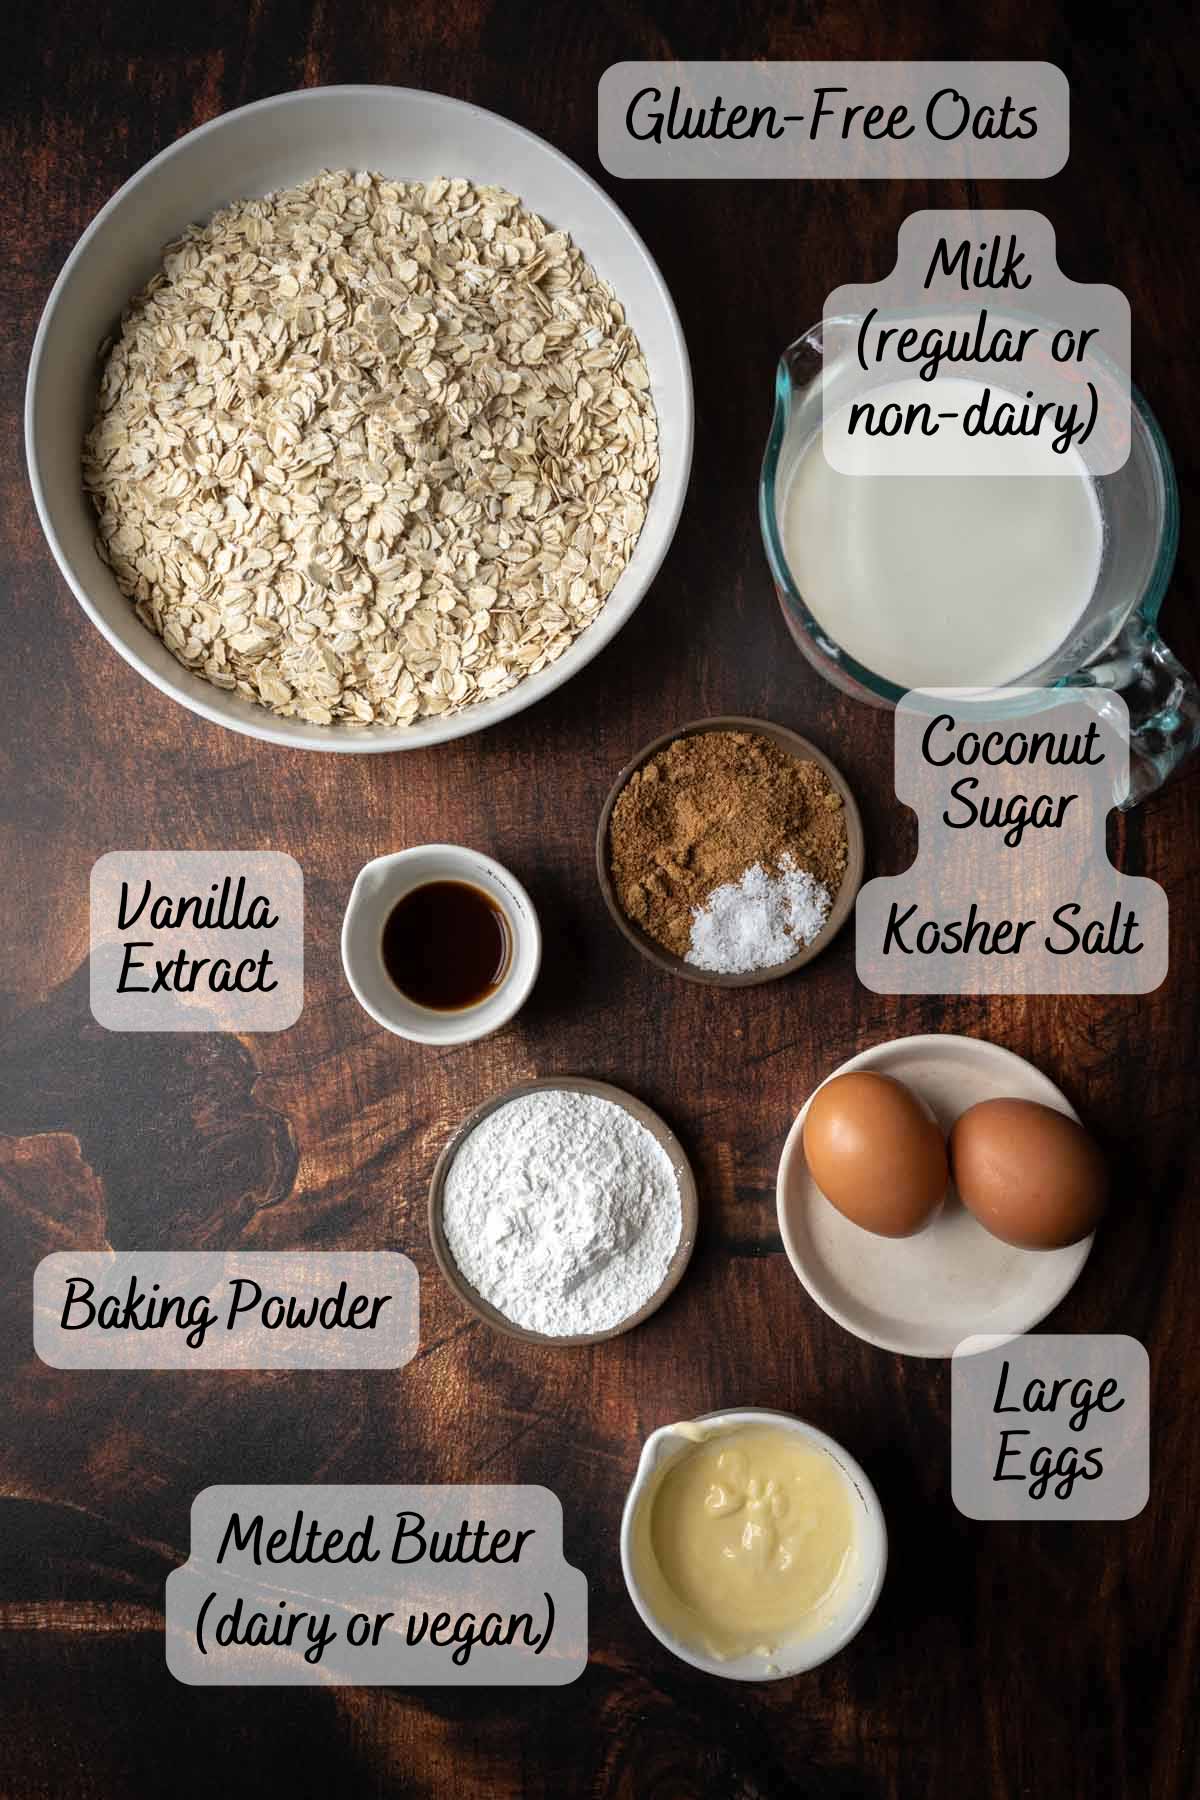
🧾Ingredient Notes
- Oat flour is our star ingredient. You can use store-bought oat flour, but I highly recommend making your own oat flour using rolled oats.
- Sugar - Granulated sugar will work too but I prefer the nuttiness of the coconut sugar.
- Baking Powder - Gives the batter a little lift for lighter, fluffier waffles.
- Salt - Only add salt if you use unsalted butter. If all you have is salted, you can skip it.
- Milk - Whatever milk you have on hand will work. I used whole milk but try your favorite plant-based milk. I typically don't mix oat milk and oat flour; it can feel a tad heavy. Try coconut milk (not the canned kind) or almond milk.
- Butter - Cool the butter slightly before adding to the batter, you don't want to curdle the eggs.
- Optional Mix-Ins - Feel free to get creative with your favorite mix-ins. Try blueberries, raspberries, chocolate chips, sprinkles, you name it.
Dairy-Free Oat Flour Waffles
Swap the milk and butter out for non-dairy varieties of both. I recommend almond milk, but any kind will work. If you don't have vegan butter, you can use coconut oil or vegetable oil instead, but I think that vegan butter has a better flavor.
Add apple cider vinegar or lemon juice, just a splash so the baking powder has the acid it needs to perform its duties.
⏲️How to Make Oat Flour Waffles
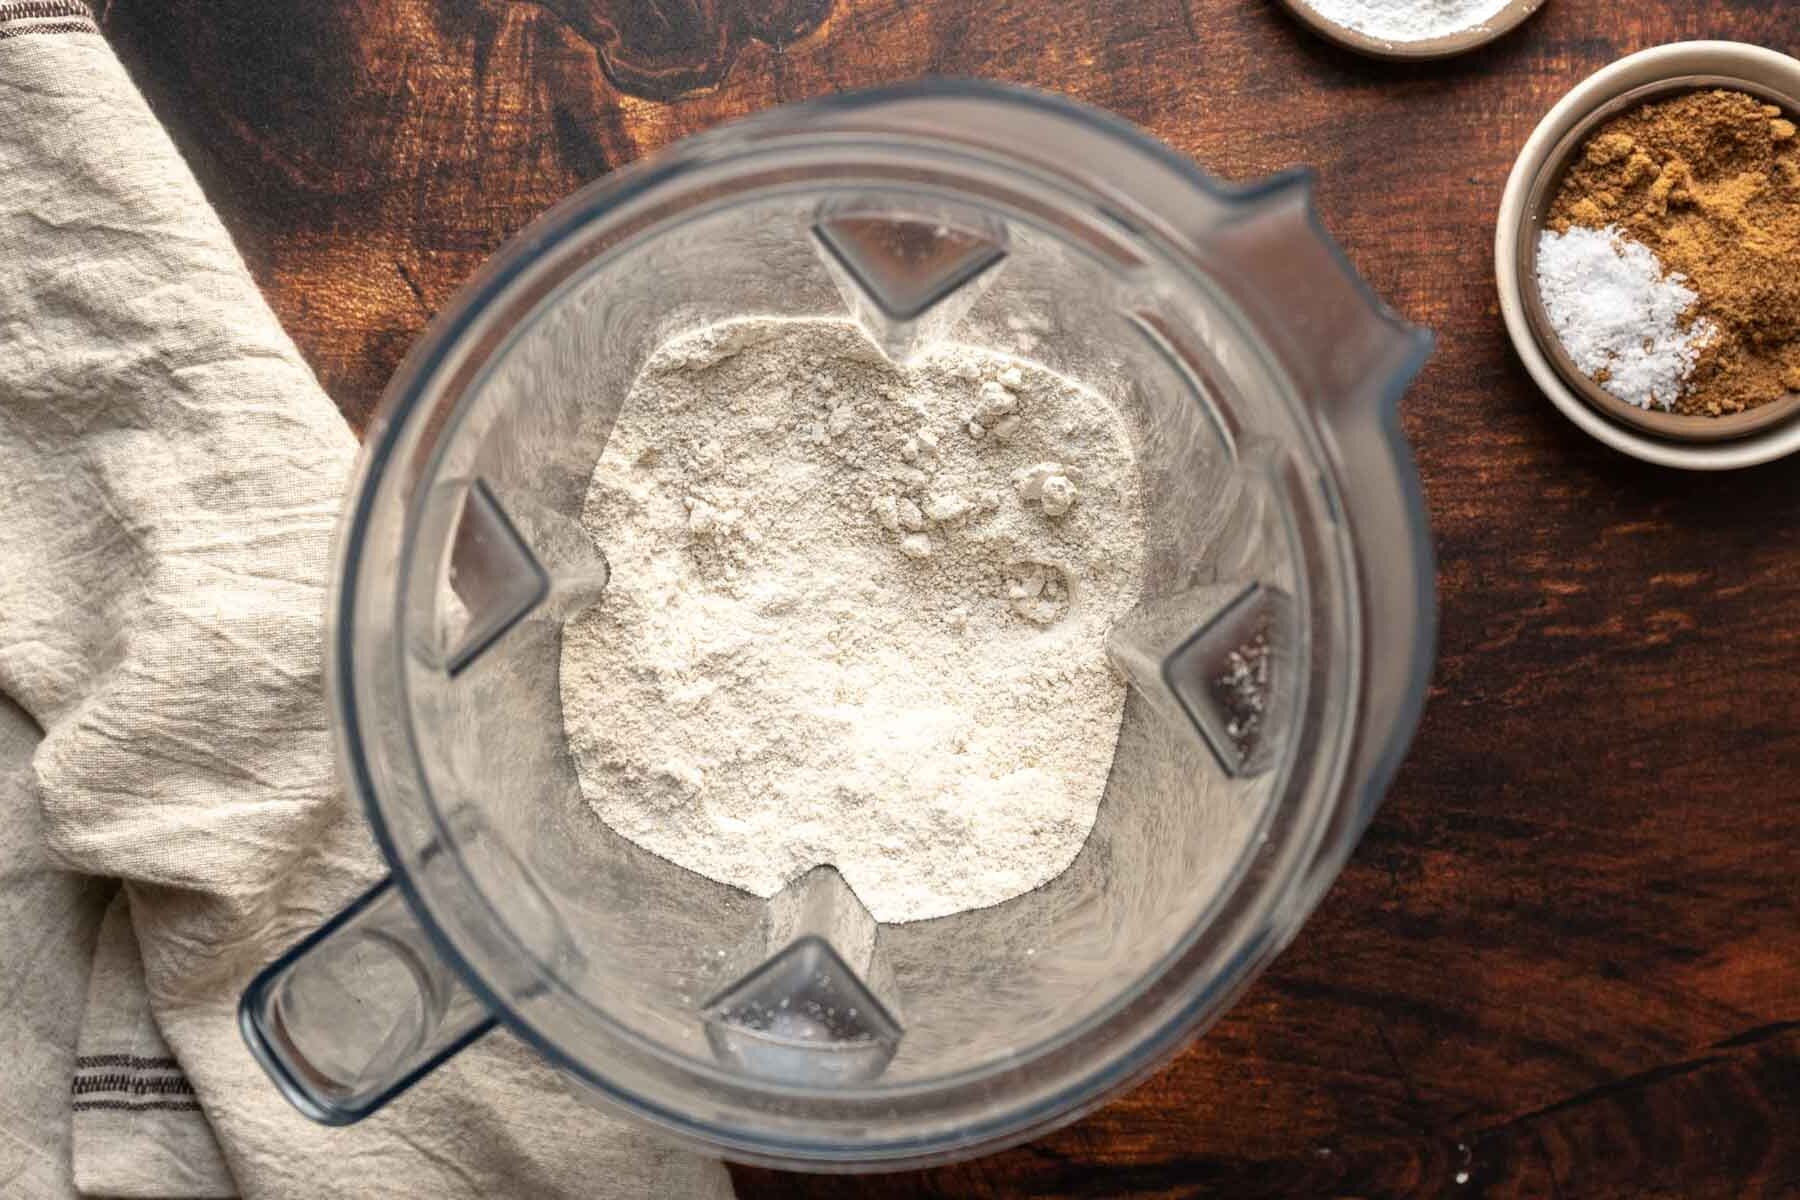
- Place oats in a food processor (or a blender) and pulse the oats until they are ground into a powder-like consistency. This process should take about 60 to 90 seconds.
- Add the dry ingredients.
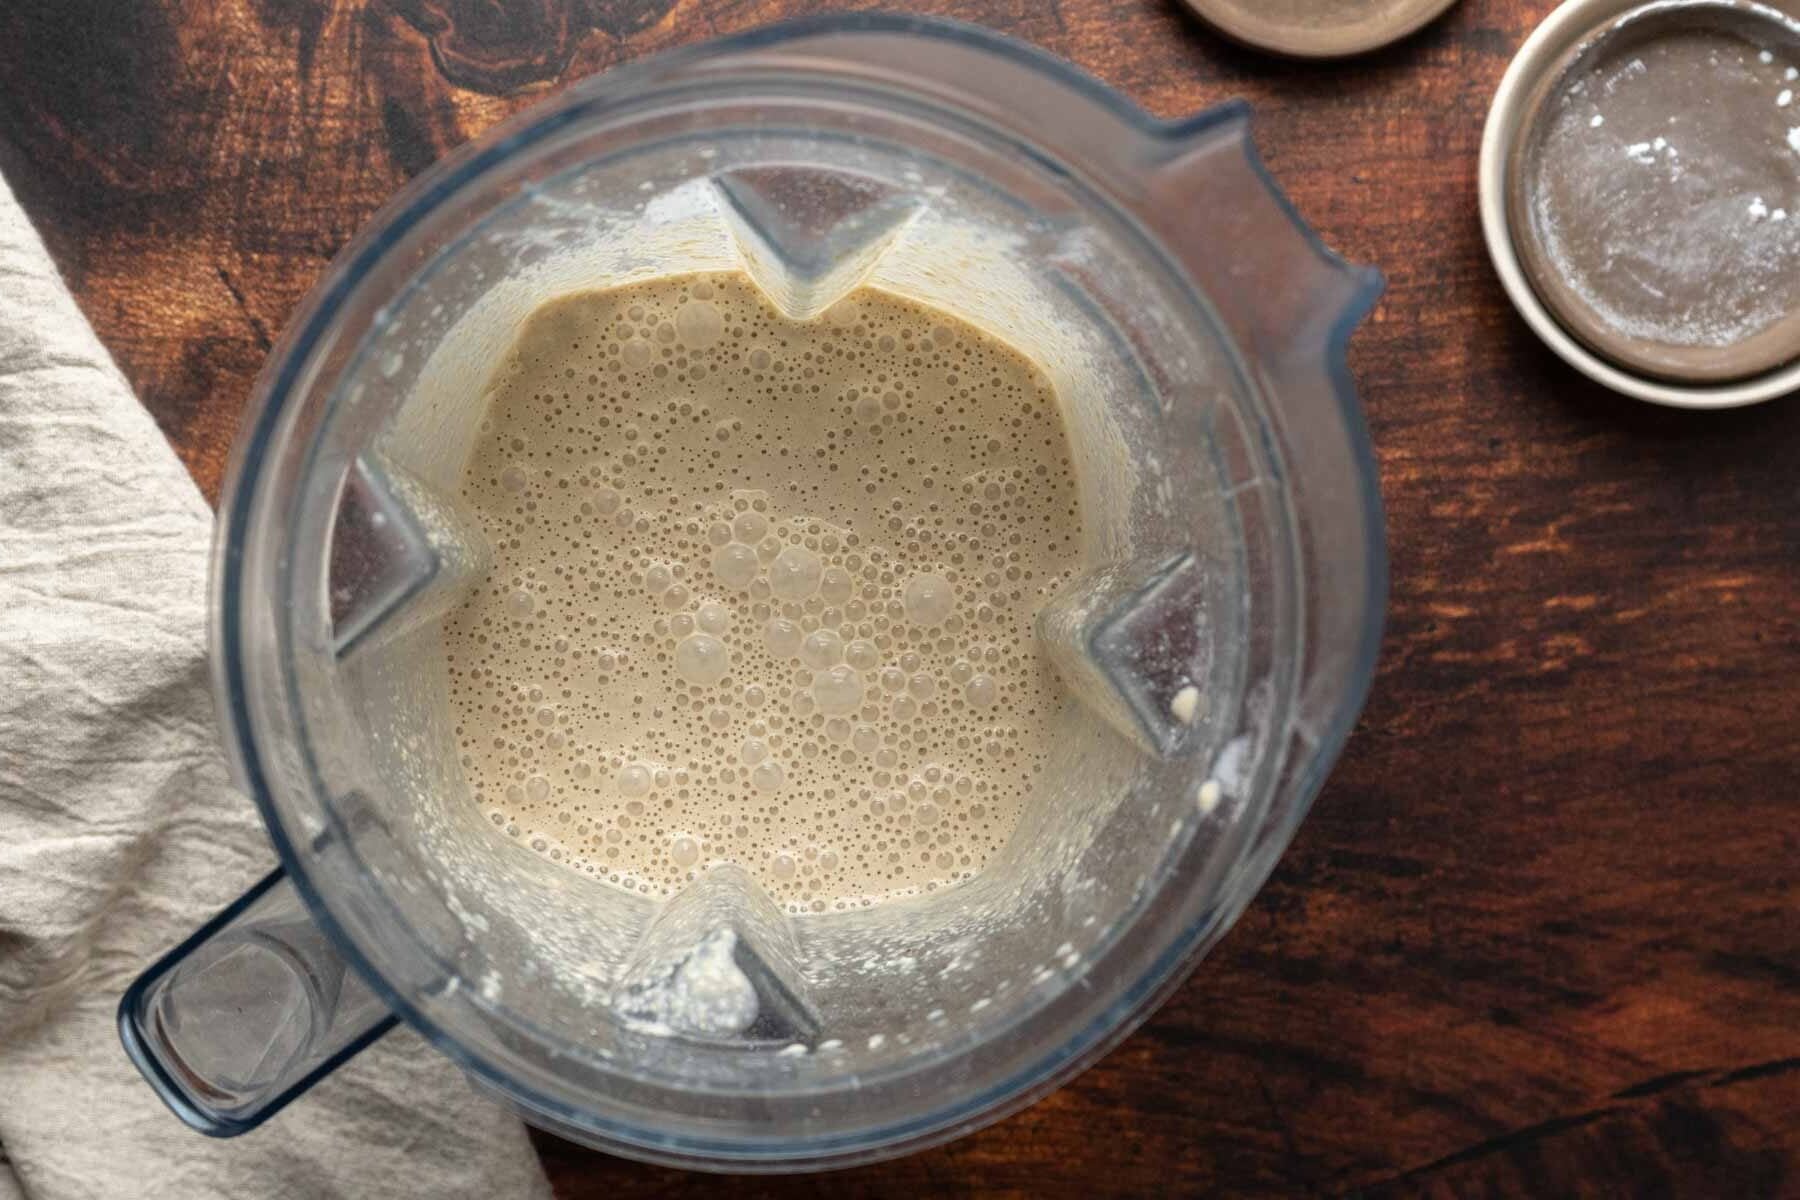
- Pour the wet ingredients into the dry ingredients, mix until fully blended. The milk should be warmer than room temperature but not boiling hot.
- While the batter is resting, you will need to start heating up your waffle maker.
- For the best results, be sure not to overfill the hot iron. Resist the temptation to open the lid. Let it cook until golden brown and crisp on the edges.
- Transfer the finished waffles to the preheated oven to keep them warm while you make the rest.
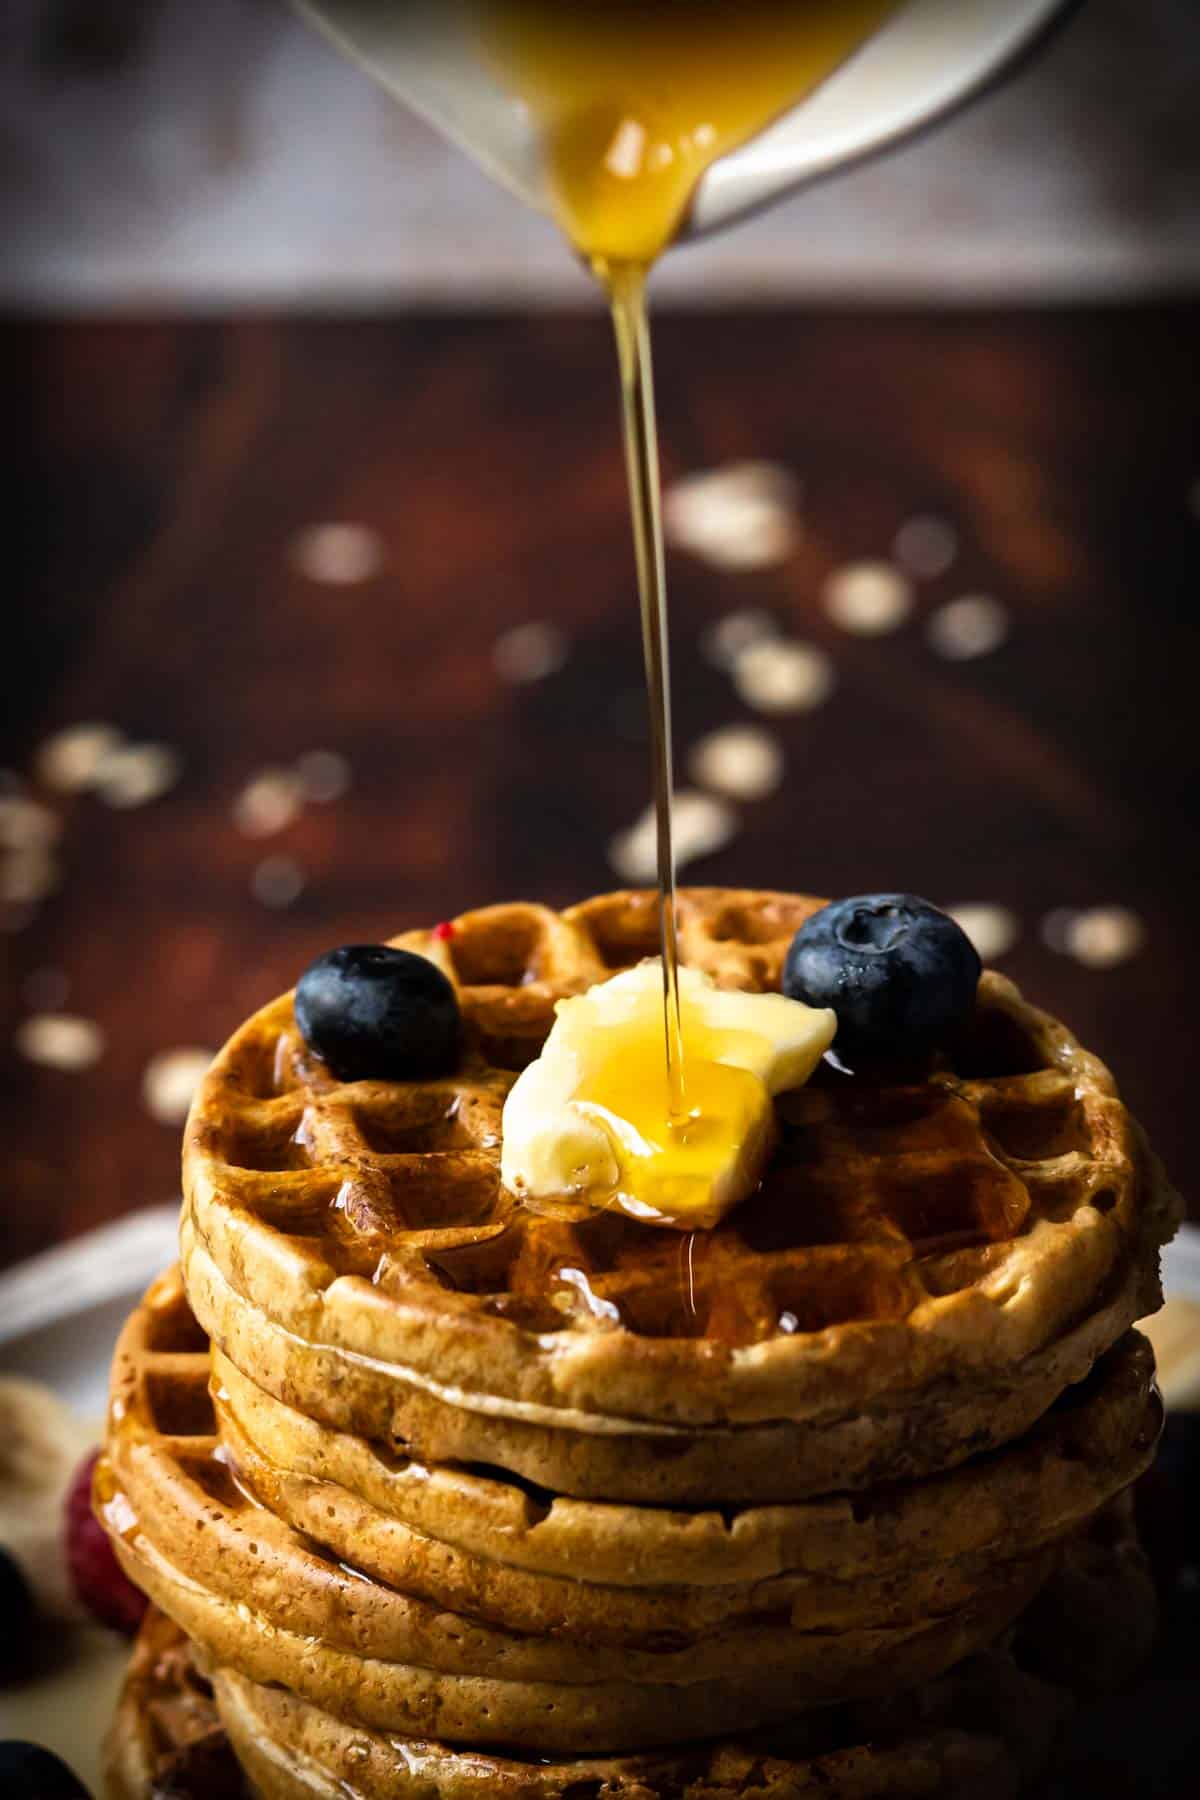
🥗How to Serve Oat Flour Waffles
You already know waffles just aren't complete without all of your favorite toppings. While we all love the drizzle of maple syrup, you can try blueberry syrup or pumpkin syrup.
Here are a few more ideas:
- Nut butter (peanut butter, almond butter, cashew butter, etc.)
- Whipped cream
- Hot Honey
- Cinnamon
- Powdered sugar
- Fresh fruit (blueberries, raspberries, strawberries, sliced bananas, you name it.)
You can also turn them into a savory meal by topping with chicken wings and garlic honey.
👩🏻🍳Jen's Testing Notes
- If you're grinding your own oats, you can make the batter easily in the blender to dirty fewer dishes.
- You will need about 2¾ cups of oats to make the 2 cups of oat flour.
- Don't forget to check your baking powder. If it's expired, it won't make the waffles light and fluffy which is what we want!
- Let the batter rest. This allows the oat flour to soak up some of the moisture, which creates a better texture!
- Preheat the waffle iron. It should be nice and hot, so the edges of the waffles get that perfect golden-brown crisp.
- Waffle makers vary, so make a test waffle so you know how long to cook them. Mine was just 3 to 4 minutes.
- Make extra! Waffles freeze beautifully and can be easily reheated in the toaster. Make extra so you have them on hand for a quick weekday breakfast option.
🔪The Best Waffle Maker
A smaller waffle maker like a DASH mini waffle maker will make 8-10 waffles and take longer. But they are the perfect size for reheating in a toaster.
A larger Belgian-style waffle maker will yield fewer waffles, but they will be lighter and fluffier.
🌡️Storage and Reheating
Allow the waffles to completely cool before placing them in an airtight container. This will help to keep the moisture from the waffles from getting trapped inside the container and making them soggy.
The cooked waffles will last in an airtight container in the fridge for 3-4 days or in a ziplock bag in the freezer for 3-4 months.
When you're ready to serve again, simply pop them into the toaster or warm them in the oven until heated through.
Common Recipe Questions
Yes. Oat flour is naturally gluten free, but it's often contaminated with gluten because oats are processed alongside wheat, barley, and rye. To avoid cross-contamination, choose certified gluten free oat flour, which is tested and handled in dedicated facilities and safe for people with celiac disease or gluten sensitivity.
There are a couple of steps you can take throughout the waffle-making process to prevent soggy waffles. Here are my tips!
Preheat the waffle iron. If the iron is heating up with the batter already in it, the outsides will burn before the middle is cooked. It needs to be nice and hot for that perfect crispy texture.
Keep them in the oven. Once your waffles are cooked and while you finish out the rest of them, I recommend keeping them in the oven set to 200ºF to help maintain their texture. Make sure you set them on a wire rack on top of a baking sheet so the air can circulate around them.
Reheat in the toaster. Leftover waffles are naturally going to soften up a bit. However, reheating in the toaster (or in the oven) is a great way to get back some of that crispiness. The microwave will just make them soggier.
Did you enjoy making this recipe? Show it some love with ⭐⭐⭐⭐⭐ and leave a comment! Hungry for more FLAVORFUL recipes?
📖 Recipe Card

Oat Flour Waffles (Blender Recipe)
Ingredients
- 2 cups oat flour
- 1 Tablespoon granulated sugar or coconut sugar
- 4 teaspoons baking powder
- ½ teaspoon kosher salt
- 2 eggs
- 1 ½ cup milk regular or non-dairy
- 6 Tablespoons unsalted butter melted and cooled- regular or non-dairy
- 1 teaspoon vanilla extract
Instructions
- In a large bowl combine the flour, sugar, baking powder and salt and whisk to combine.2 cups oat flour, 1 Tablespoon granulated sugar, 4 teaspoons baking powder, ½ teaspoon kosher salt
- In a separate small bowl heat the milk for 30 to 60 seconds until warm not hot. Whisk in melted butter, eggs, and vanilla extract. Pour the wet ingredients into the dry and whisk until blended.2 eggs, 1 ½ cup milk, 6 Tablespoons unsalted butter, 1 teaspoon vanilla extract
- Preheat waffle iron while the batter rests for 10 minutes.
- Scoop the batter into the preheated waffle iron and cook until the waffles are golden brown and crisp. Keep your waffles warm while cooking other batches by placing them on a wire rack in a 200 degree oven.
Video
Notes
- Oat Flour can be made from whole old-fashioned oats by pulsing in a food processor until you get a fine flour. You will need approximately 2 ¾ cups of oats to make 2 cups of oat flour.
- This recipe makes 10 using a small waffle iron if you use a larger Belgian-style waffle maker it will make approximately 6 waffles.
- Store in zip-top bags in the freezer.
- Reheat in a toaster or toaster oven set to medium heat until warmed through.
- DAIRY-FREE OPTION- Use nondairy milk and vegan butter. I recommend almond milk. You can use coconut oil or vegetable oil, but vegan butter will have a better flavor.


Joy says
Delicious. I made these exact just added less sugar.
Jen Wooster says
Fantastic! I like to freeze the extra and reheat in the toaster. Thanks for the review.